Check out the latest addition to BrittanyBowerDesigns.com, and just in time for Christmas! A straw wreath is wrapped in Christmas ribbons and then adorned with red and white glitter accented poinsettias. Green leaves create the traditional colors and silver pines add the final touches.
Growing up, kitchen towels were not just a tool for drying your hands or the dishes, but also decoration. They were used to convey a theme and make the room seem cheerier, like the strawberries in my grandmother’s kitchen. And since a kitchen can only be decorated in certain ways and places due to fear of getting messy with food, I always liked the idea. And so I have done the same with ours.
But this tended to cause a disagreement between between my husband and I, silly as it is. For me, the current towel in use should reside hanging from the cabinet handles in the kitchen, while my husband likes to keep it out on the counter instead, even after he is done, leaving me to assume that it is dirty, and for him to then question where it is has gone.
But he did have a point – hanging the towels from the cabinet handles blocks the drawers below. So I challenged him to find us an alternative and he has finally delivered, a new type of towel hook that we can keep on the side of the cabinet instead of the front. And they’re super easy to install!
We first questioned how well they would stand up, considering how reasonably priced they are, but after 3 weeks of using the new hooks, I must say I’m impressed. I regularly dry my hands without removing the towels, and they’ve managed just fine.
Anyone who truly knows me knows that Christmas is my favorite holiday! And while I wanted to jump on the band wagon with everyone else who has already started decorating, my husband and I have an agreement to get through one holiday before focusing on the next. I’m not judging anyone getting a head start, (especially since I’ve been ready for Christmas since July!) this is just what we do. But, those who enjoy decorating know that it takes time to get everything ready, and if you wait until Thanksgiving to start decorating, you may miss your chance to pick up any of the decorations you may not have already thought of. And this is an even bigger ordeal if there’s anything that needs to be replaced or customized, which is the case for us this year.
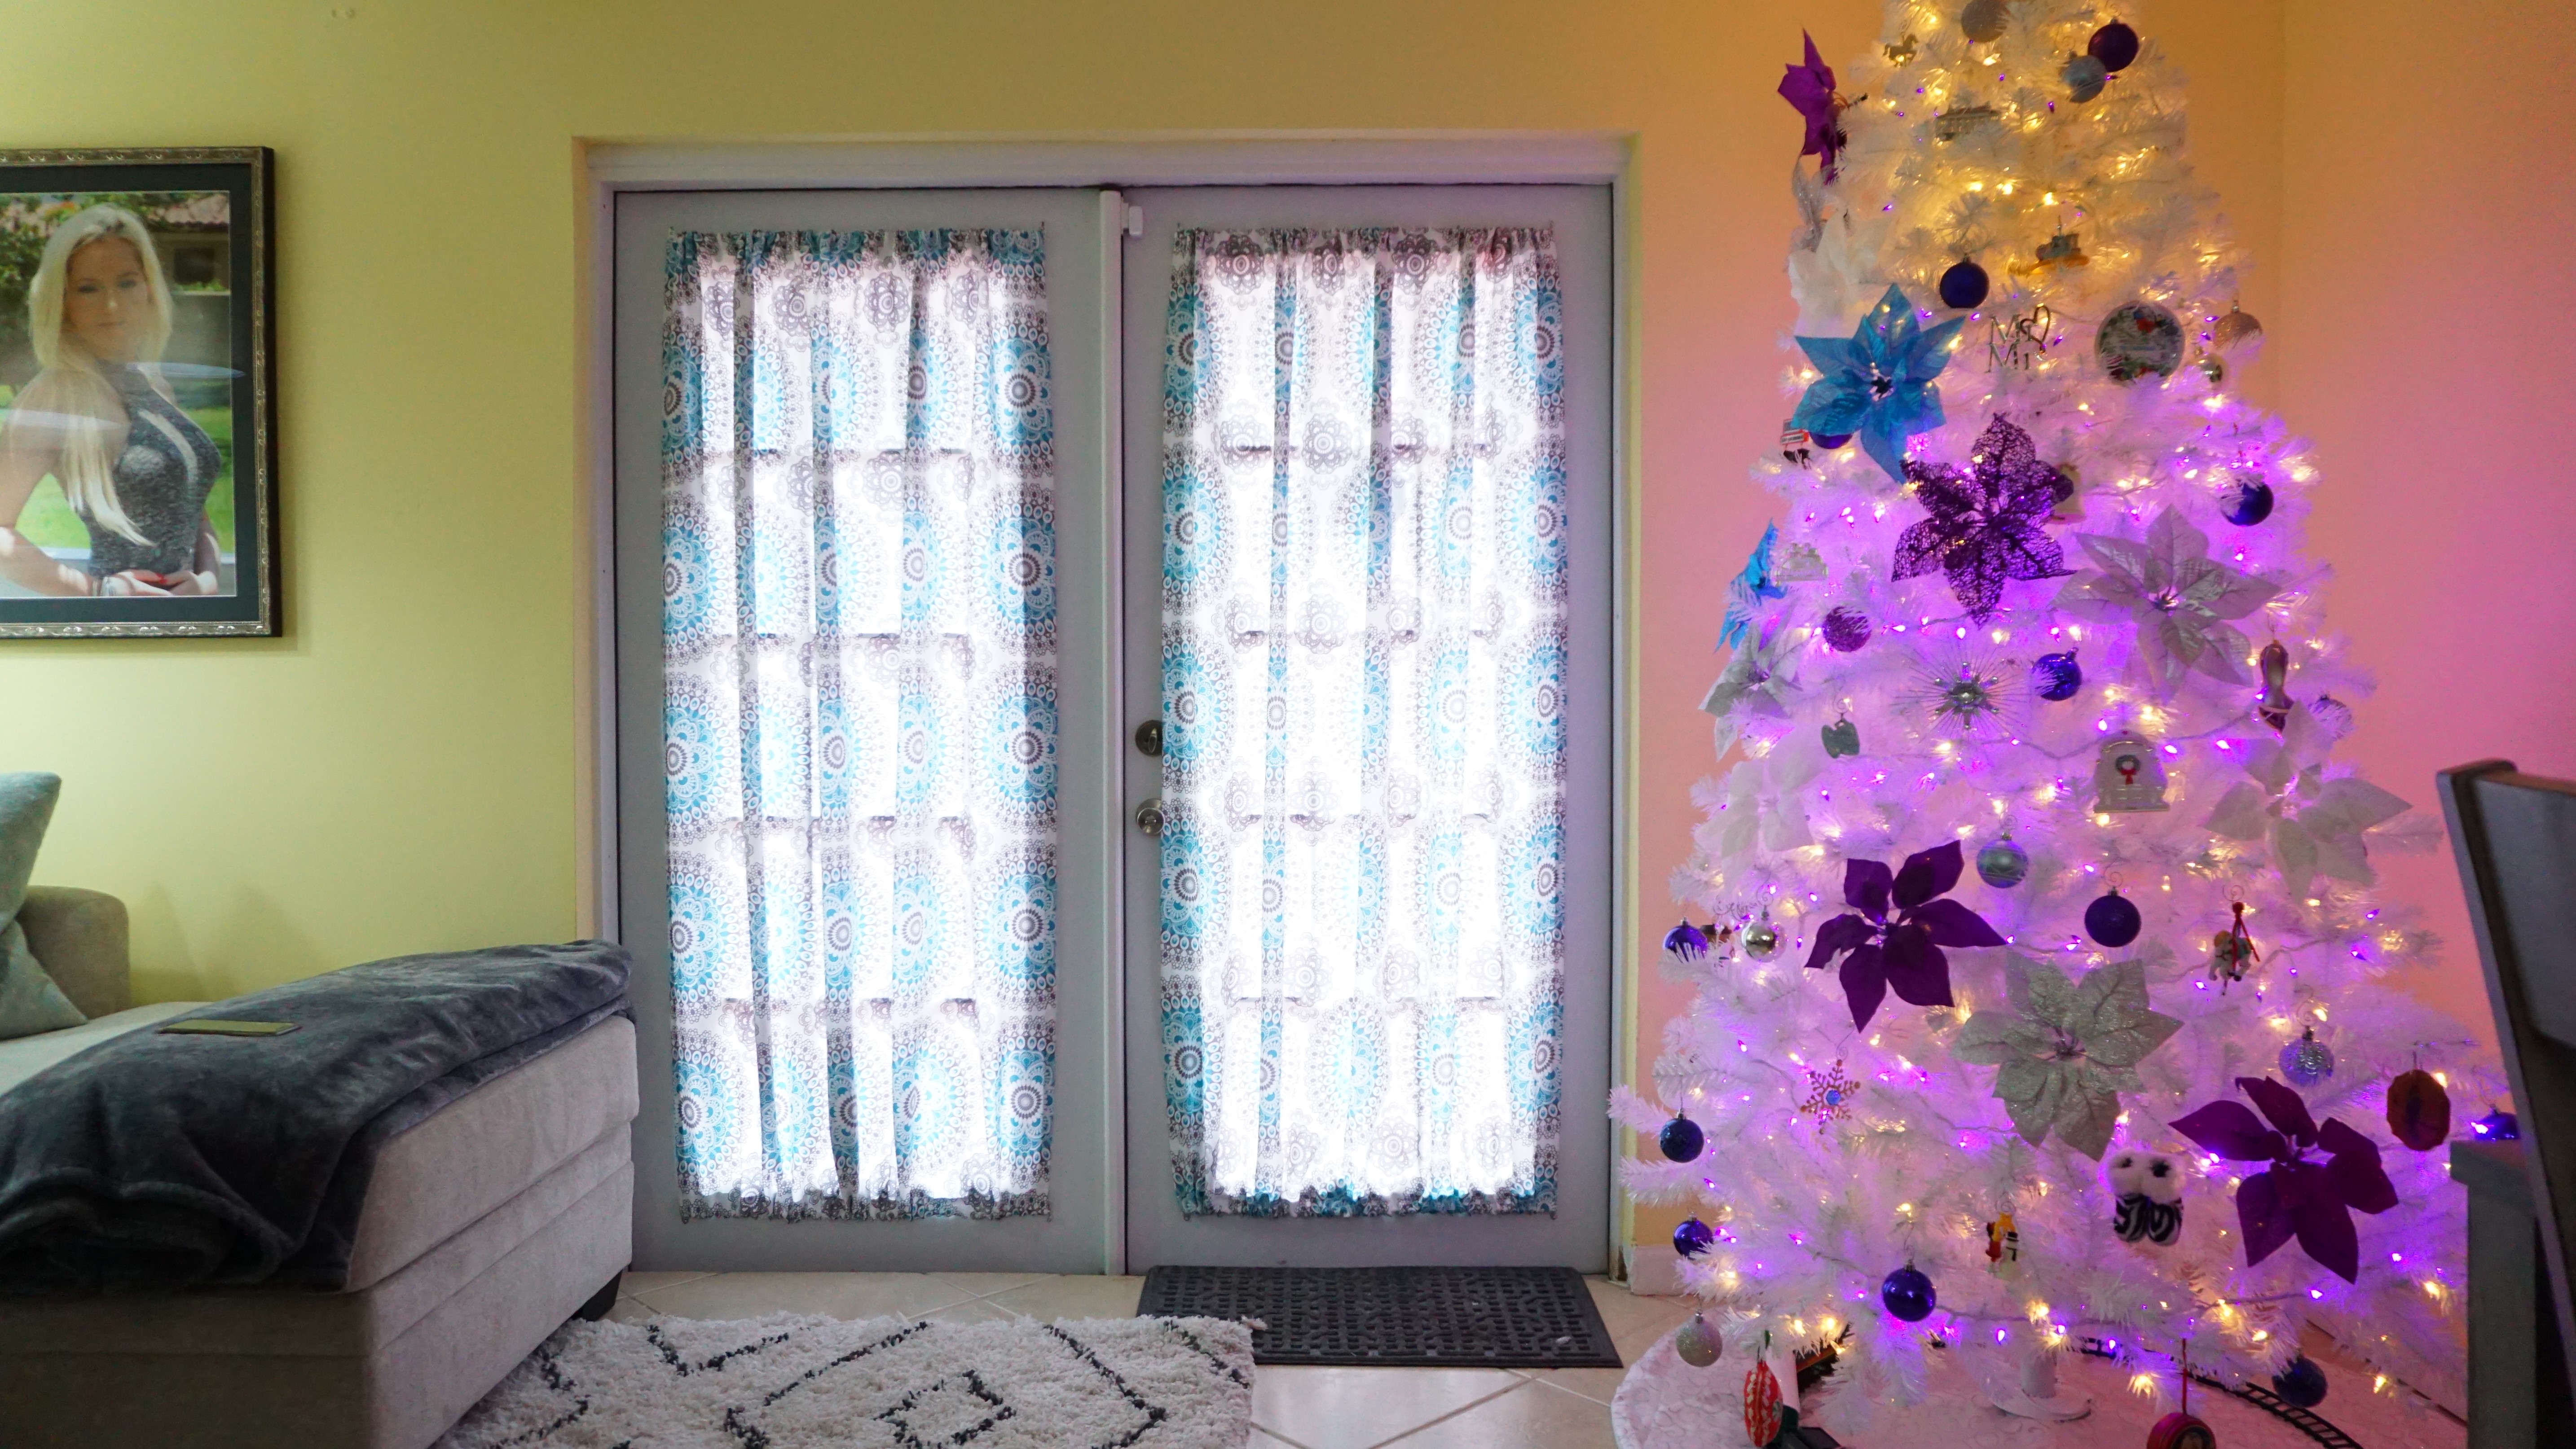
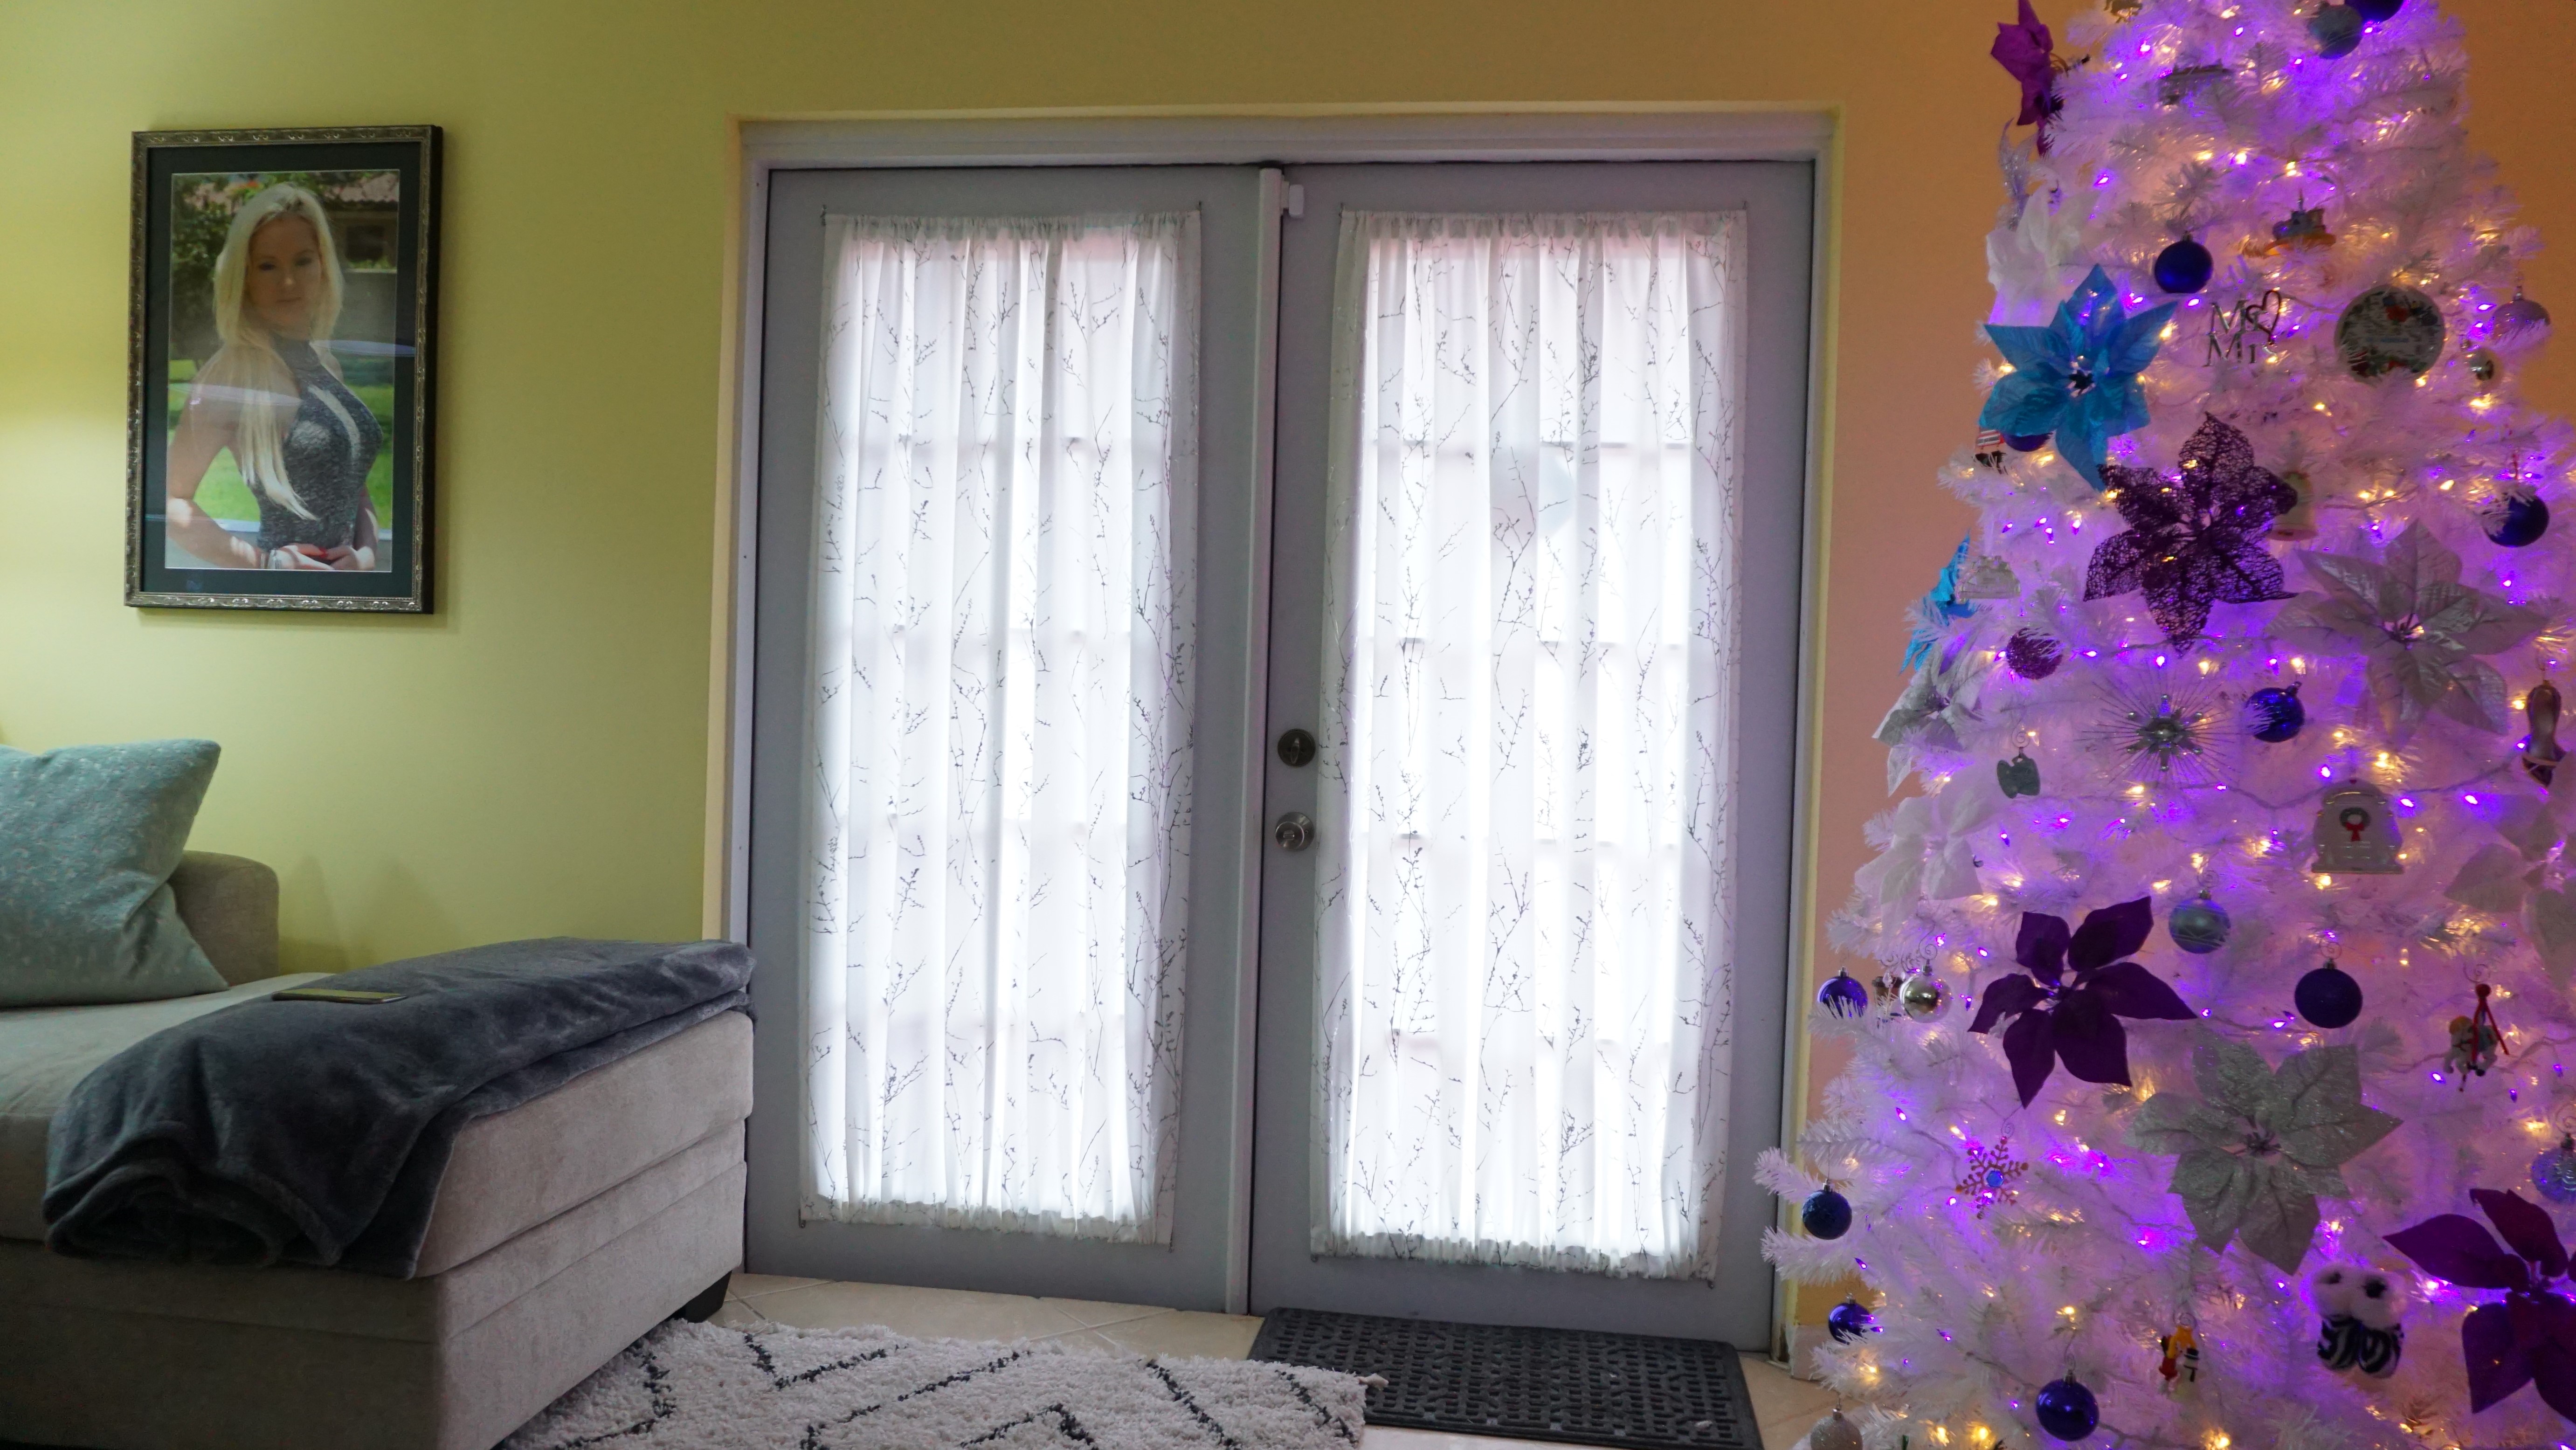
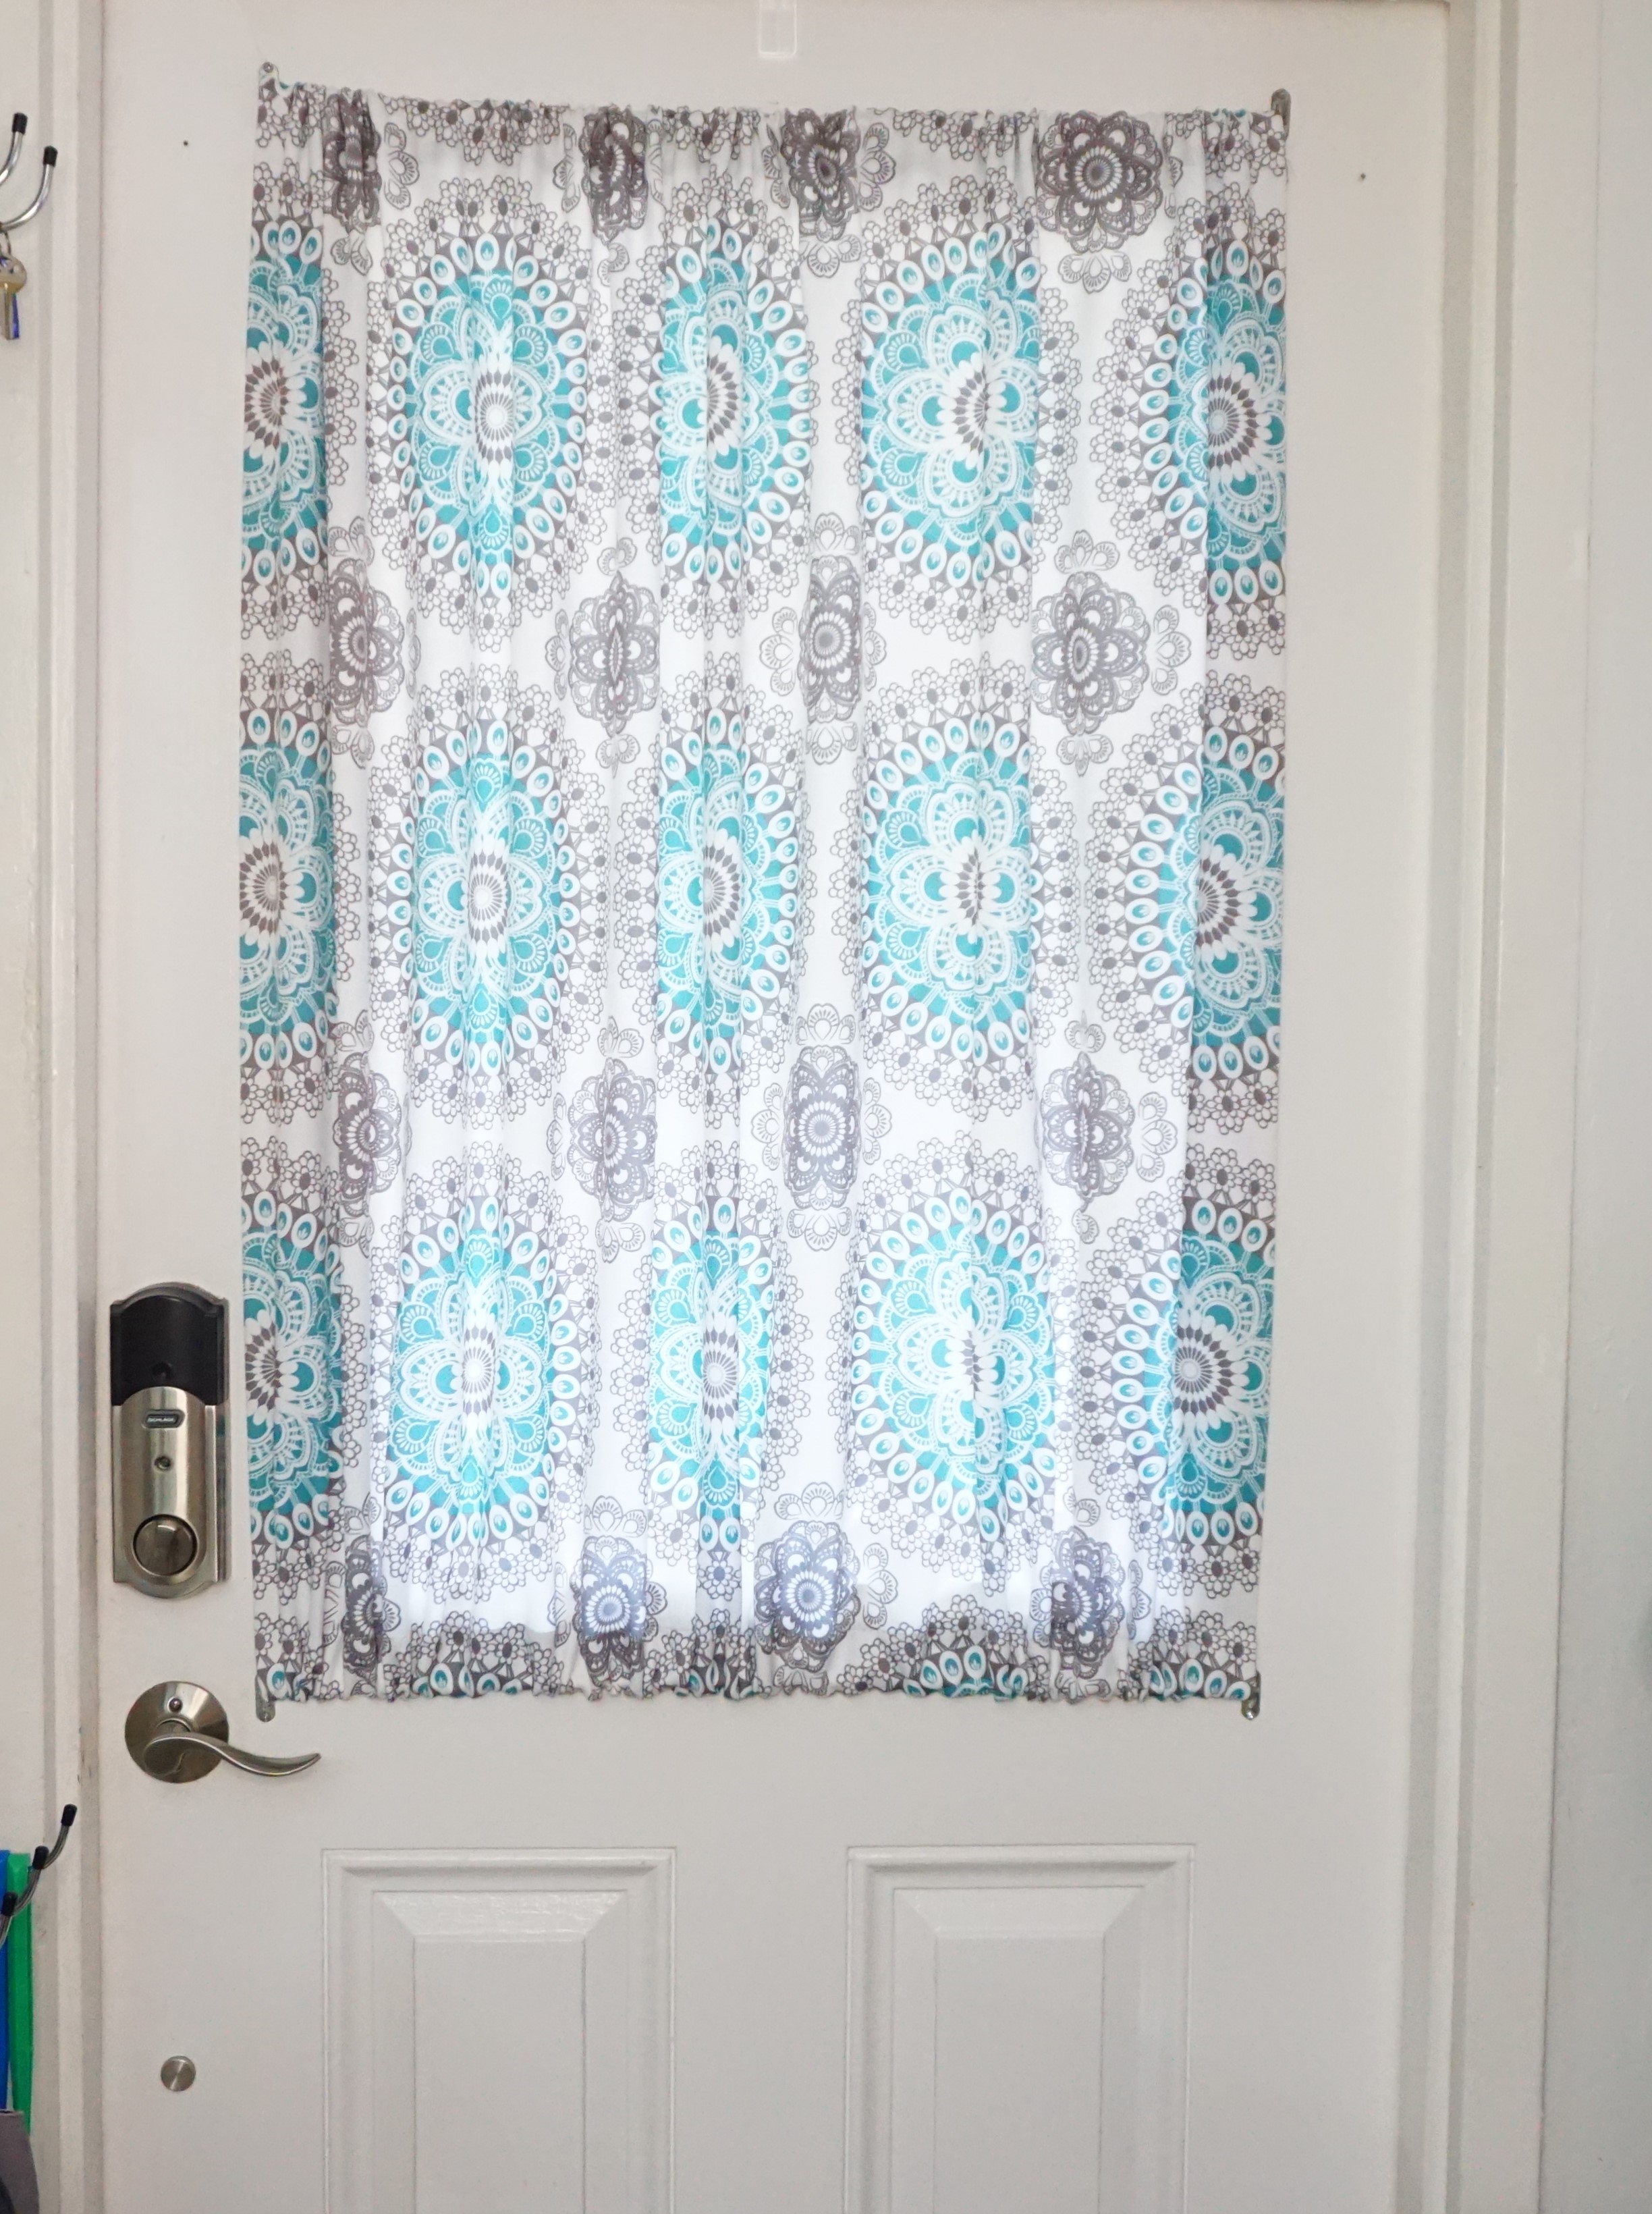
When we moved into our house, I had a color scheme in mind for our living room, but it still took me two years to bring it to life. I wanted a pattern for the curtains, but trying to find one to fit the color scheme and that wasn’t too crazy for traditional me proved challenging. Now that I have them, I have no intention of replacing them anytime soon, but they just don’t go with our Christmas décor and it started to wear on me last Christmas.
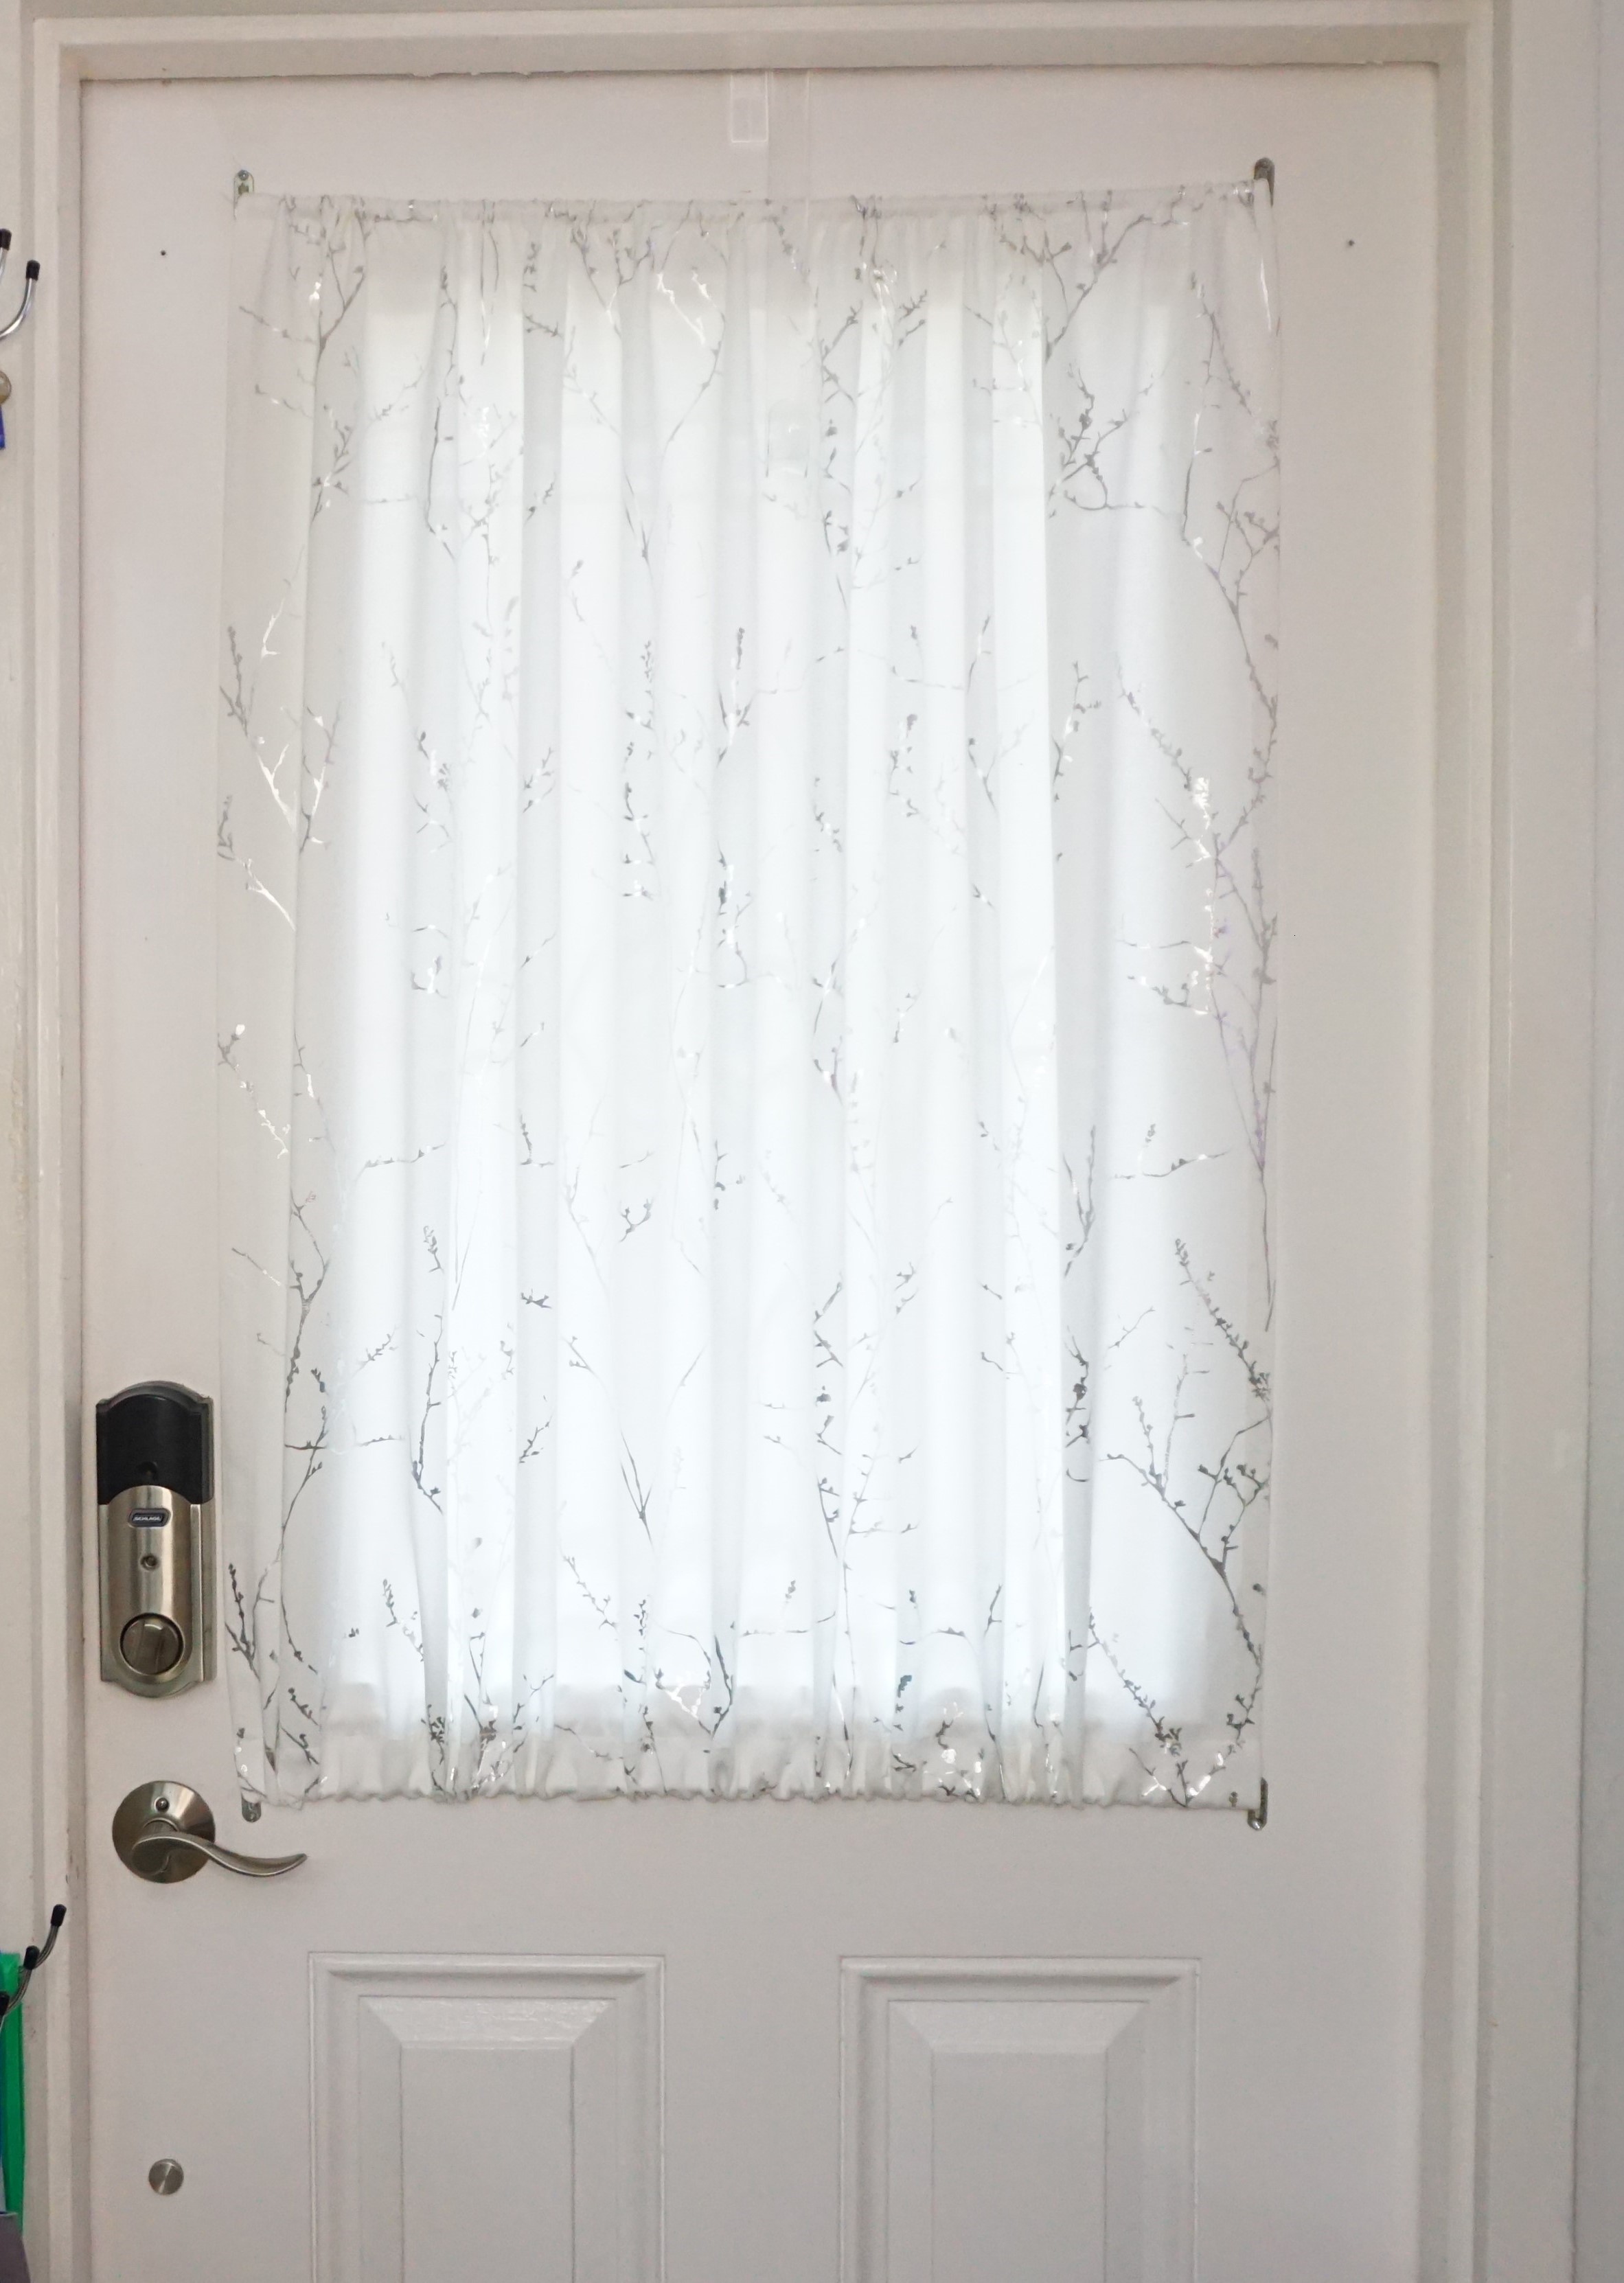
So I picked out new ones for the holiday season at the beginning of November and then took the rest of November to alter. Where does the time go!
I didn’t like any options I found for an alternative valance, but Chris suggested a garland, and I think it was a brilliant idea!
Can’t forget the picture window
This post may contain affiliate links, meaning I earn a small commission at no cost to you! When you purchase through the links provided, you will be supporting Brittany Bower and helping to bring new content to the site!
With all of the pool’s guts removed it was time to start research and buying everything that we now needed to replace.
What we had, most secure
Easiest to Replace
Easiest to install
We did some research on the liner and found out that it was a unibead style liner, which is supposed to be one of the most secure, but not easiest to install or replace. We measured the pool, and kept coming up with odd measurements that included an extra 1/2″ or 3/4″, but after extensive research and getting familiar with how pool sizes run, we finally felt confident enough to order the liner. The size of our pool limited our options for liner designs with Chris initially only showing me two, neither of which I was totally psyched about. But when he went back to the results, there was a third which I loved and so we ordered it.
Come shopping with me
I don’t know if it was an option or if he thought about it for the liner, but when it came to ordering the floor liner, wall foam, and cove, we compared prices on Amazon, and thank goodness! We saved at least $200. And then it was a waiting game, as the website for the liner didn’t actually say when to expect delivery.
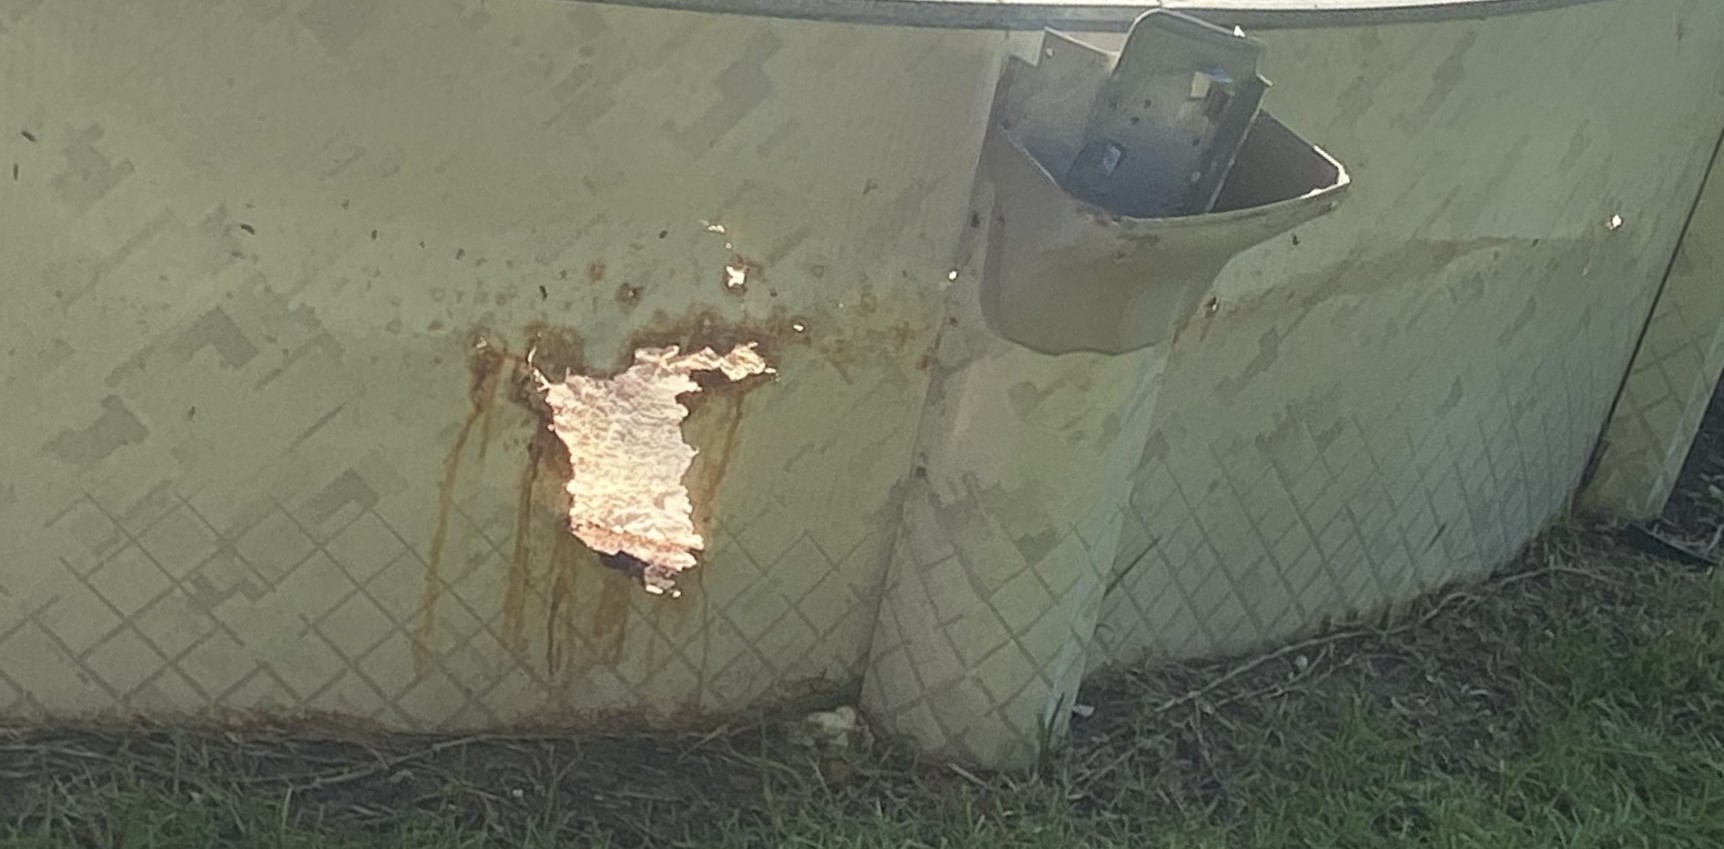
So while we waited for those things, Chris did research on how to address the giant rusted out holes in the side of the walls. He knew we could address the rust itself with a type of spray paint he’d used in the past, but went to YouTube for advice with patching the hole. Eventually he found that he could use sheet metal with pop rivets. Those things we could get local, so we got to work.
Inside’s sprayed
And the outside
He sprayed the major rusted areas inside and out of the pool with Rust-oleum’s Rust Reformer in effort to stop the rust from getting any worse.
Got my arm workout!
And then it was time to cut sheet metal and grind the edges to take off any sharp edges that could possibly scratch the liner once it was installed. And then we connected the sheetmetal to the side of the pool wall with pop rivets. And let me tell ya, using that pop rivet gun is no joke!
Now for everything else to show up and then the real work begins.
This post may contain affiliate links, meaning I earn a small commission at no cost to you! When you purchase through the links provided, you will be supporting Brittany Bower and helping to bring new content to the site!
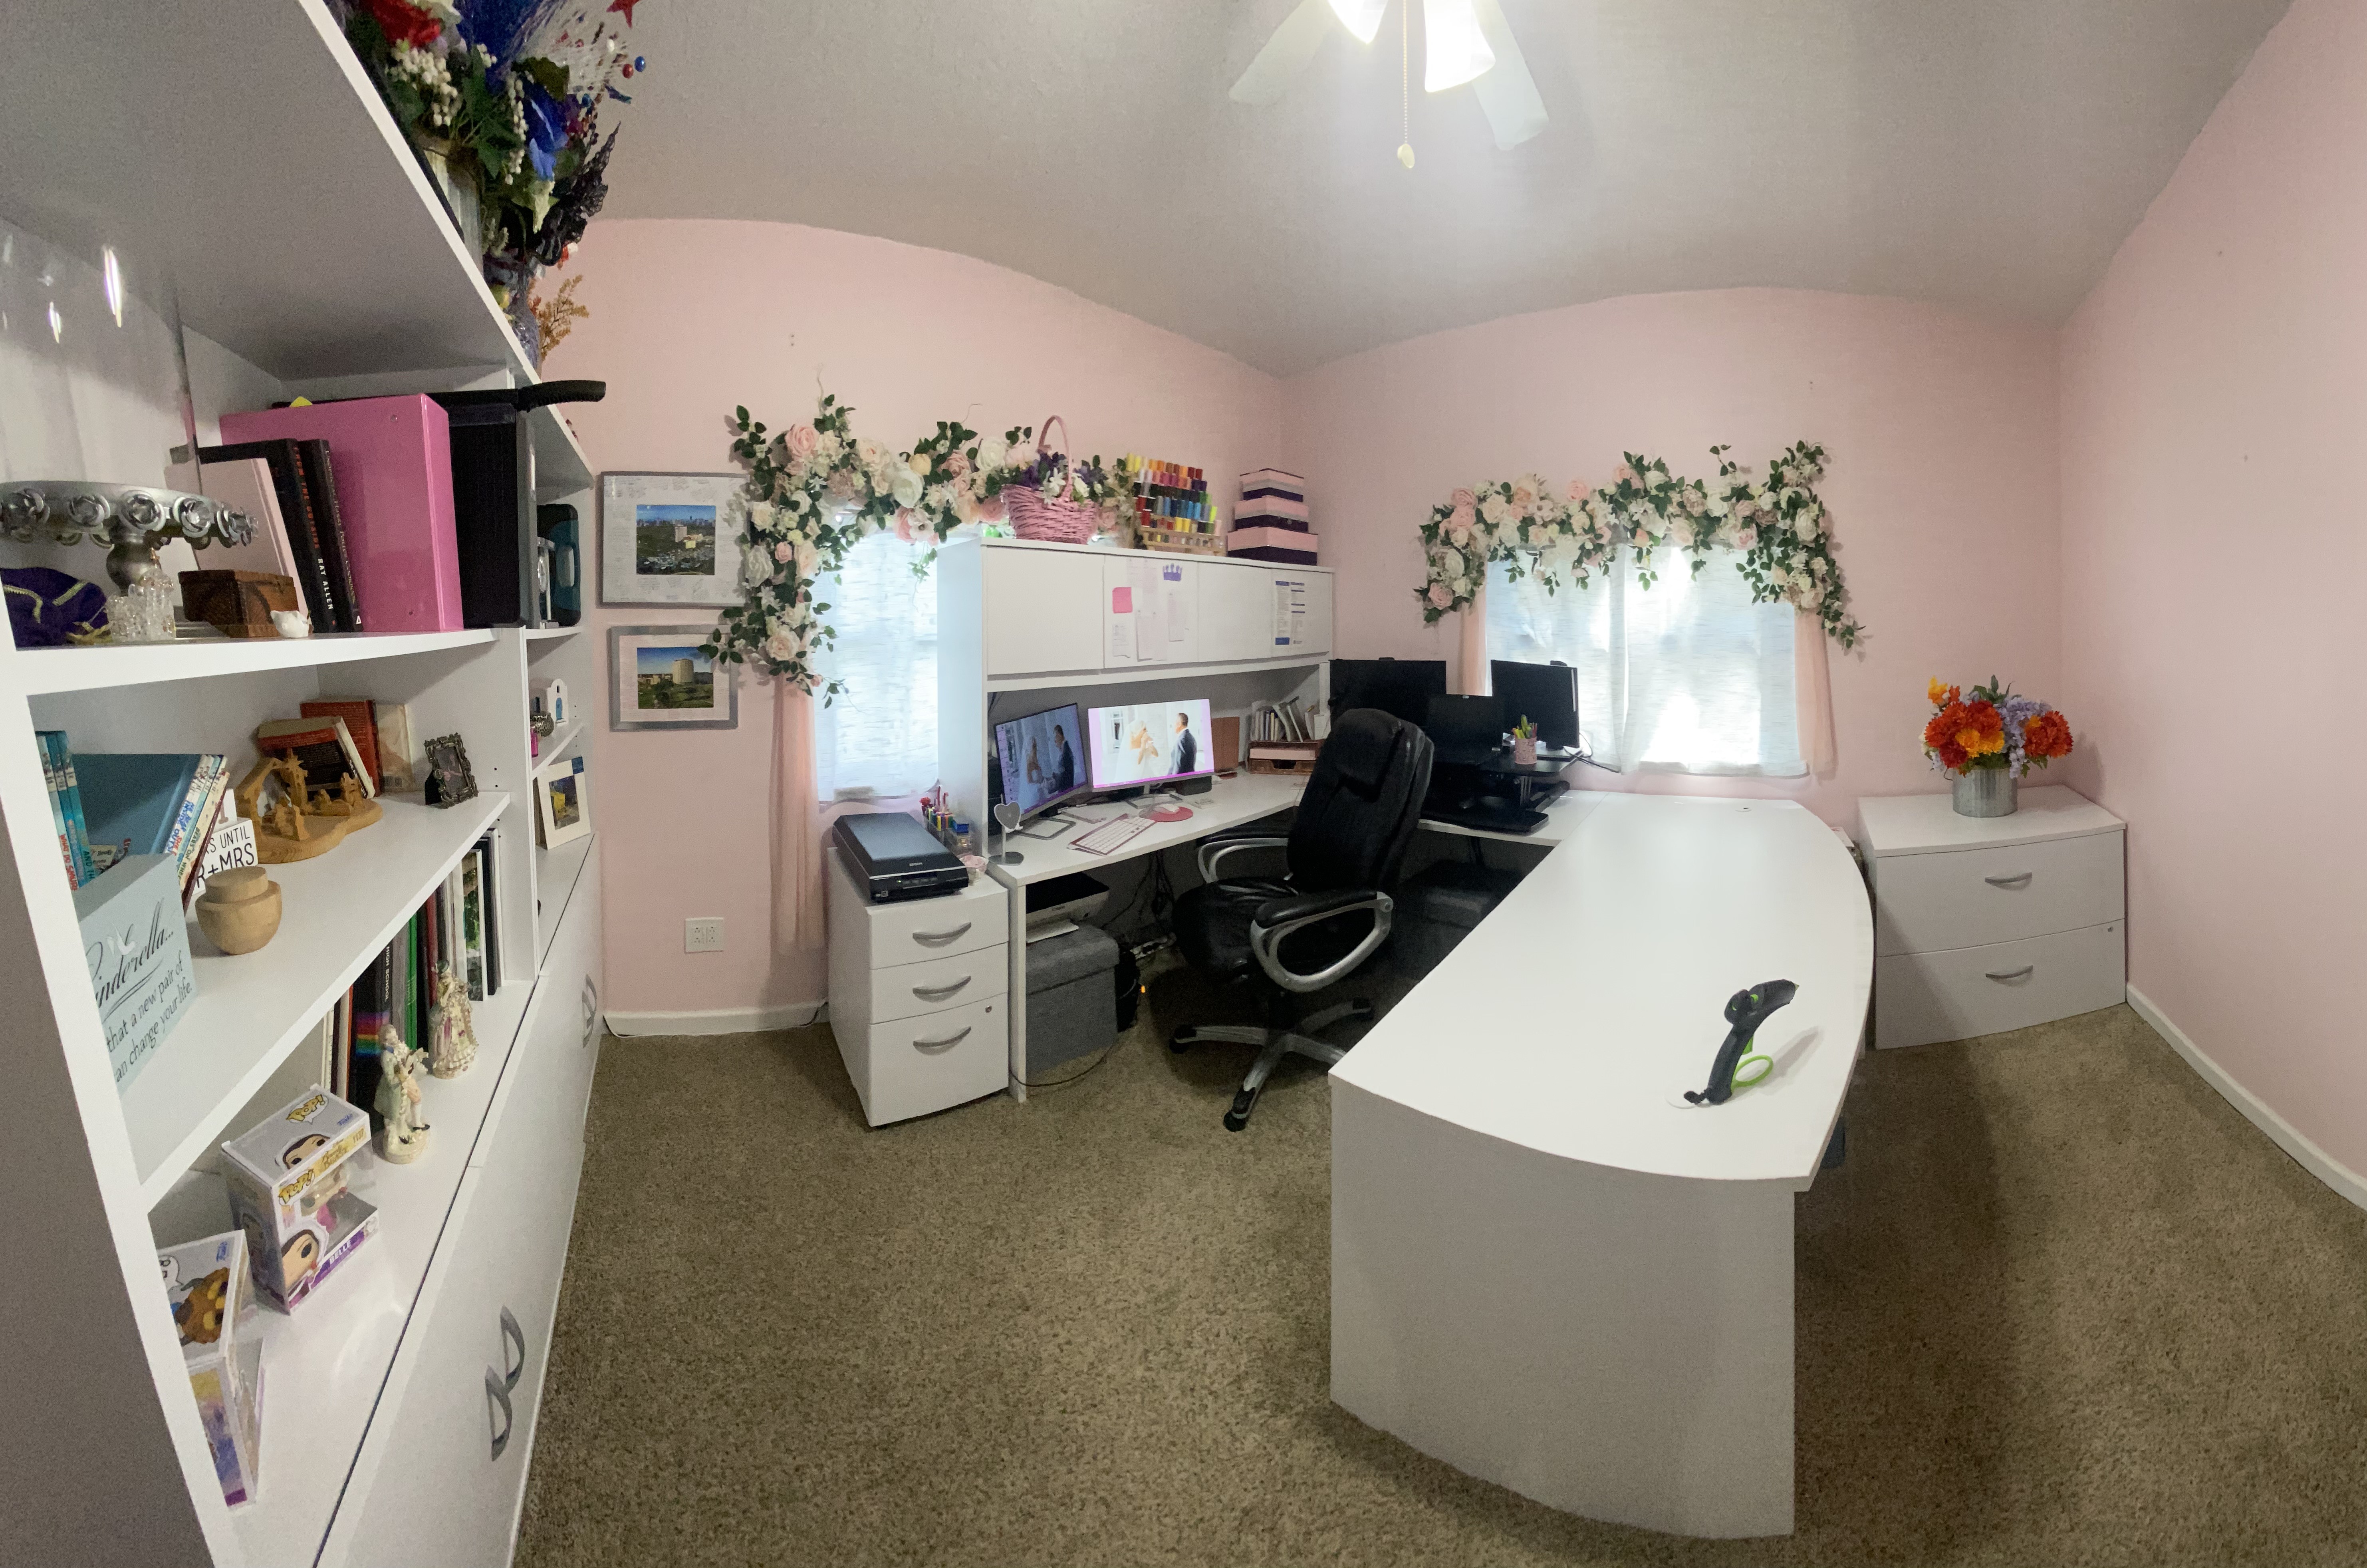
He also decided to buy himself an official drum set (he’d been learning on a set of electronic ones), so I decided to upgrade my desk which transformed the entire room with a u-shape desk, bookcases and file cabinets. And with the white furniture, you can really see how light and bright the room turned out! It’s been nice having a place for my computer and to do crafting, with more organization, and room to display all of my keepsakes, like the flowers and cloche display from our wedding. And even a designated place for my official work, without too much adjustment.
YIKES! Before the first remodel
I mentioned that I started working from home at the end of last year, but that wasn’t even the catalyst for it. After our wedding in April, Chris decided to repurpose half of the rooms in our house. Our previous gym became a music studio/theater room, my previous office took on a storage role (the main thing our house is severely lacking) and the Craft Room became my new office.
My new (grown up) office after the wedding
When I started working from home, we really took a closer look at what that would look like. I had office jobs before, but they usually at least allow for opportunities to get up and go for a walk, usually for meetings – but mine were all online now which meant more sitting and less moving. We invested in what we thought would be a decent chair and a riser for my desk so I would at least have the option to stand.
The flexibility with the riser is nice, and it’s super easy to use since it is motorized. But I didn’t think how it might effect things when I am just sitting, which I’ve done more than I initially thought I would. At my previous job, I ended up developing an issue with my shoulder and figured out that it was because my desk was too high compared to my chair making me type with my shoulders shrugged all day. And the riser was starting to have the same effect since it raised my keyboard another couple of inches off my desk even at its lowest.
My chair was also starting to tilt to one side and it allows me slouch too much. So it’s now time for another change – I’m going to try it without the riser and trying out a new chair! We’ll see how it goes.
And for those keeping track of puppy status, the cords under my desk have now been tidied.
This post may contain affiliate links, meaning I earn a small commission at no cost to you! When you purchase through the links provided, you will be supporting Brittany Bower and helping to bring new content to the site!
Last month, Chris came into my office and showed me a video – our pool had a major leak! He didn’t know if it was from the liner or if a pipe had busted, so he went diving in the pool to find out.
Right inside from the leak he a found a tear in the liner. So, he grabbed the glue and extra vinyl (we had patched a hole last year), and went to trying to do the repair, but as soon as he touched it, it tore even more. And we realized this was not going to be an easy repair.
We already knew we were on borrowed time with the pool once we found a rusted spot at the far end after dismantling the previous pool deck. We just didn’t know what all would be involved with that repair – or if could even be done – but knew that the liner would have to come off and it might not go back on as easy as it came off. Now would be the time to address it though since the current liner obviously had to be replaced anyways.
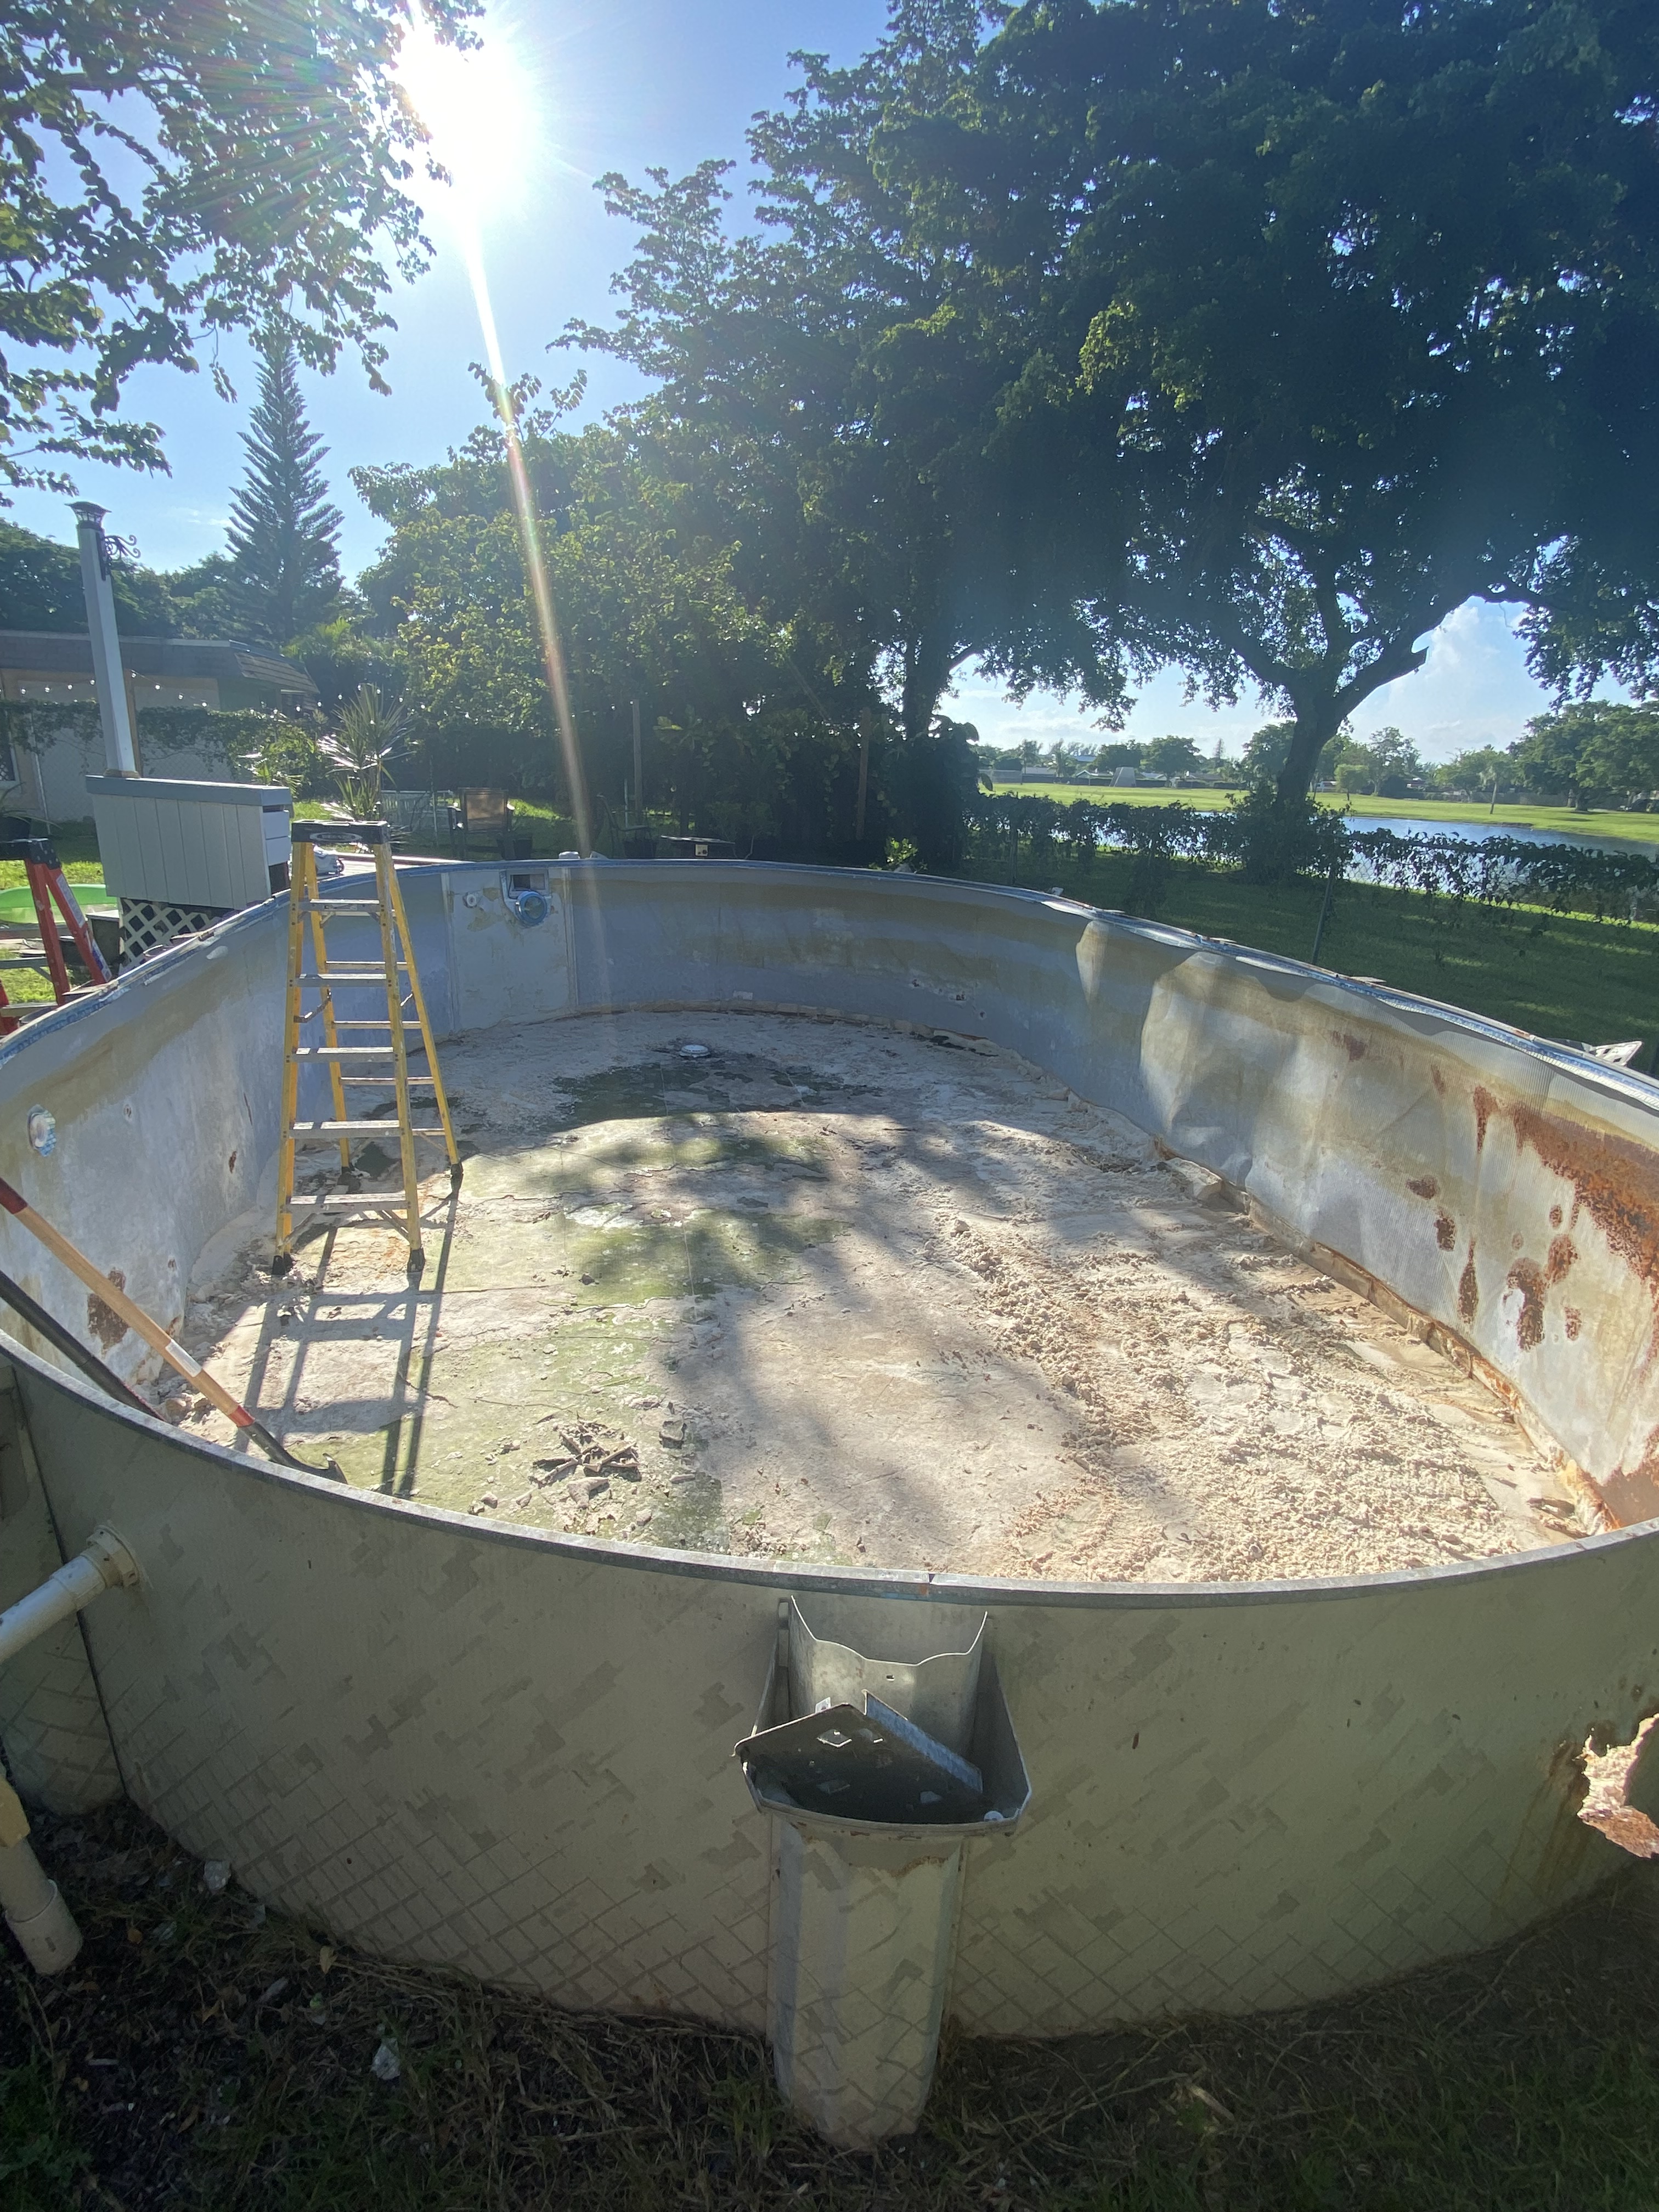
So Chris got to draining the pool. It was such a sad sight.
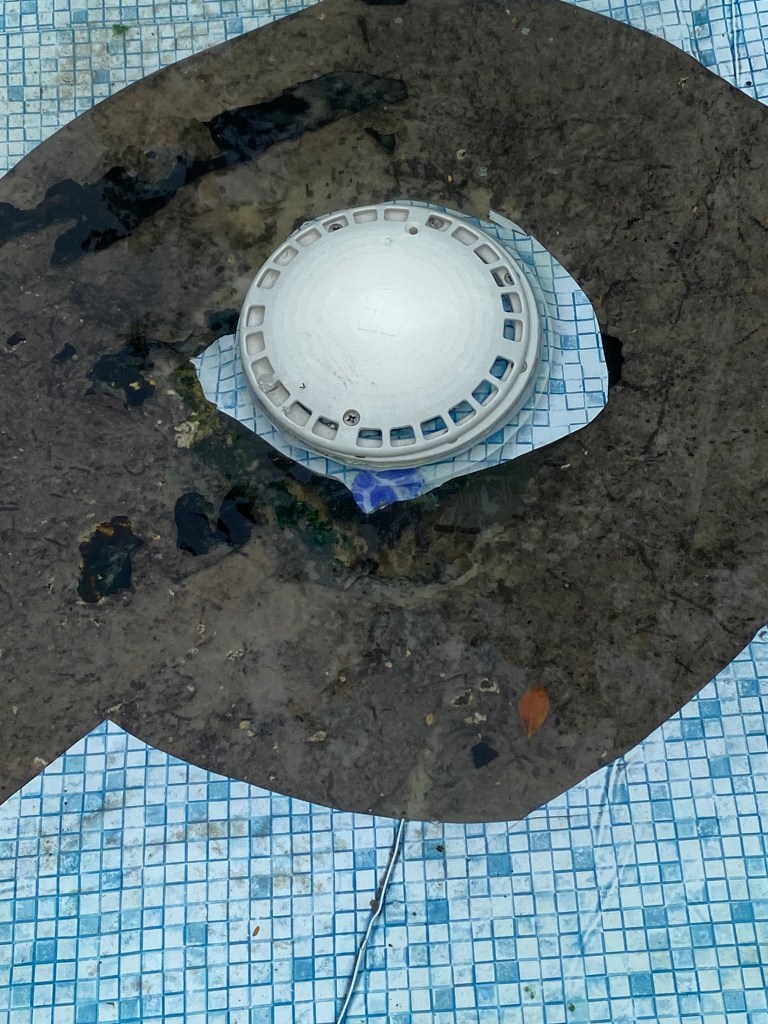
But also eye opening for all of the problems we weren’t aware of. Water pooled in a few areas so he cut the liner to allow it to finish draining disclosing the spots that had washed out. One was around the floor drain, which is what he patched last year. We couldn’t see the bottom of the hole and had no idea how far it would go, leaving us to question how we were going to fix it.
The other spot that washed out was on the inside of where he spotted the leak from the outside and was severe enough that we could clearly see some of the metal framing.
Since we’d already come this far with removing the liner, Chris decided to continue cutting down the edges in sections, revealing tears in the foam wall liner and rust spots behind large sections of it. So it came down too.
Now that basically all of the pool’s trim pieces and guts had been removed, we finally had an idea of what we were up against and it was time to start researching how to do the repairs.
We have now had our house for 5 years, it’s crazy how fast time flies!
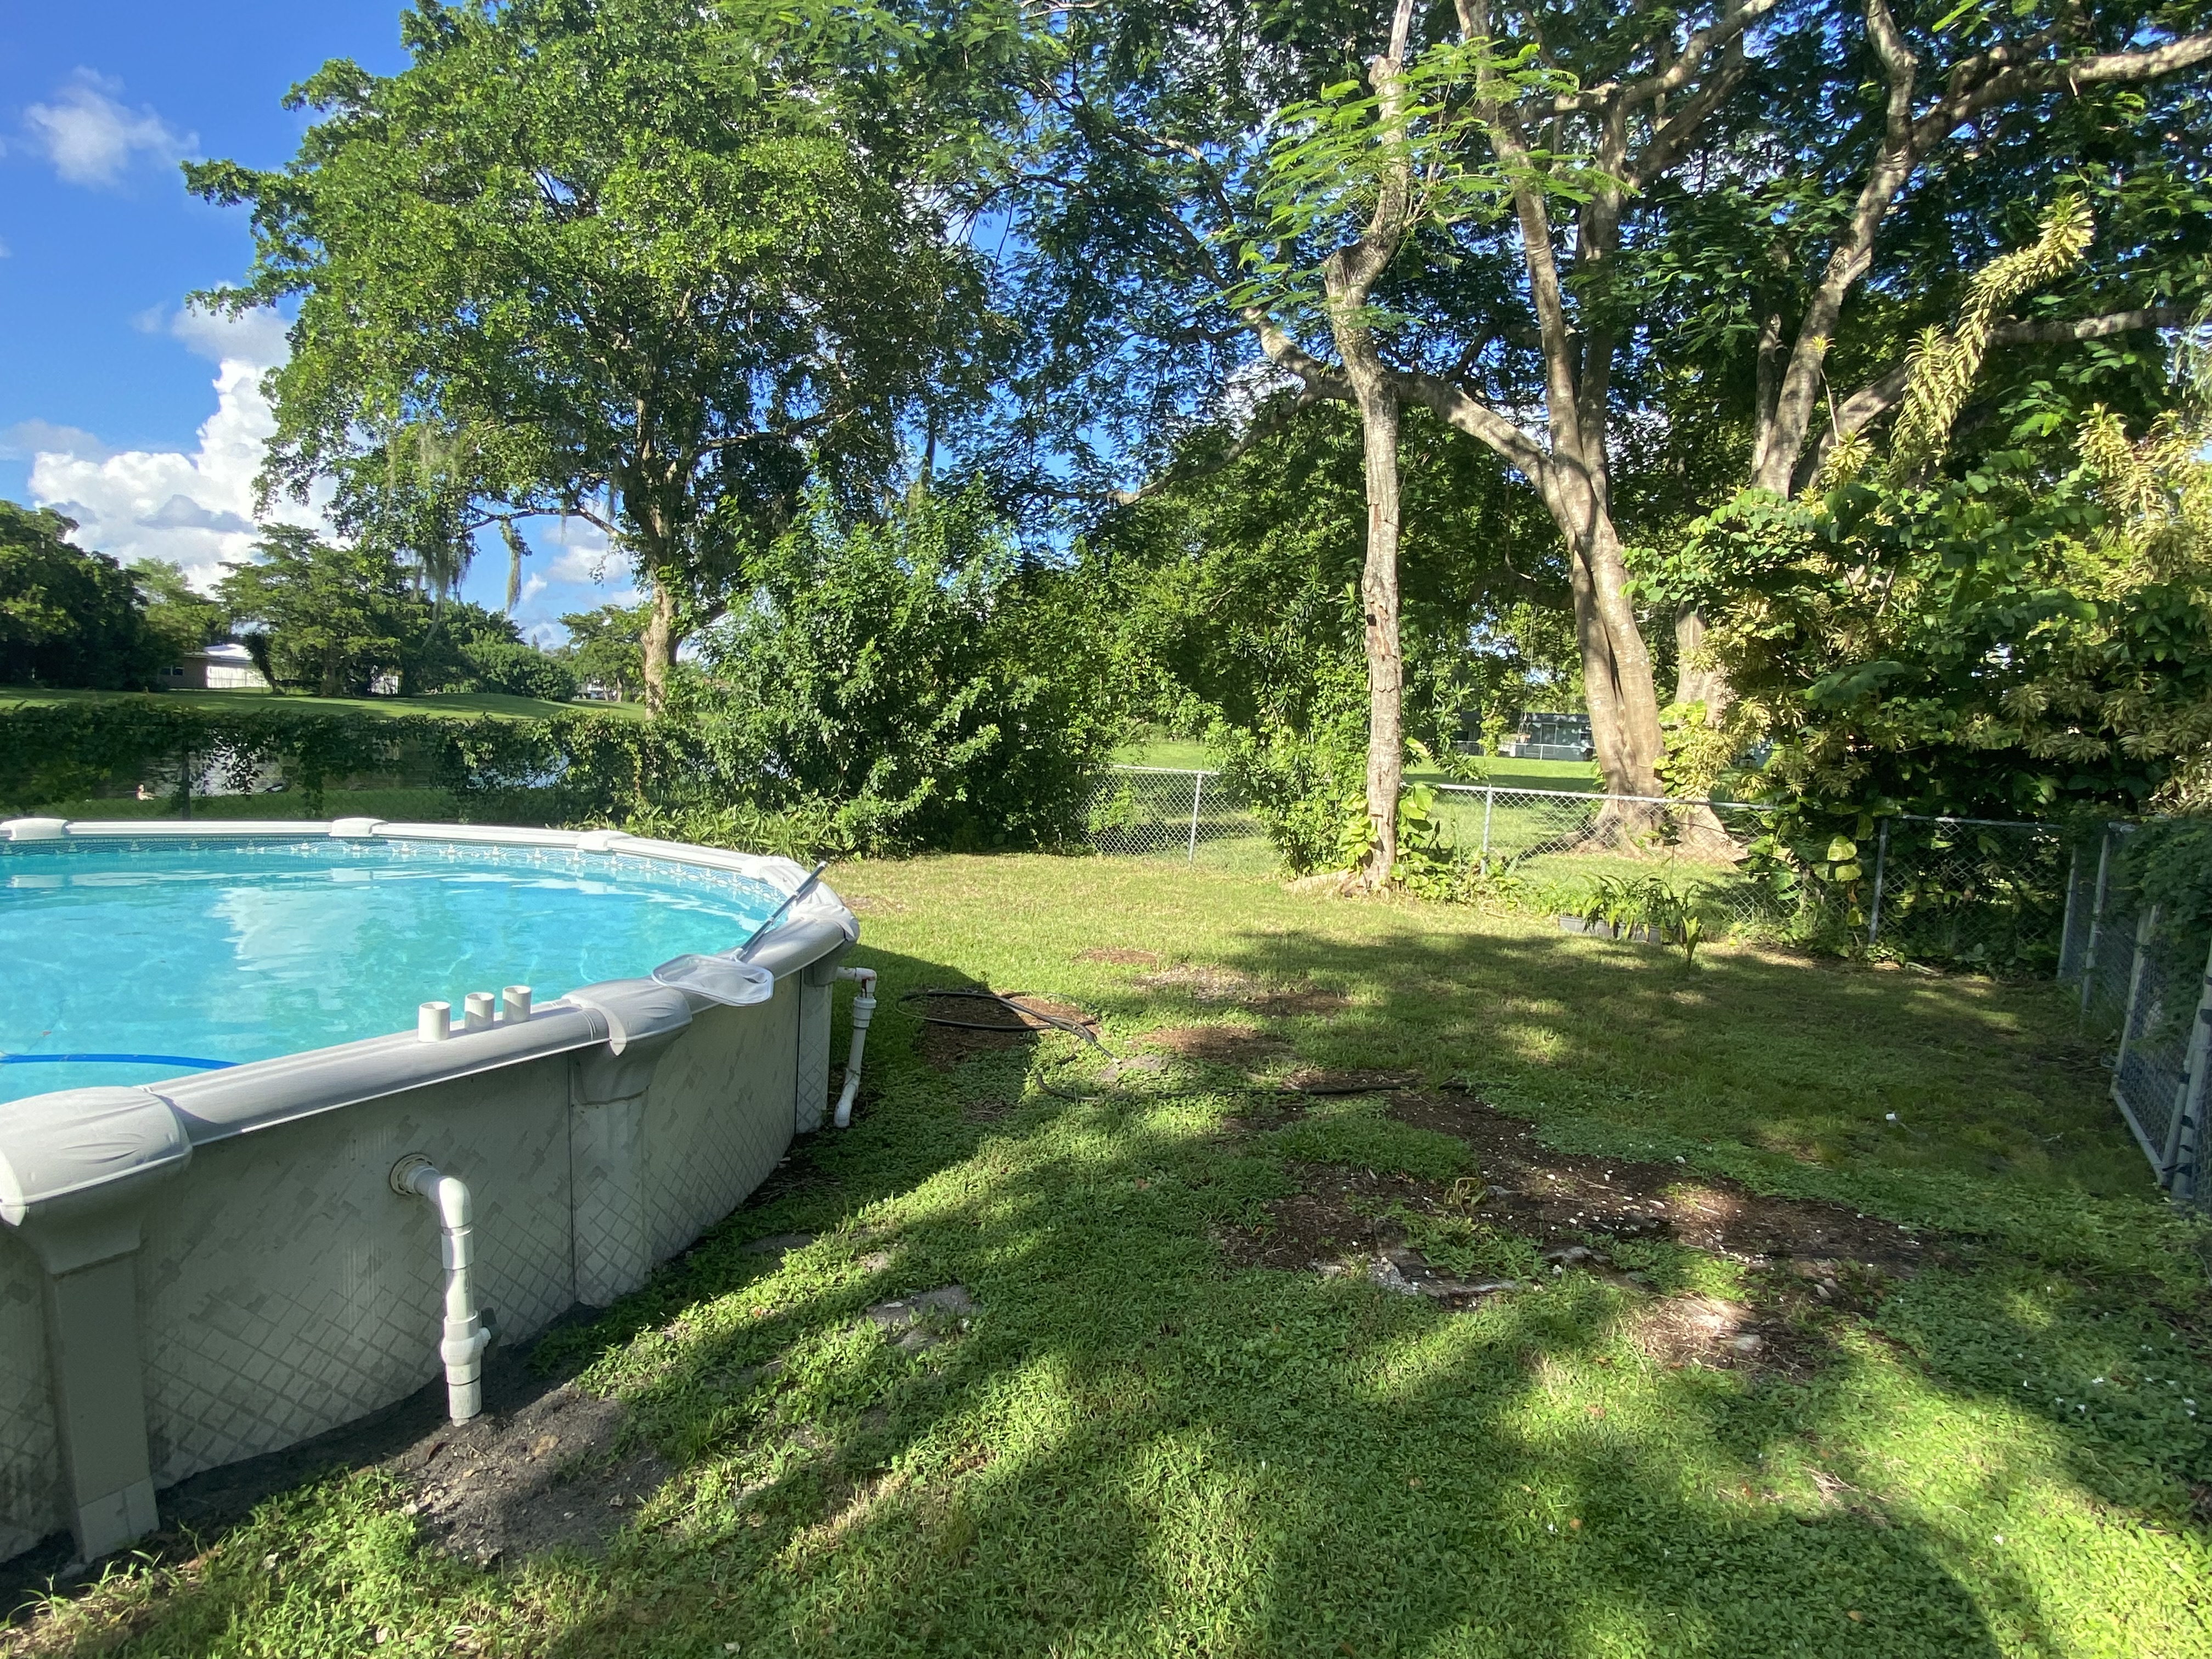
We’ve made a lot of changes in that time, some revising what was here already and some adding our own touches. But this summer has focused on finally cleaning up the projects we have undone, making our yard more visually pleasing and safer for the little ones running around (our friend’s kids) and hopefully, our future furry one.
The previous owners had a small deck for the pool steps, similar to the ones we have now, but on the opposite side of the pool. It served its purpose, but was starting to show its age and wasn’t to our liking, We usually get out to the backyard through the French doors in the living room or from our bedroom – on the opposite end of the house. On top of that, while we we do have grass in our back yard, it didn’t grow between the pool and the house due to a lack of sun when we moved in, so we tracked in mud every time we came back in after being in the pool.
The previous pool steps (picture taken from realtor.com)
So Chris did what he does and started tearing it down. Getting the boards off was the easy part. The hard part was dismantling the concrete blocks that had cement poured in the center and then bolted to the ground. We tried sledgehammers but they were no match – they simply bounced off. We talked about getting a back hoe and burying them or renting a jackhammer to break them apart, but thought it would take days and subsequently several hundreds of dollars. So they had been an eye sore for about 4 of the past 5 years.
Finally, during the hottest summer I can ever remember in Florida, my husband did what he does and searched on Amazon for a solution – a jack hammer for about $200 (a rental is about $80/day). Knowing that it would physically hard work and guessing that he’d only be able to stand the heat for 15 minutes a day, this would be a tremendous savings if it worked out. Our only hesitation with it was knowing that it would not be the same quality as the commercial rental.
The packaging is nice with a case to hold everything and make sure the pieces don’t end up scattered across the shed. But the quality of the jack hammer is even more impressive. It’s obviously physically straining, at 54 pounds bouncing back and forth against cement and concrete, but the blocks just started tumbling off, and it was even quiet enough for him to continue while I worked in my office without my those on the phone complaining about any background noise.
Now that the old pool deck is FINALLY gone, that side of the yard is cleaning up nicely, although still in need of some work. We got rid of the tree as it was effecting the foundation of our house and now that strip has filled in with some nice grass.
Such an improvement!
This post may contain affiliate links, meaning I earn a small commission at no cost to you! When you purchase through the links provided, you will be supporting Brittany Bower and helping to bring new content to the site!
One of the things I looked forward to most when we bought our house was the opportunity to host events and have a place we’re proud to have our friends and family (when they visit) come and hang out at. And I think we’ve been successful in that after three Christmas’s, a rehearsal dinner, a 4th of July party and now two birthdays.
Both birthdays have been for our friend’s daughter, Felicity. Last year’s theme was mermaids and this year’s was dinosaurs. While we reeled in the party plans a little, I still really enjoyed decorating and took the opportunity to try to do better than last year.
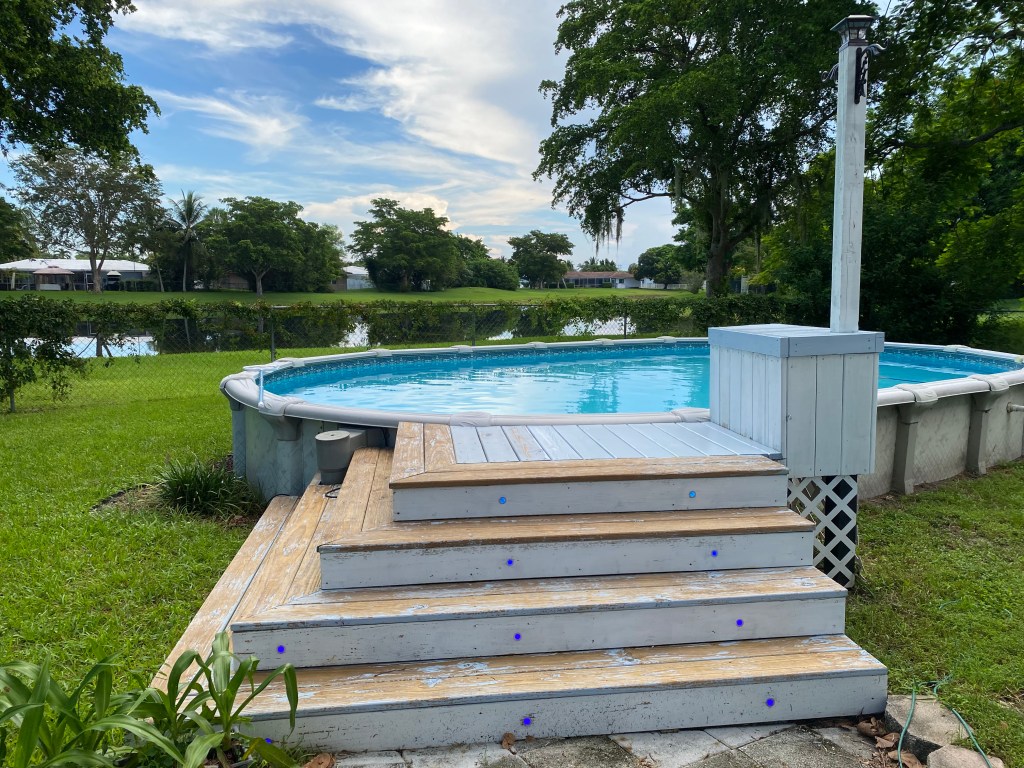
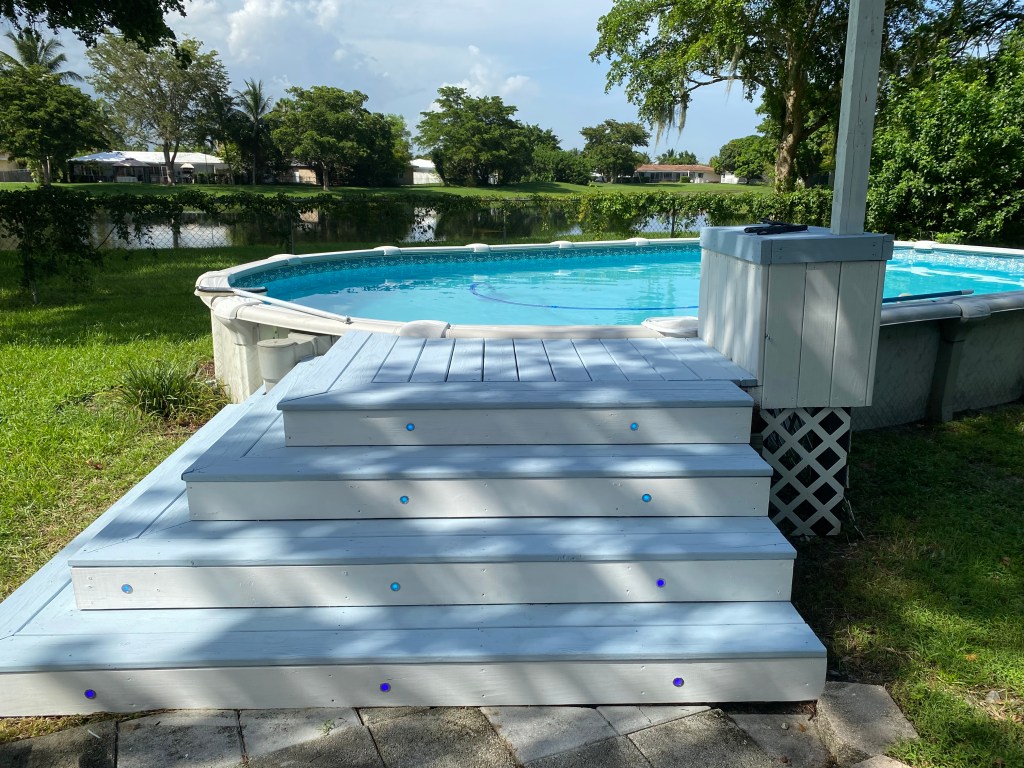
But, first things first. If the weather’s nice, it’s always a pool party at our house, which meant the deck steps needed some attention.
We painted them last year before the wedding and we’ve just gotten some much rain this summer that the paint started chipping off and left Felicity covered in specks of blue paint last time she was over. So it’s time for a fresh coat, but first Chris power washed them to get off all of the flakes.
With the pool freshly painted and looking new again, I could now move on to the rest of the decorations.
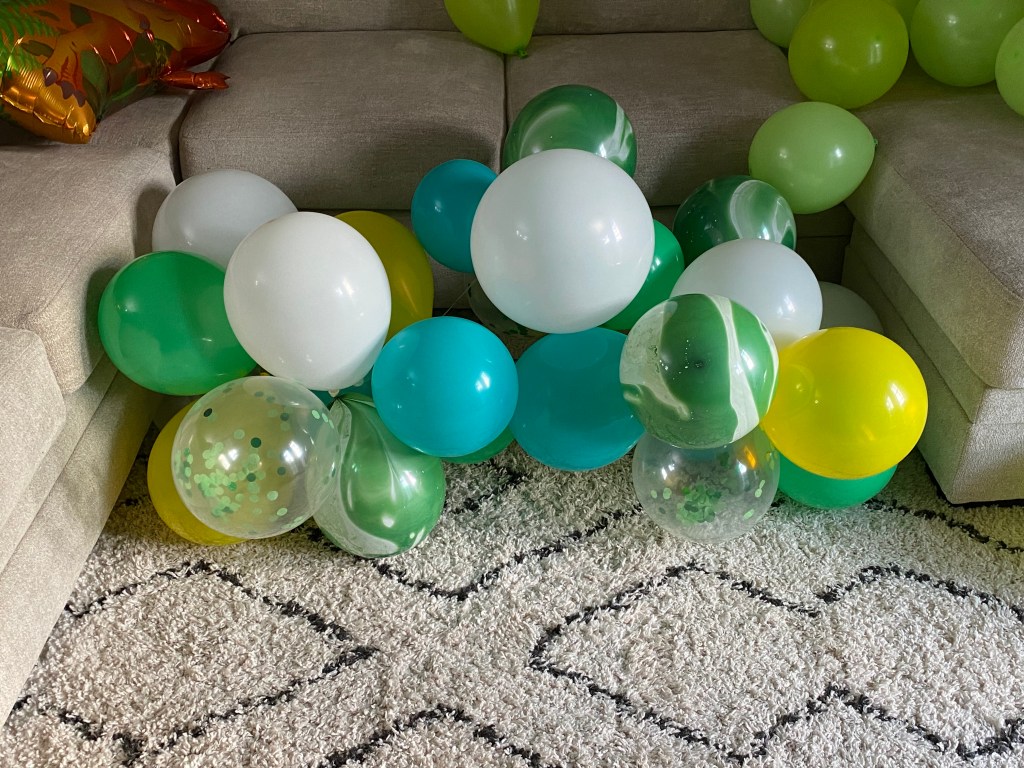
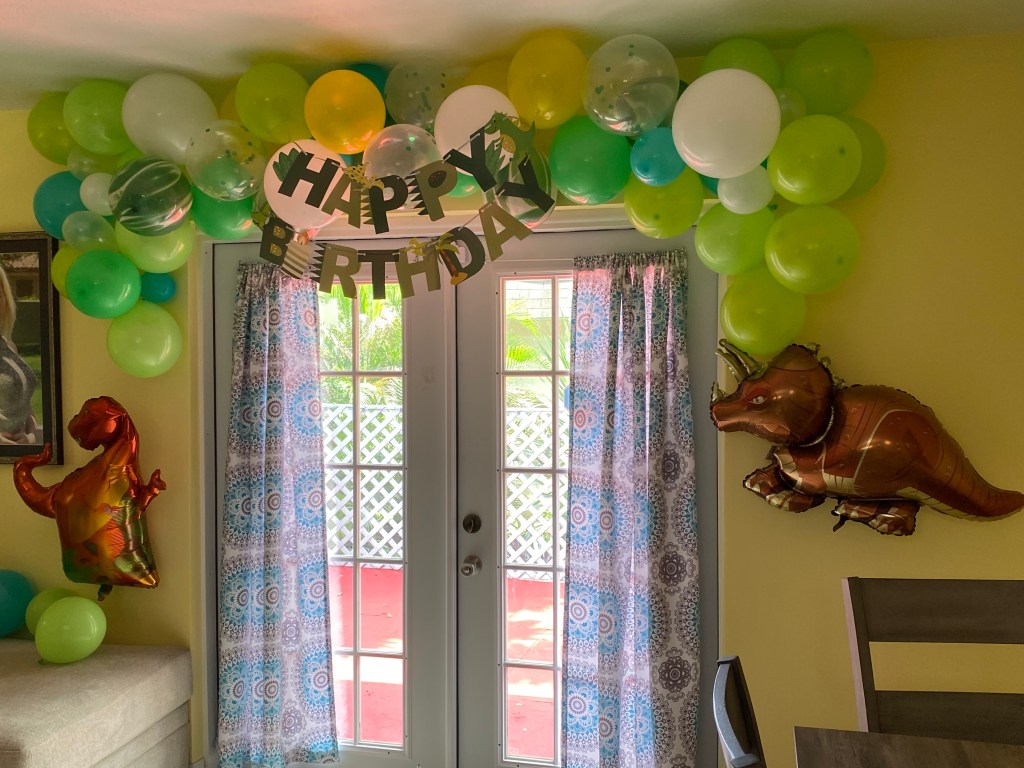
Balloon garlands have been all the rage over the past few years, and I always think they look so nice and add so much to the décor without having to spend too much. I tried tying the balloons to each other like I’ve seen in some videos, but it just didn’t work out very well last year, although I was happy with what I was able to create.
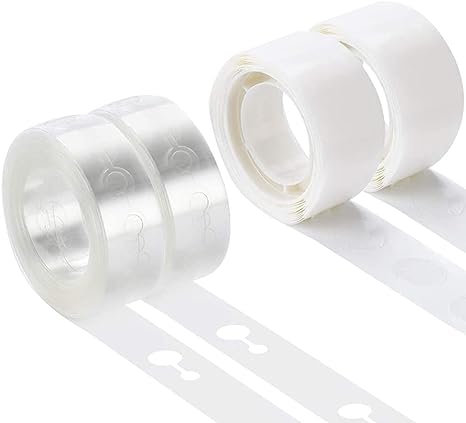
This year, I saw this tool I apparently overlooked because I found extra in my party supplies, but it made all of the difference, especially since we decided to put the garland over the door instead of moving our painting to put it above the table.
The directions are easy enough to follow, but don’t advise as to the spacing for the balloons so I originally tried filling every space in a very logical order, but it was just too big for the space and I had no way to attach it to the wall.
So, I rearranged them to be in every other space, simply removing those that were extra and then moving and adding balloons as needed. The spaces in the decorating strip were the perfect size for push pins to hold everything in place
The birthday girl playing with her new bead jewelry set. We had fun making rings, necklaces, bracelets and headbands.
This post may contain affiliate links, meaning I earn a small commission at no cost to you! When you purchase through the links provided, you will be supporting Brittany Bower and helping to bring new content to the site!
This post may contain affiliate links, meaning I earn a small commission at no cost to you! When you purchase through the links provided, you will be supporting Brittany Bower and helping to bring new content to the site!
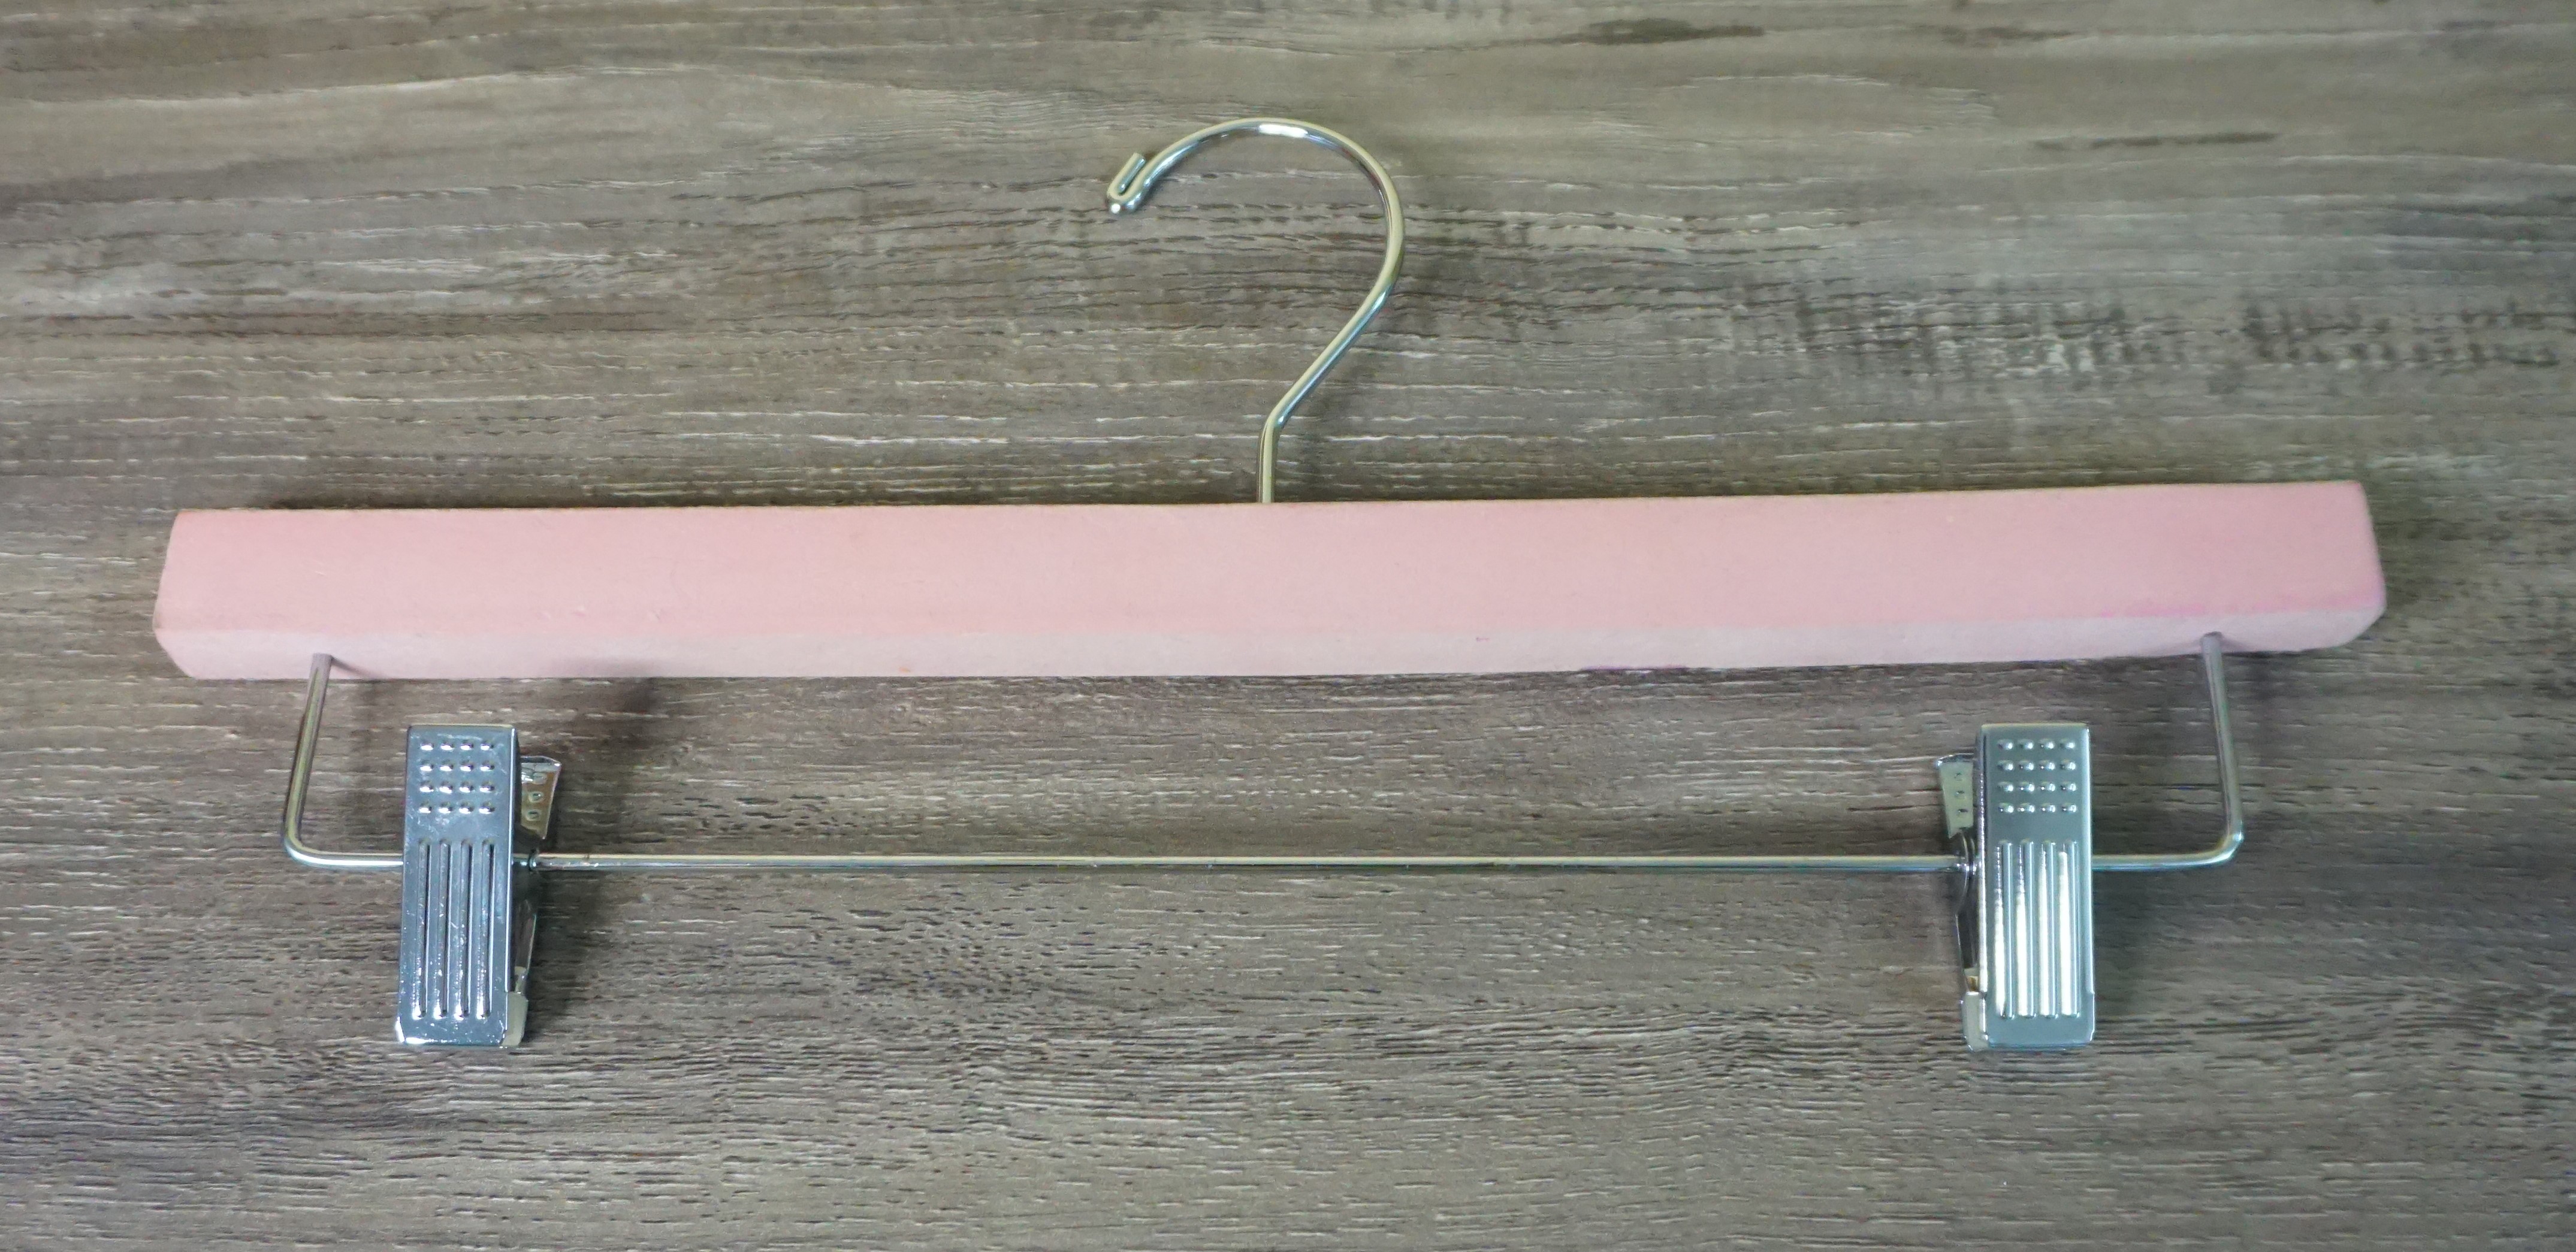
10 years ago, Chris outdid himself with my Valentine’s gift. I have to preface this with gifts for me are not about how much money they cost, but what kind of value they bring to my life or what meaning they have to them. With that said, his amazing Valentine’s gift was a box of pink velvet wrapped wooden clip hangers from a yard sale. It cost him $10 but it was something that I had been wanting, in the quality I wanted and in PINK! Everything else that I found was the plastic type like they have in the store that always gets tangled with whatever’s around it.
These have been amazing. With the wooden structure, they’re as thick as the metal clips, preventing them from getting tangled with other clothes and hangers. And sturdy enough to stand up to Chris or I pulling our clothes out of the clips instead of doing what we’re supposed to and using the clips properly. However, it has now been 10 years, and we have lost a few to normal wear and tear. So while I am not getting rid of my pink hangers, we do not have enough to manage both my Chris and I’s wardrobes, so it is time to get him some of his own and maybe a little less girly 😜.
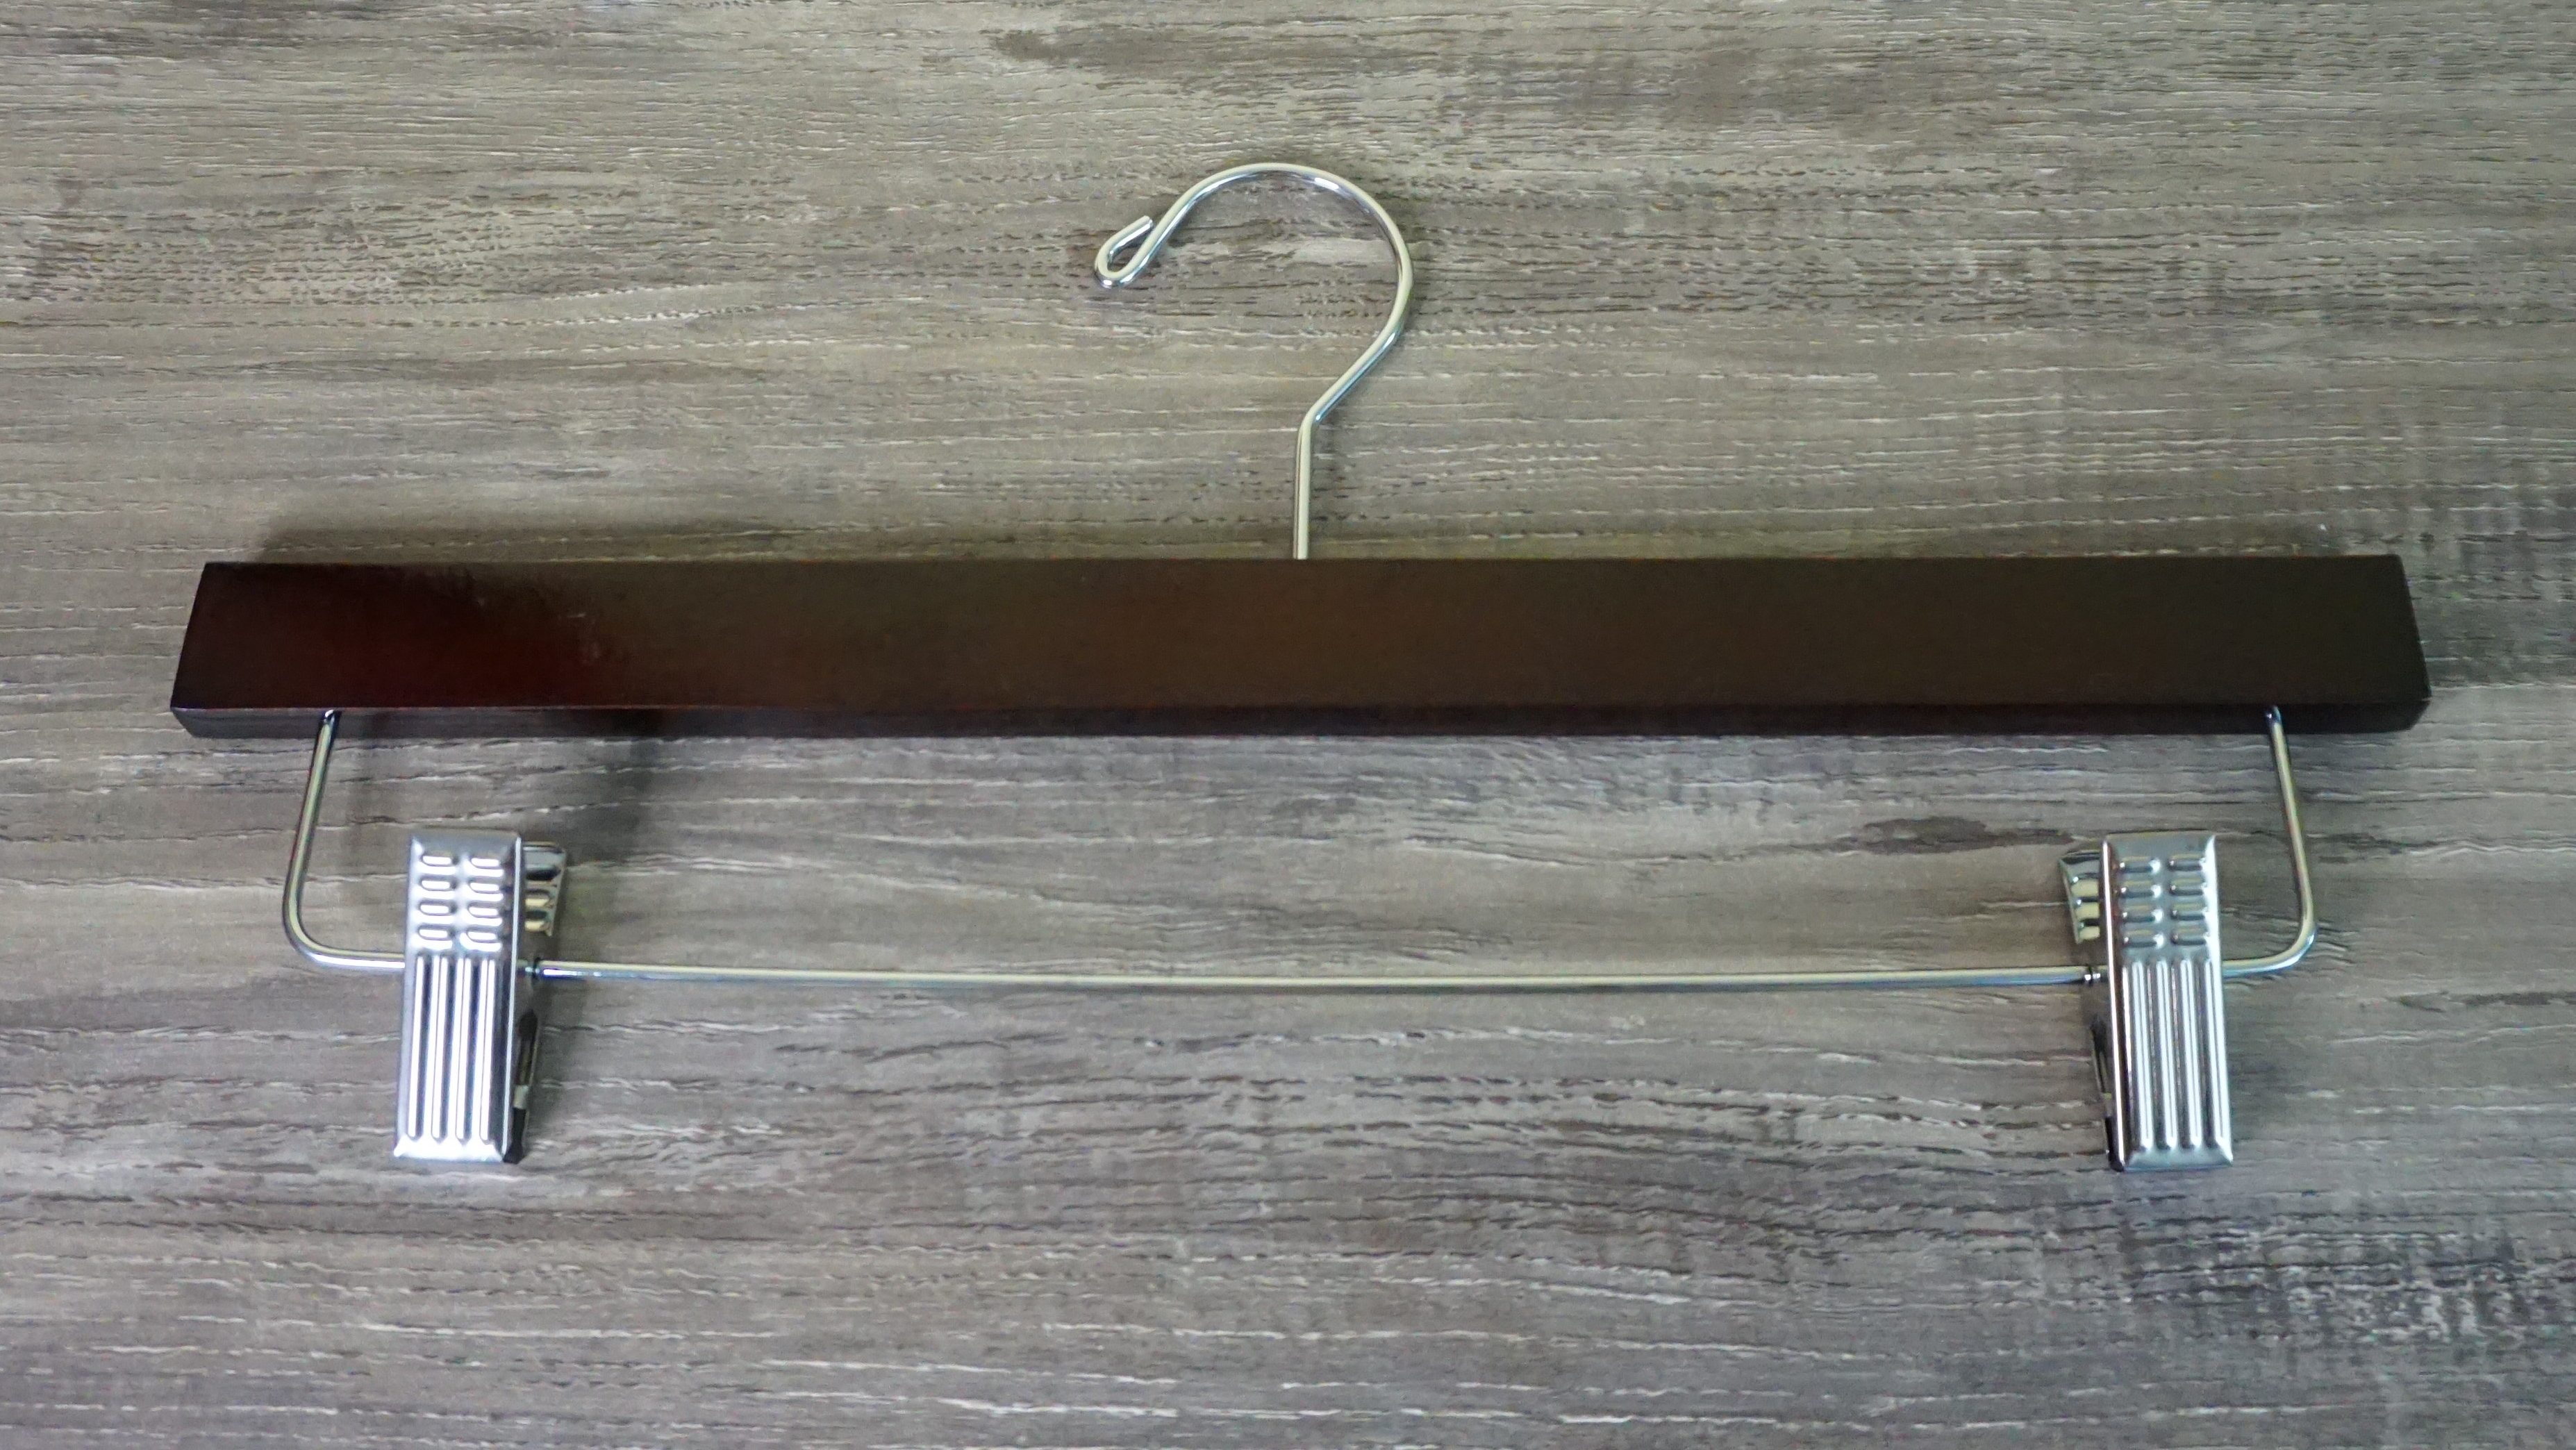
I found the ones below on Amazon in the Mahogany color. They do have the wooden structure and and metal clips, but I can tell that mine are sturdier. But for $1.50 per hanger, we might be able to sacrifice a little quality and replace them more often. Makes me curious as to how much mine cost 10 (+) years ago though 🤔.
This post may contain affiliate links, meaning I earn a small commission at no cost to you! When you purchase through the links provided, you will be supporting Brittany Bower and helping to bring new content to the site!
Spring is right around the corner, and I am so excited for it!
Lately, Chris has been challenging me to try different wreath styles and I have just completed one that is perfect for the change to come. Just as Winter fades into Spring, pink fades into white in this ombré flower. It gave me the chance to branch out from the deco mesh and tried my hand with poly burlap and, as an added bonus, I got to try out the wood burner I got for Christmas.
If you like it, go check it out in more detail at BrittanyBowerDesigns.com. And if there a color combination that you’d like to see, send me a message at brittany@brittanybowerdesigns.com