Got some last minute shopping to do? Go check out BrittanyBowerDesigns.com and use code Jolly10 for 10% of your full order of wreaths and centerpieces, including sale items!


Got some last minute shopping to do? Go check out BrittanyBowerDesigns.com and use code Jolly10 for 10% of your full order of wreaths and centerpieces, including sale items!

Check out the latest addition to BrittanyBowerDesigns.com, and just in time for Christmas! A straw wreath is wrapped in Christmas ribbons and then adorned with red and white glitter accented poinsettias. Green leaves create the traditional colors and silver pines add the final touches.


Free Shipping at BrittanyBowerDesigns.com when you use code “BLACKFRIDAY” at checkout, now through Cyber Monday!


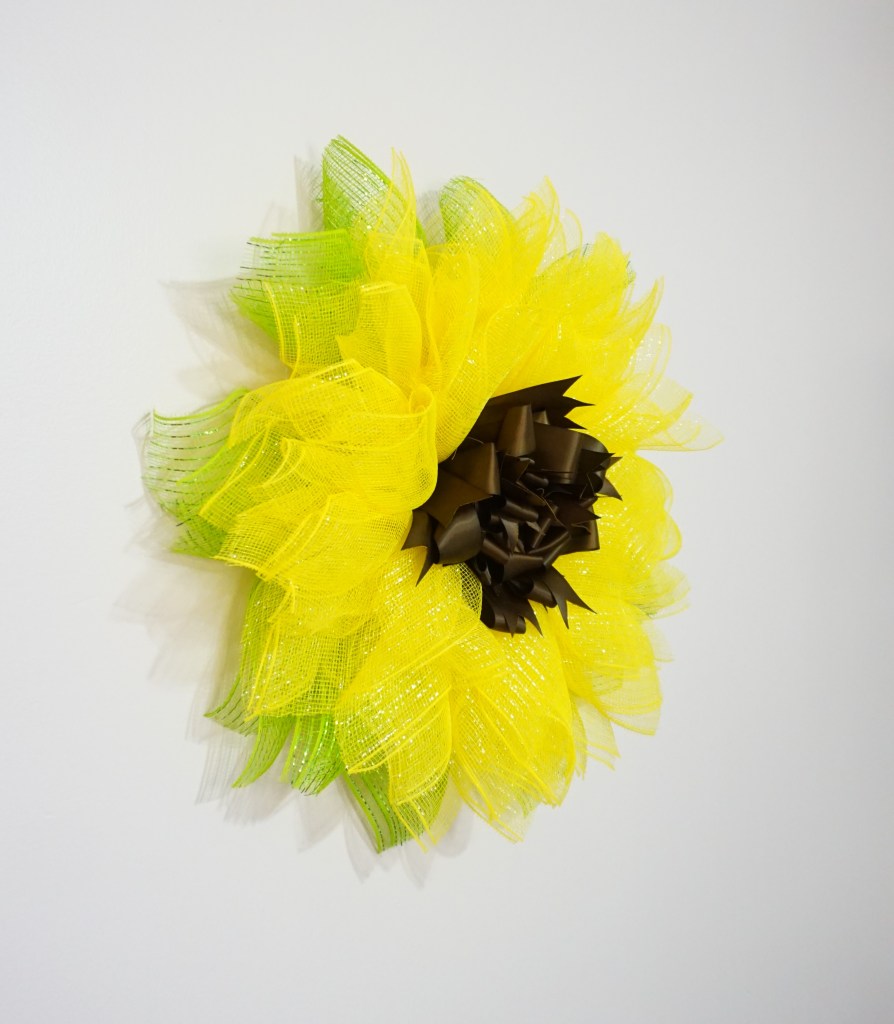
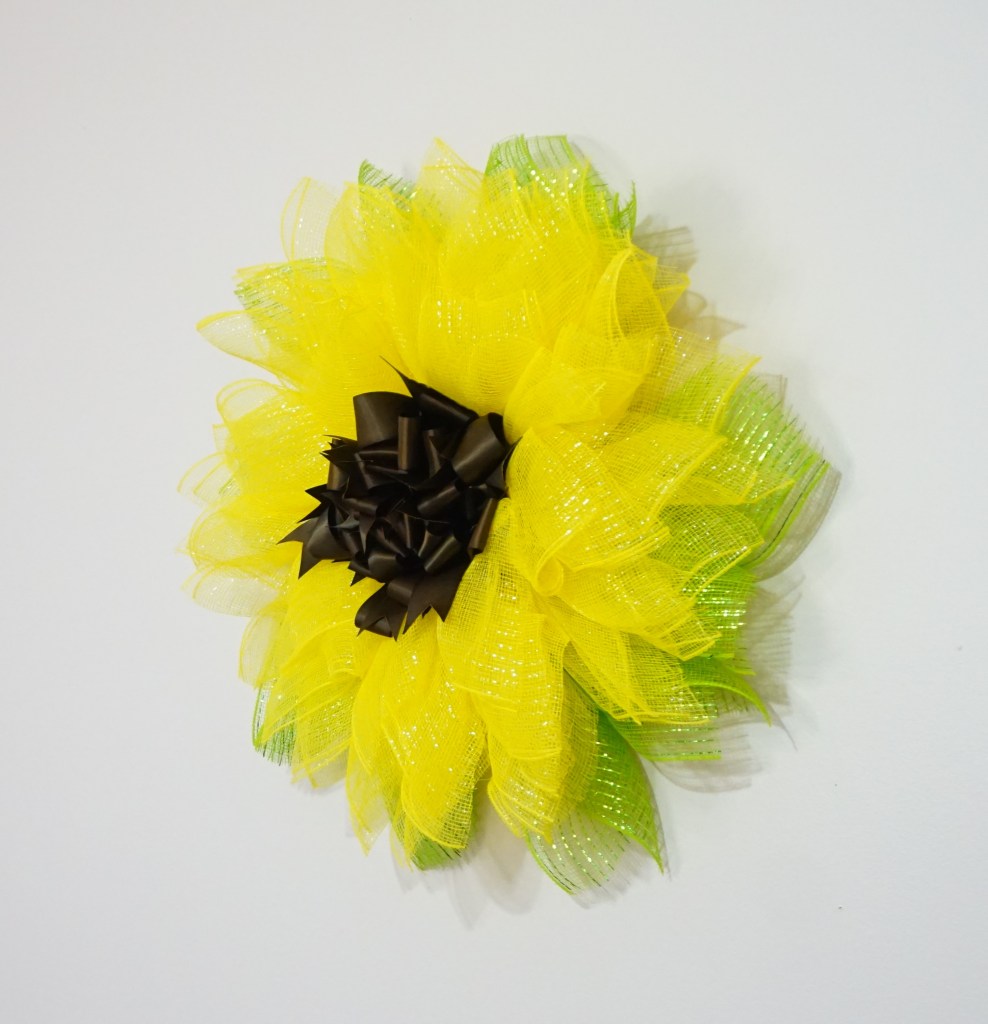
It’s been a busy few weeks for me and it’d be fair to say that the holiday hustle and bustle has begun. But in the midst of it, I was finally able to get this lovely addition to my collection completed. Layers of yellow deco mesh create a sunflower wreath with green petals and contrast beautifully against the brown satin ribbon bow center. Check it out at BrittanyBowerDesigns.com.


This post may contain affiliate links, meaning I earn a small commission at no cost to you! When you purchase through the links provided, you will be supporting Brittany Bower and helping to bring new content to the site!
If “one picture is worth a thousand words” as expressed by the Advertising Executive, Fred R. Barnard, then you could write a book on the difference that one Ring Light from Amazon has made in the photos for my website!
Just a little background… when I first started my website, BrittanyBowerDesigns.com 2 years ago, my friend Kat’s biggest critique was about the photos. I need more – something to be able to judge the size of the wreath against, more details, and better lighting. Well, at the time, I had done the best I could with had – settings and tools. I used our more professional camera, a Sony A6000 which Chris always was able to take amazing pictures with! Since they weren’t working out as well for me, I figured lighting was probably my biggest challenge since I was shooting inside and he always shoots outside. When I renovated the Craft Room, I installed the brightest lighting I could thinking it would give me the best advantage, and it has in many other ways, but it still wasn’t enough.
Fast-forward some time with Kat learning different marketing strategies and playing with her own business ventures, she discovered the ring light and insisted I buy one. Fast-forward another year and a half after taking time away from my site to focus on planning and executing a wedding, the recovery from it (which is no joke if you do it mostly by yourself and with a bunch of DIY) and other work-related changes and adventures, and I am back at it with the suggested light! And while I usually leave product reviews to my husband, JCBower, the difference is so significant, I had to do my own 😜.
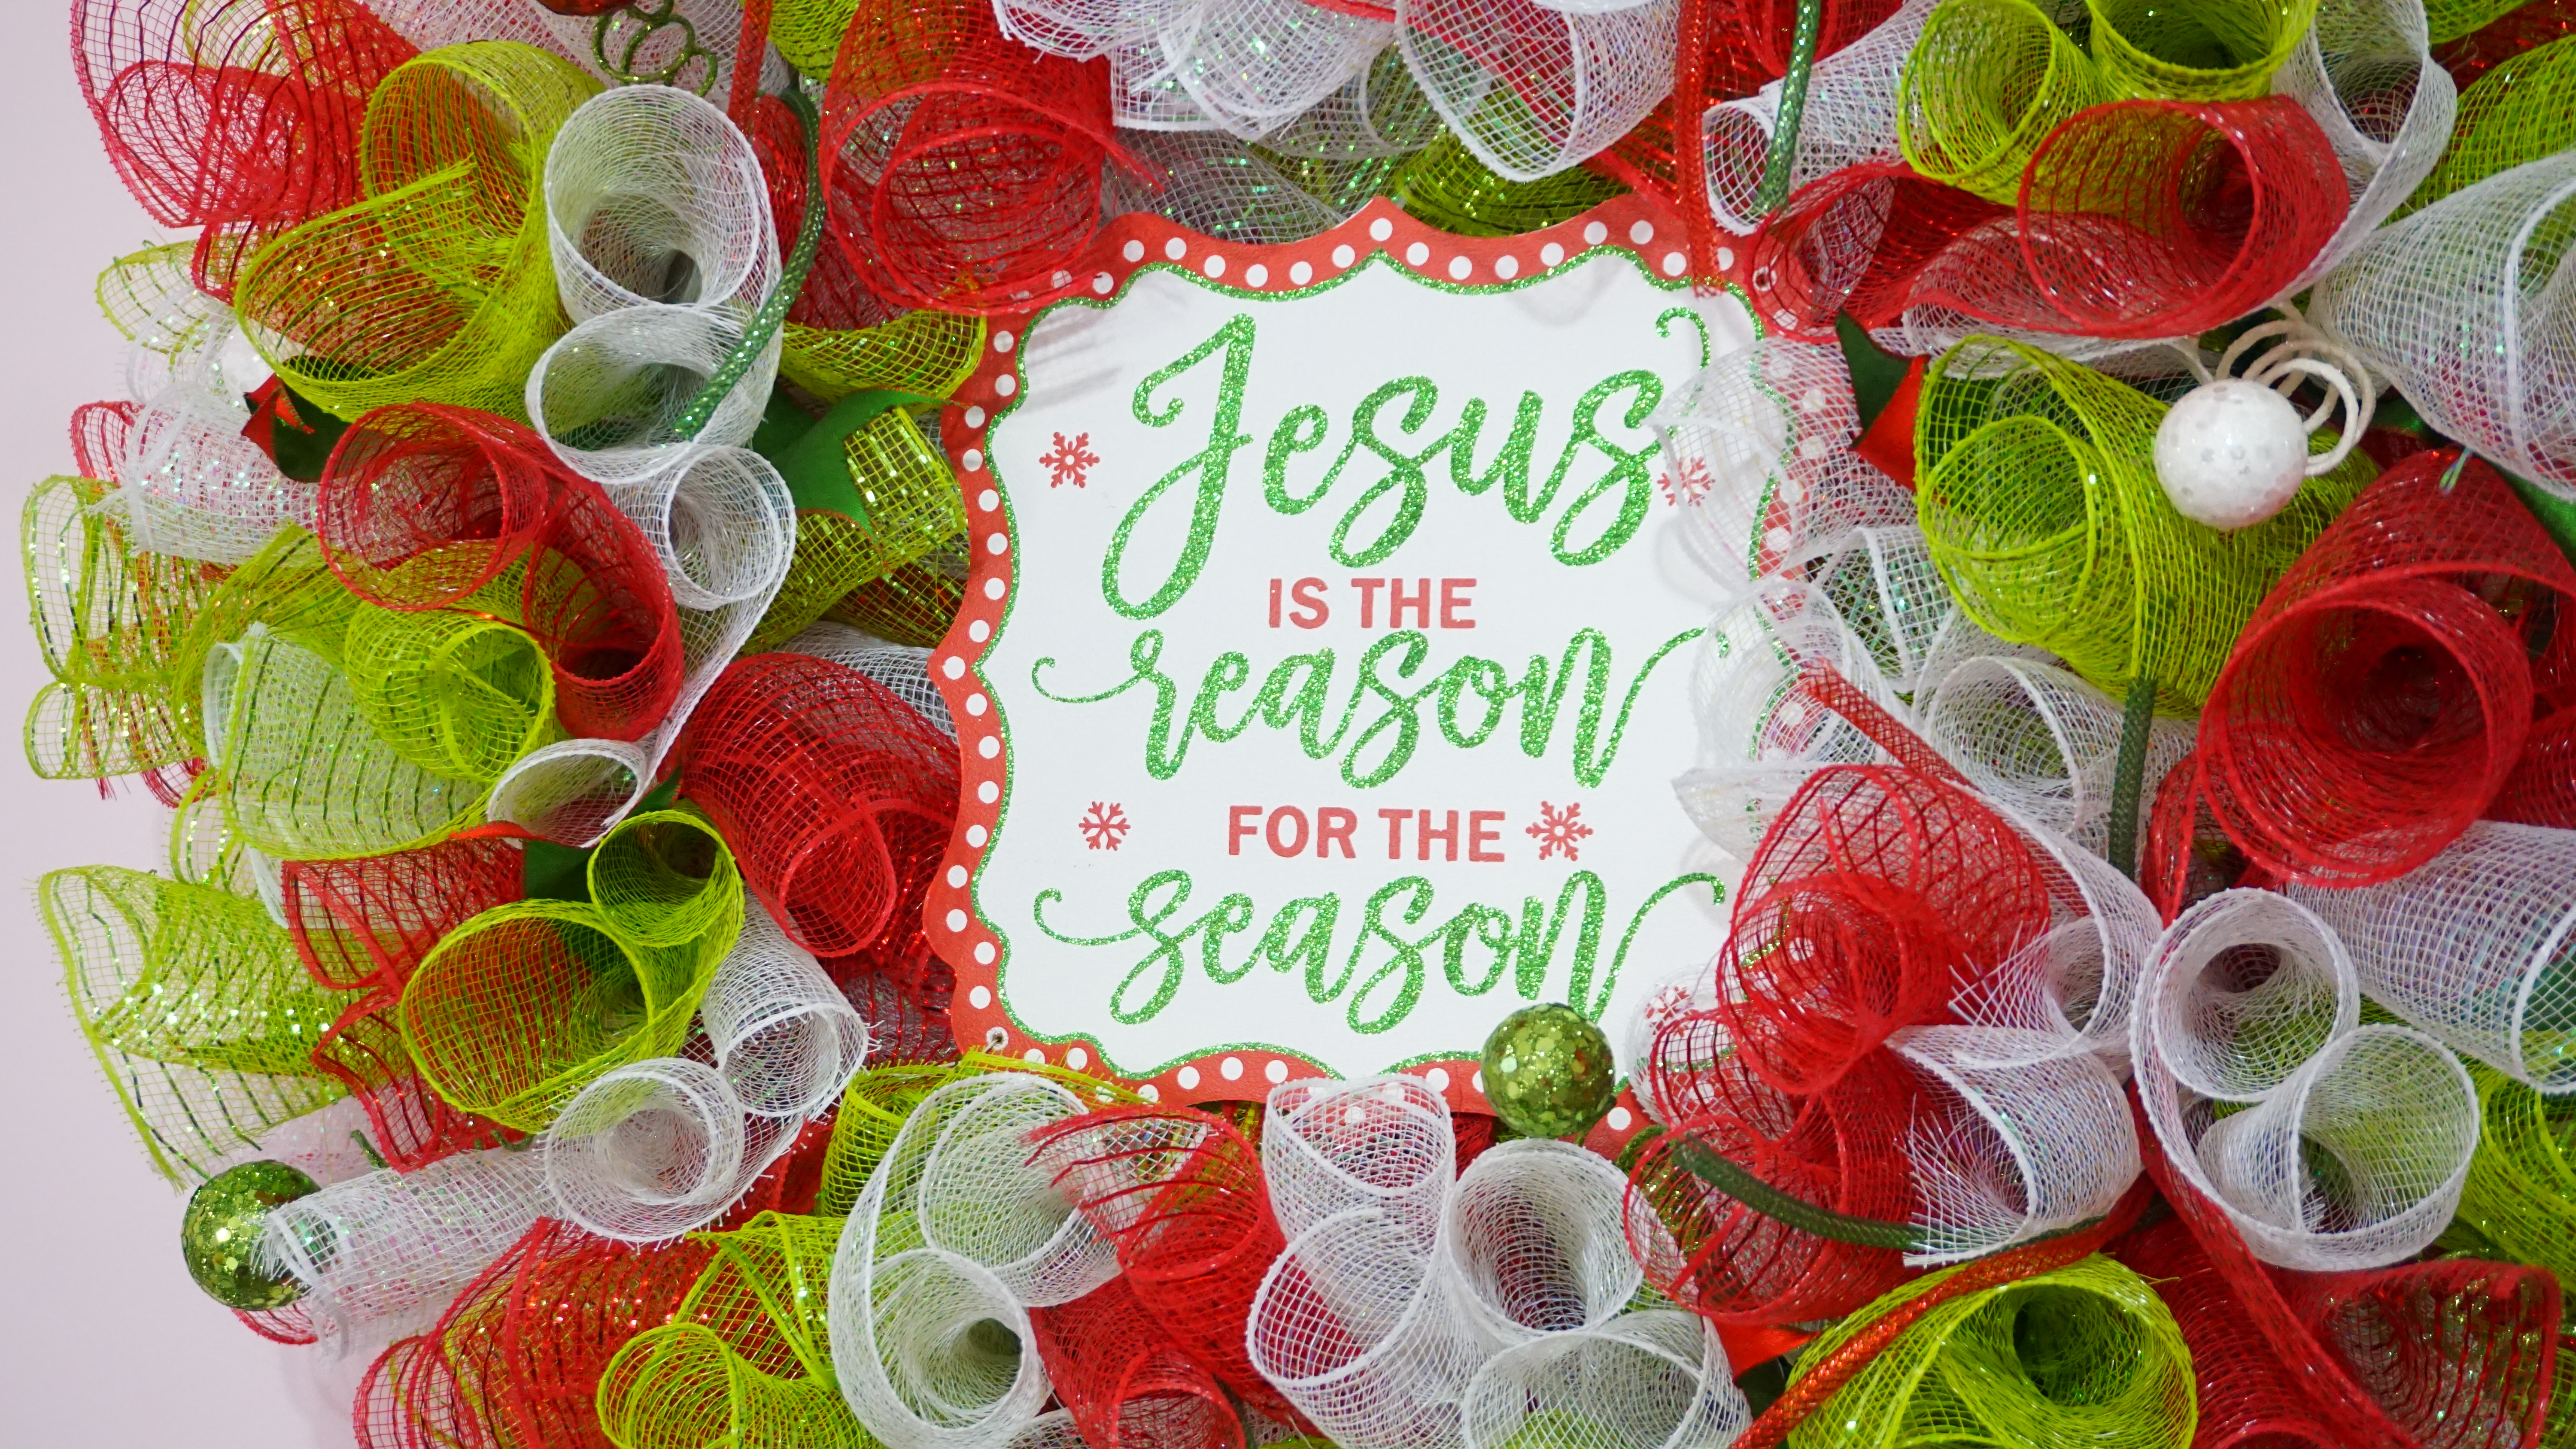
Below are some of the before and after’s. The new pictures are lighter and brighter, and the glitter on the Jesus is the Reason for the Season wreath finally POPS like it should!
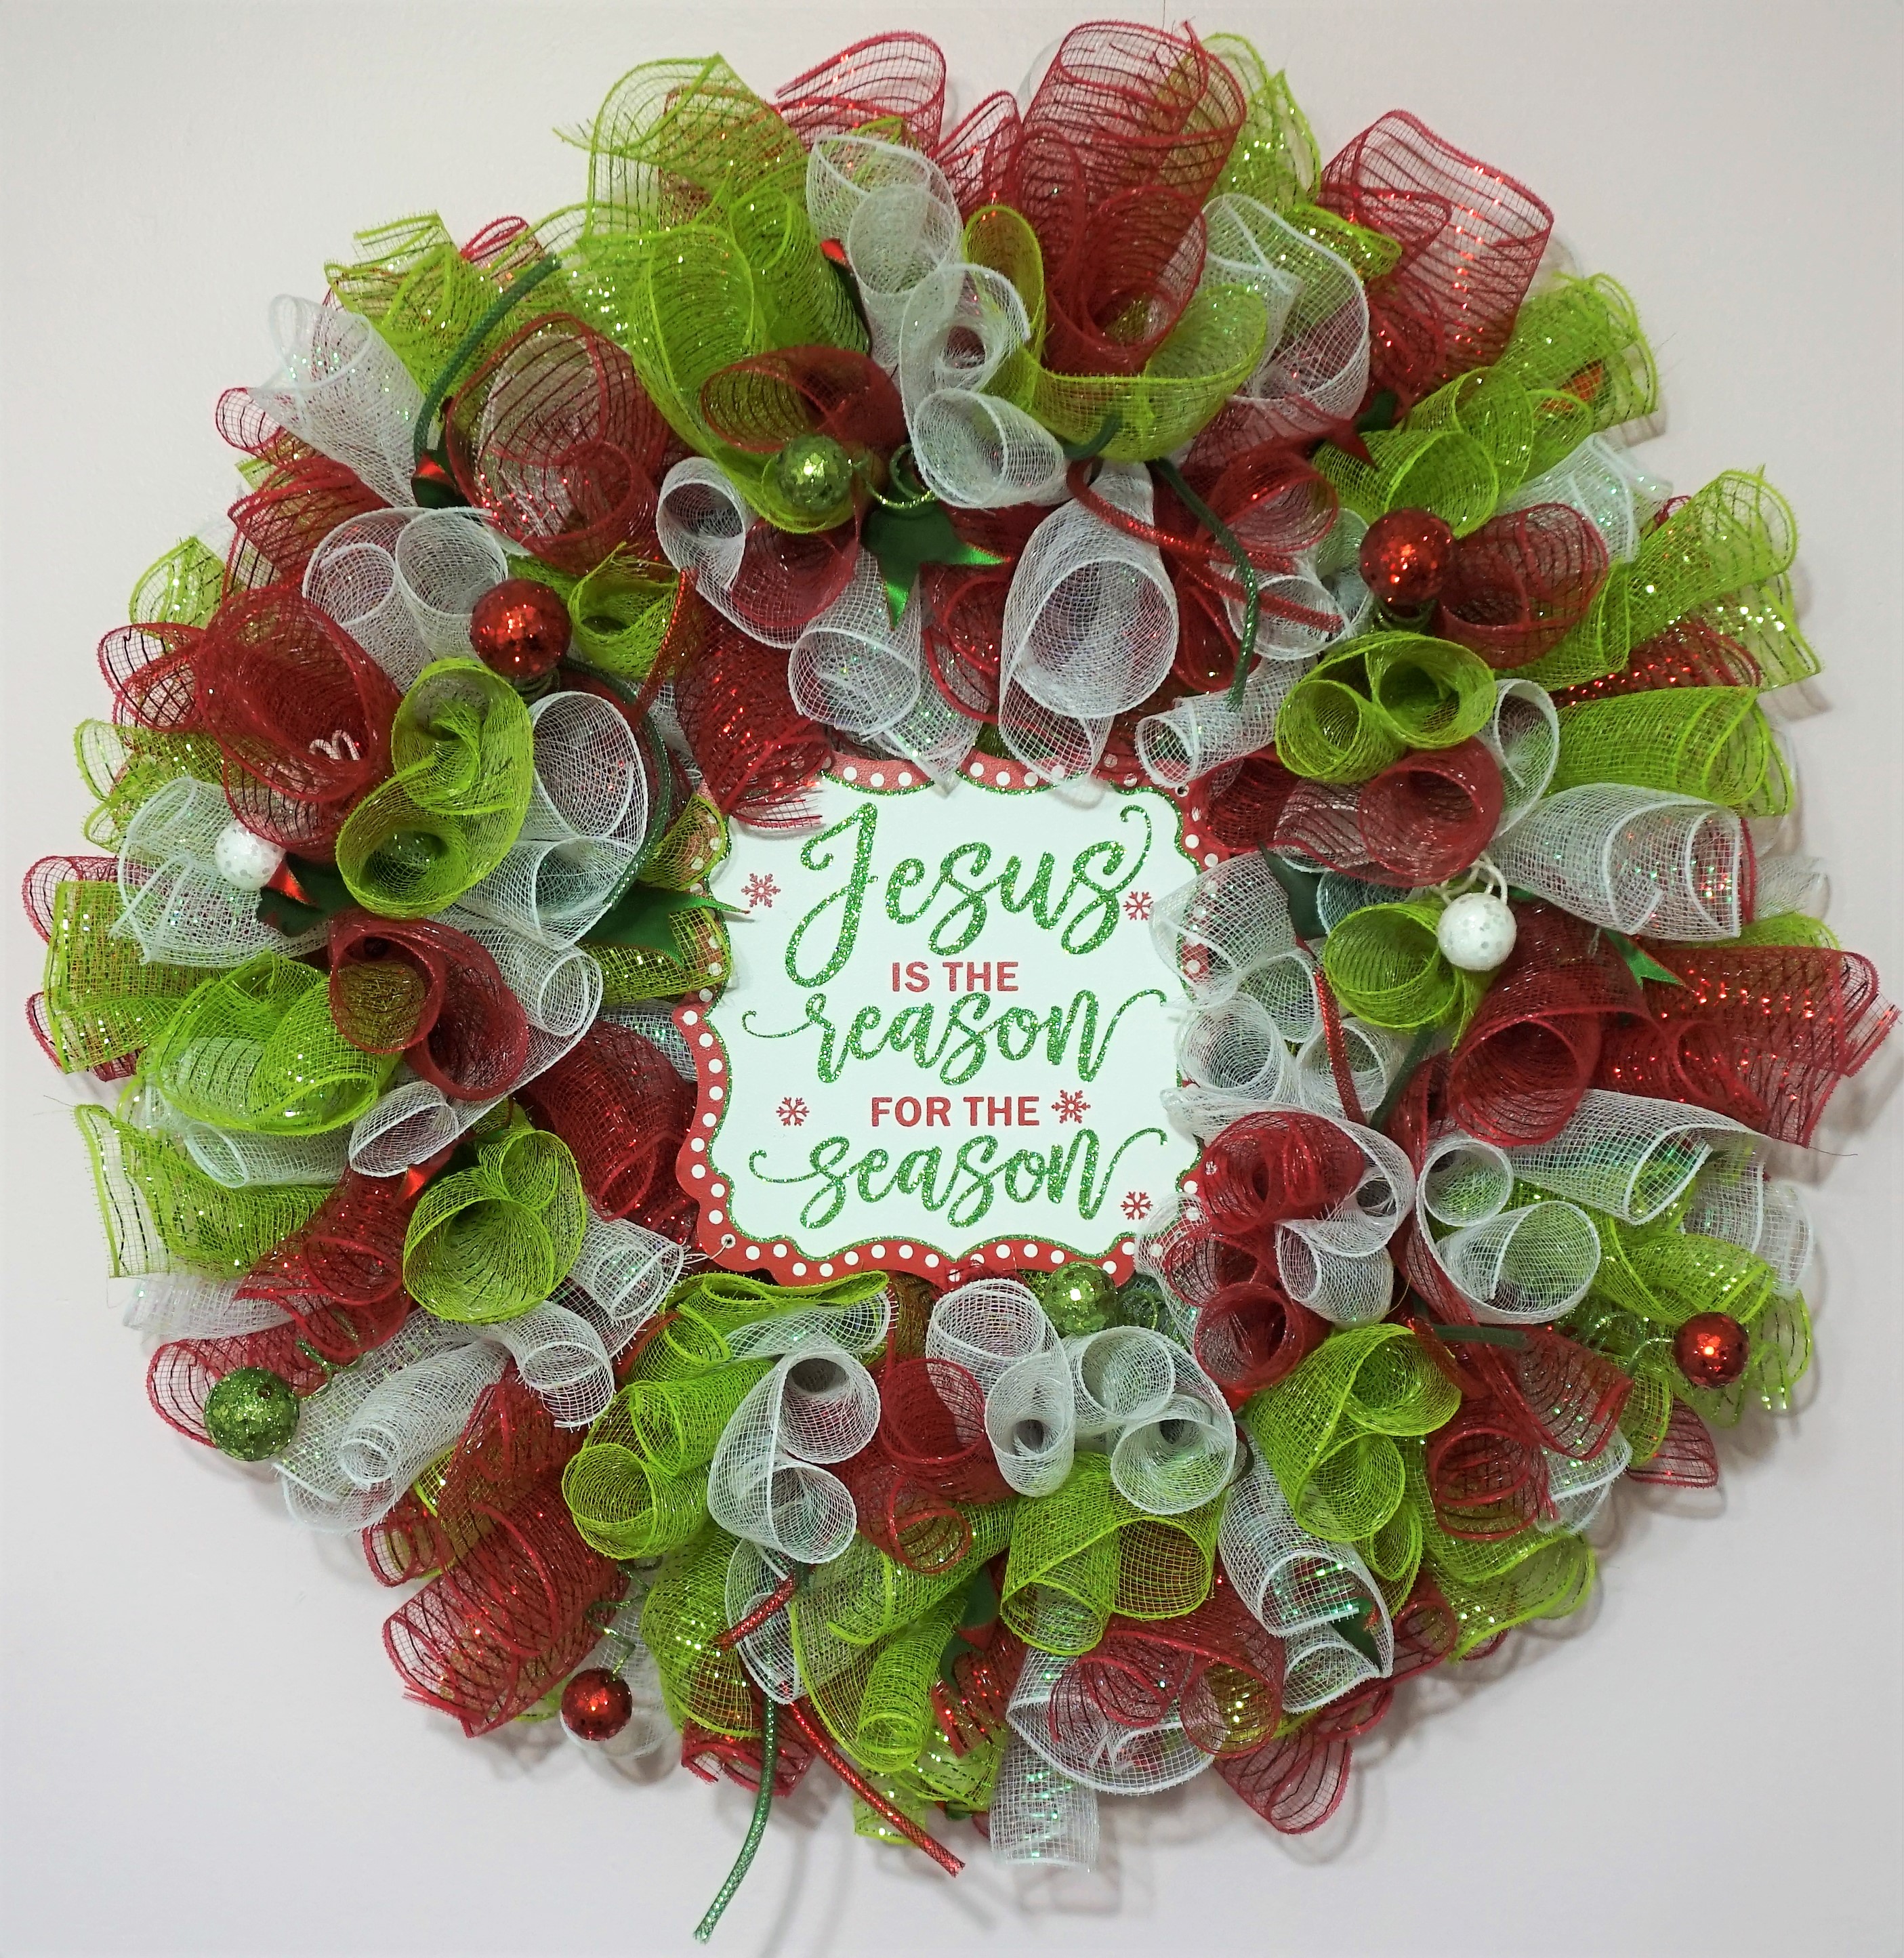
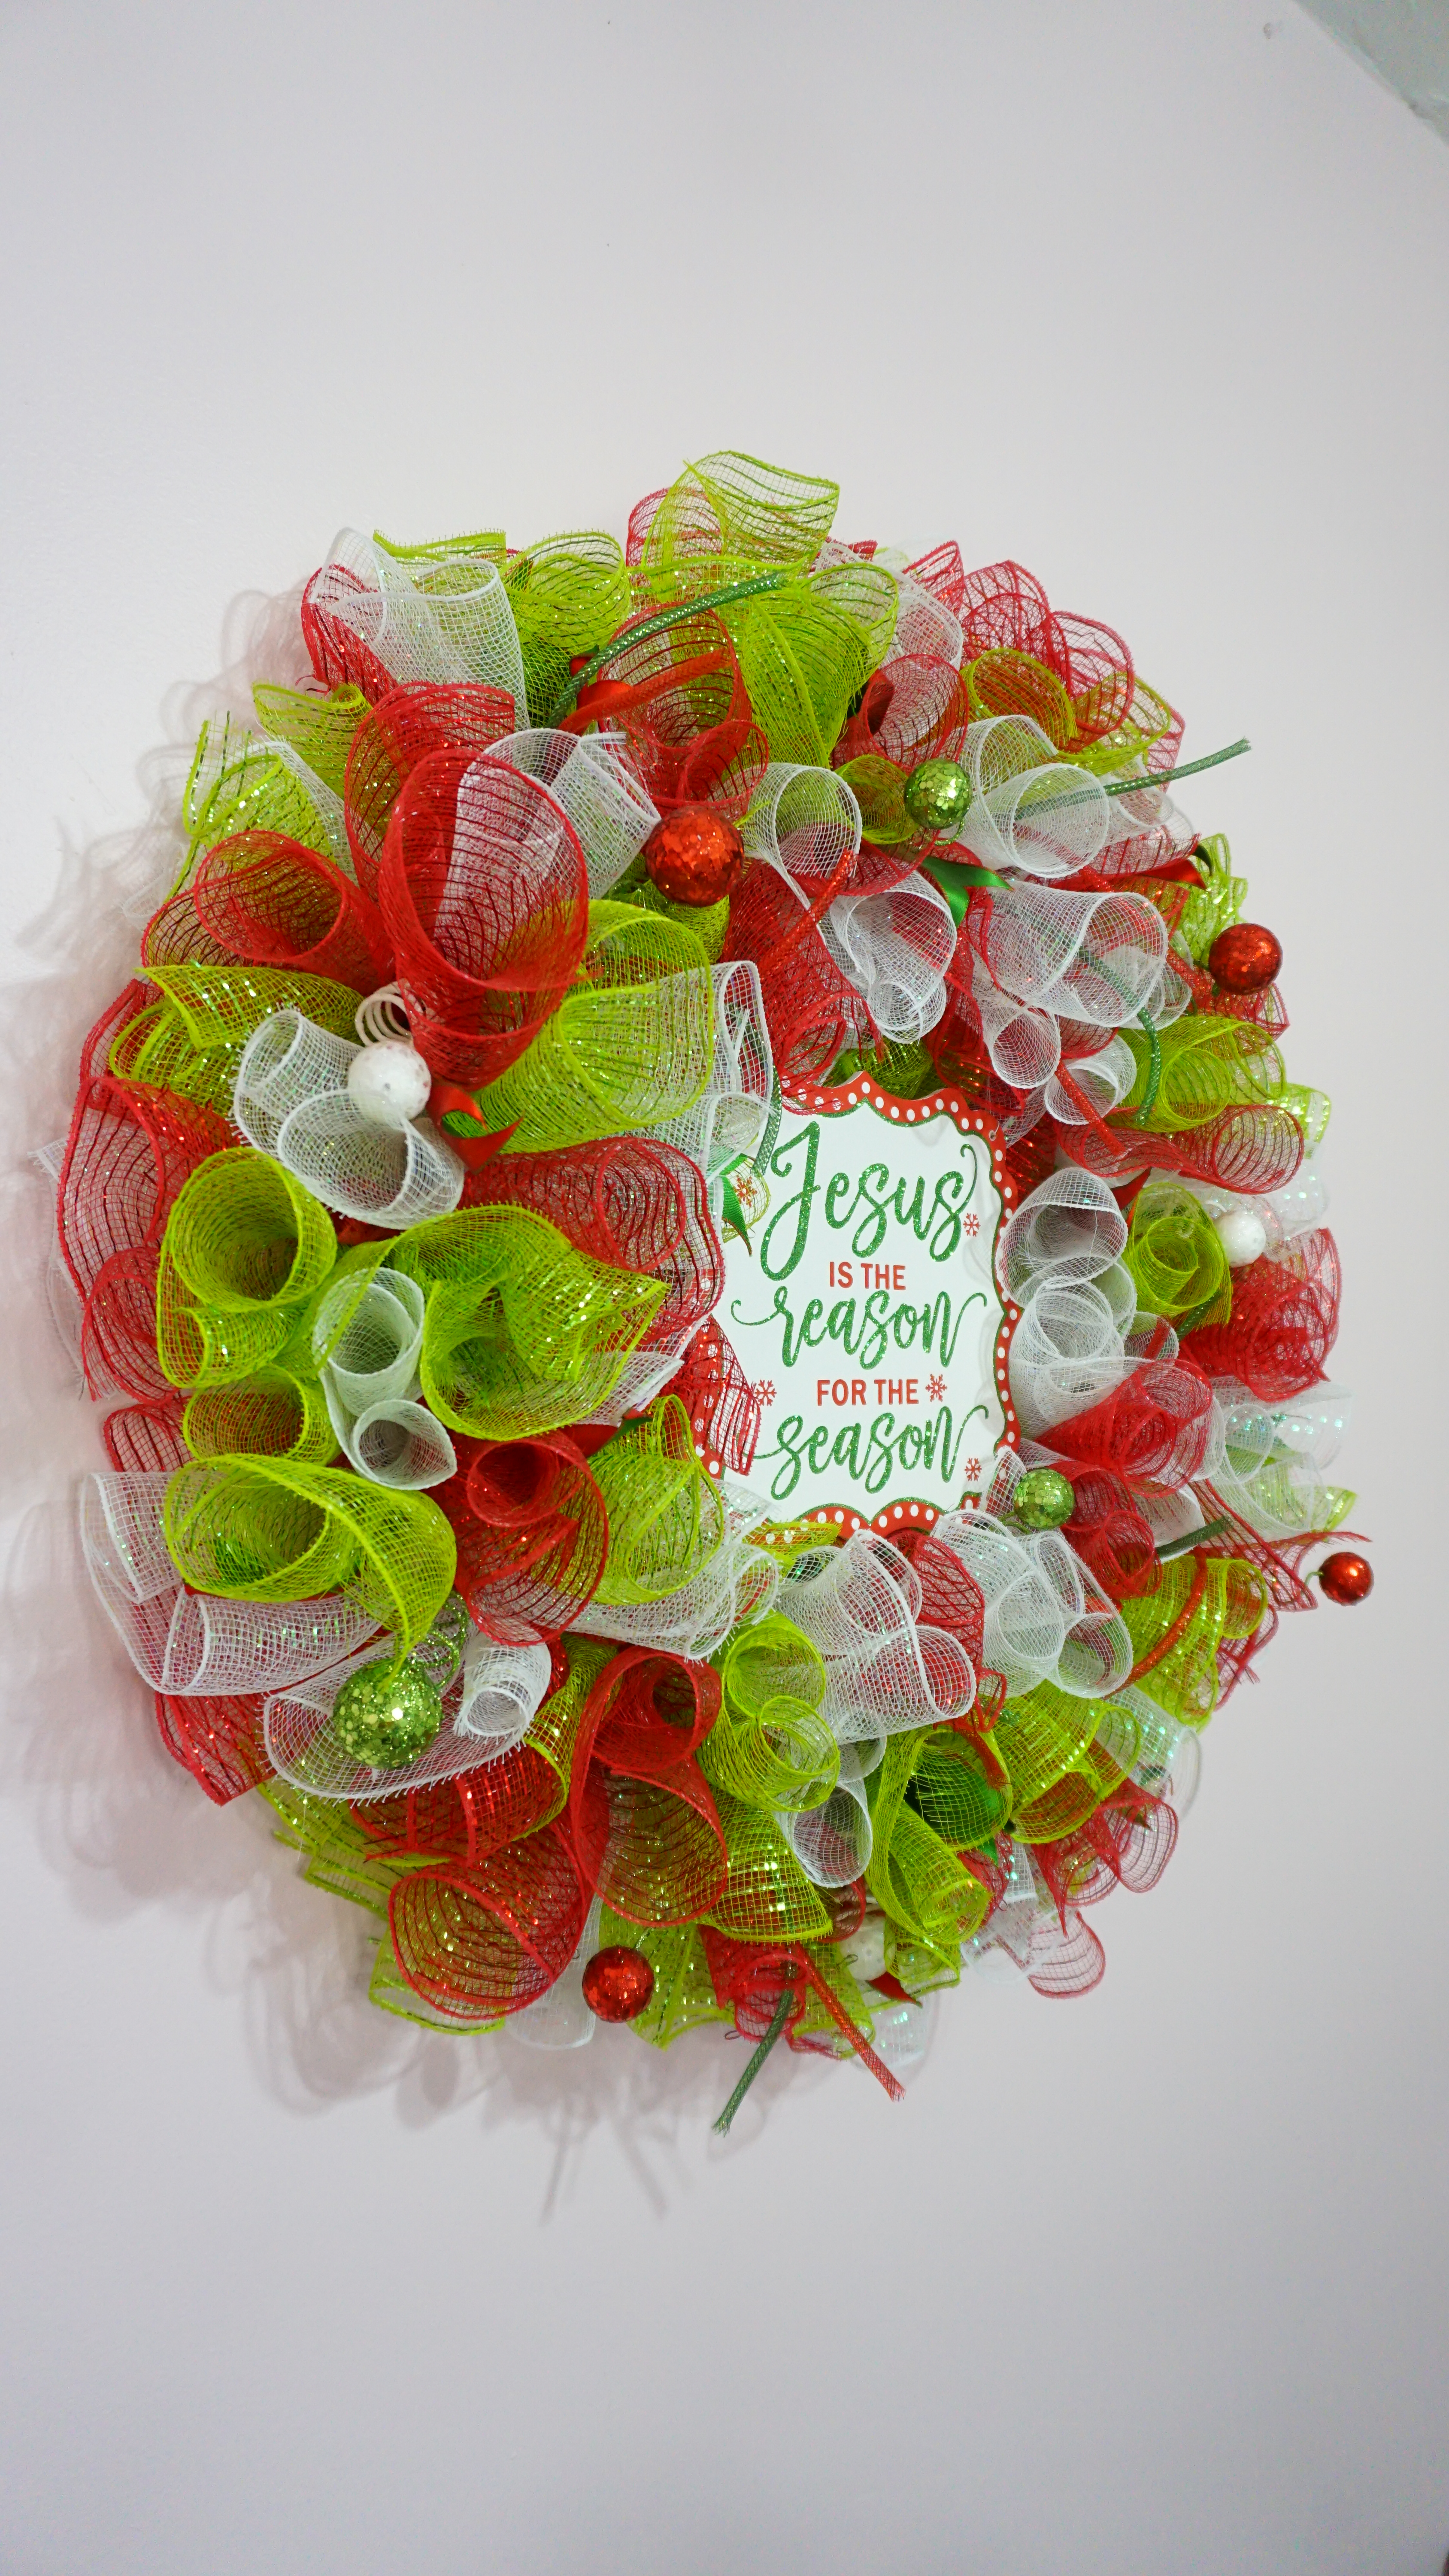

But I have to say the wreath I had the most frustrating time photographing was the Merry Christmas Deco Mesh Wreath. No matter what I tried, and how much color correction I did afterwards, it either came out super dark or it looked washed out and was clearly given away by the sign in the middle (bottom right).


Now, the greens look green, the reds look red and the sign can stay its true colors, and it’s not even the main focus of this picture!
While the ring light does have 5 color temperatures and is dimmable, so far the whitest and brightest setting has worked the best for me…but I do like the other options in case I end up needing them later. With the new pictures, all I have to do now is simply straighten and crop. Definitely worth the investment, and while I already knew Kat was brilliant, this is just further proof that I should take any and all advice she is willing to share when it comes to marketing!

This post may contain affiliate links, meaning I earn a small commission at no cost to you! When you purchase through the links provided, you will be supporting Brittany Bower and helping to bring new content to the site!
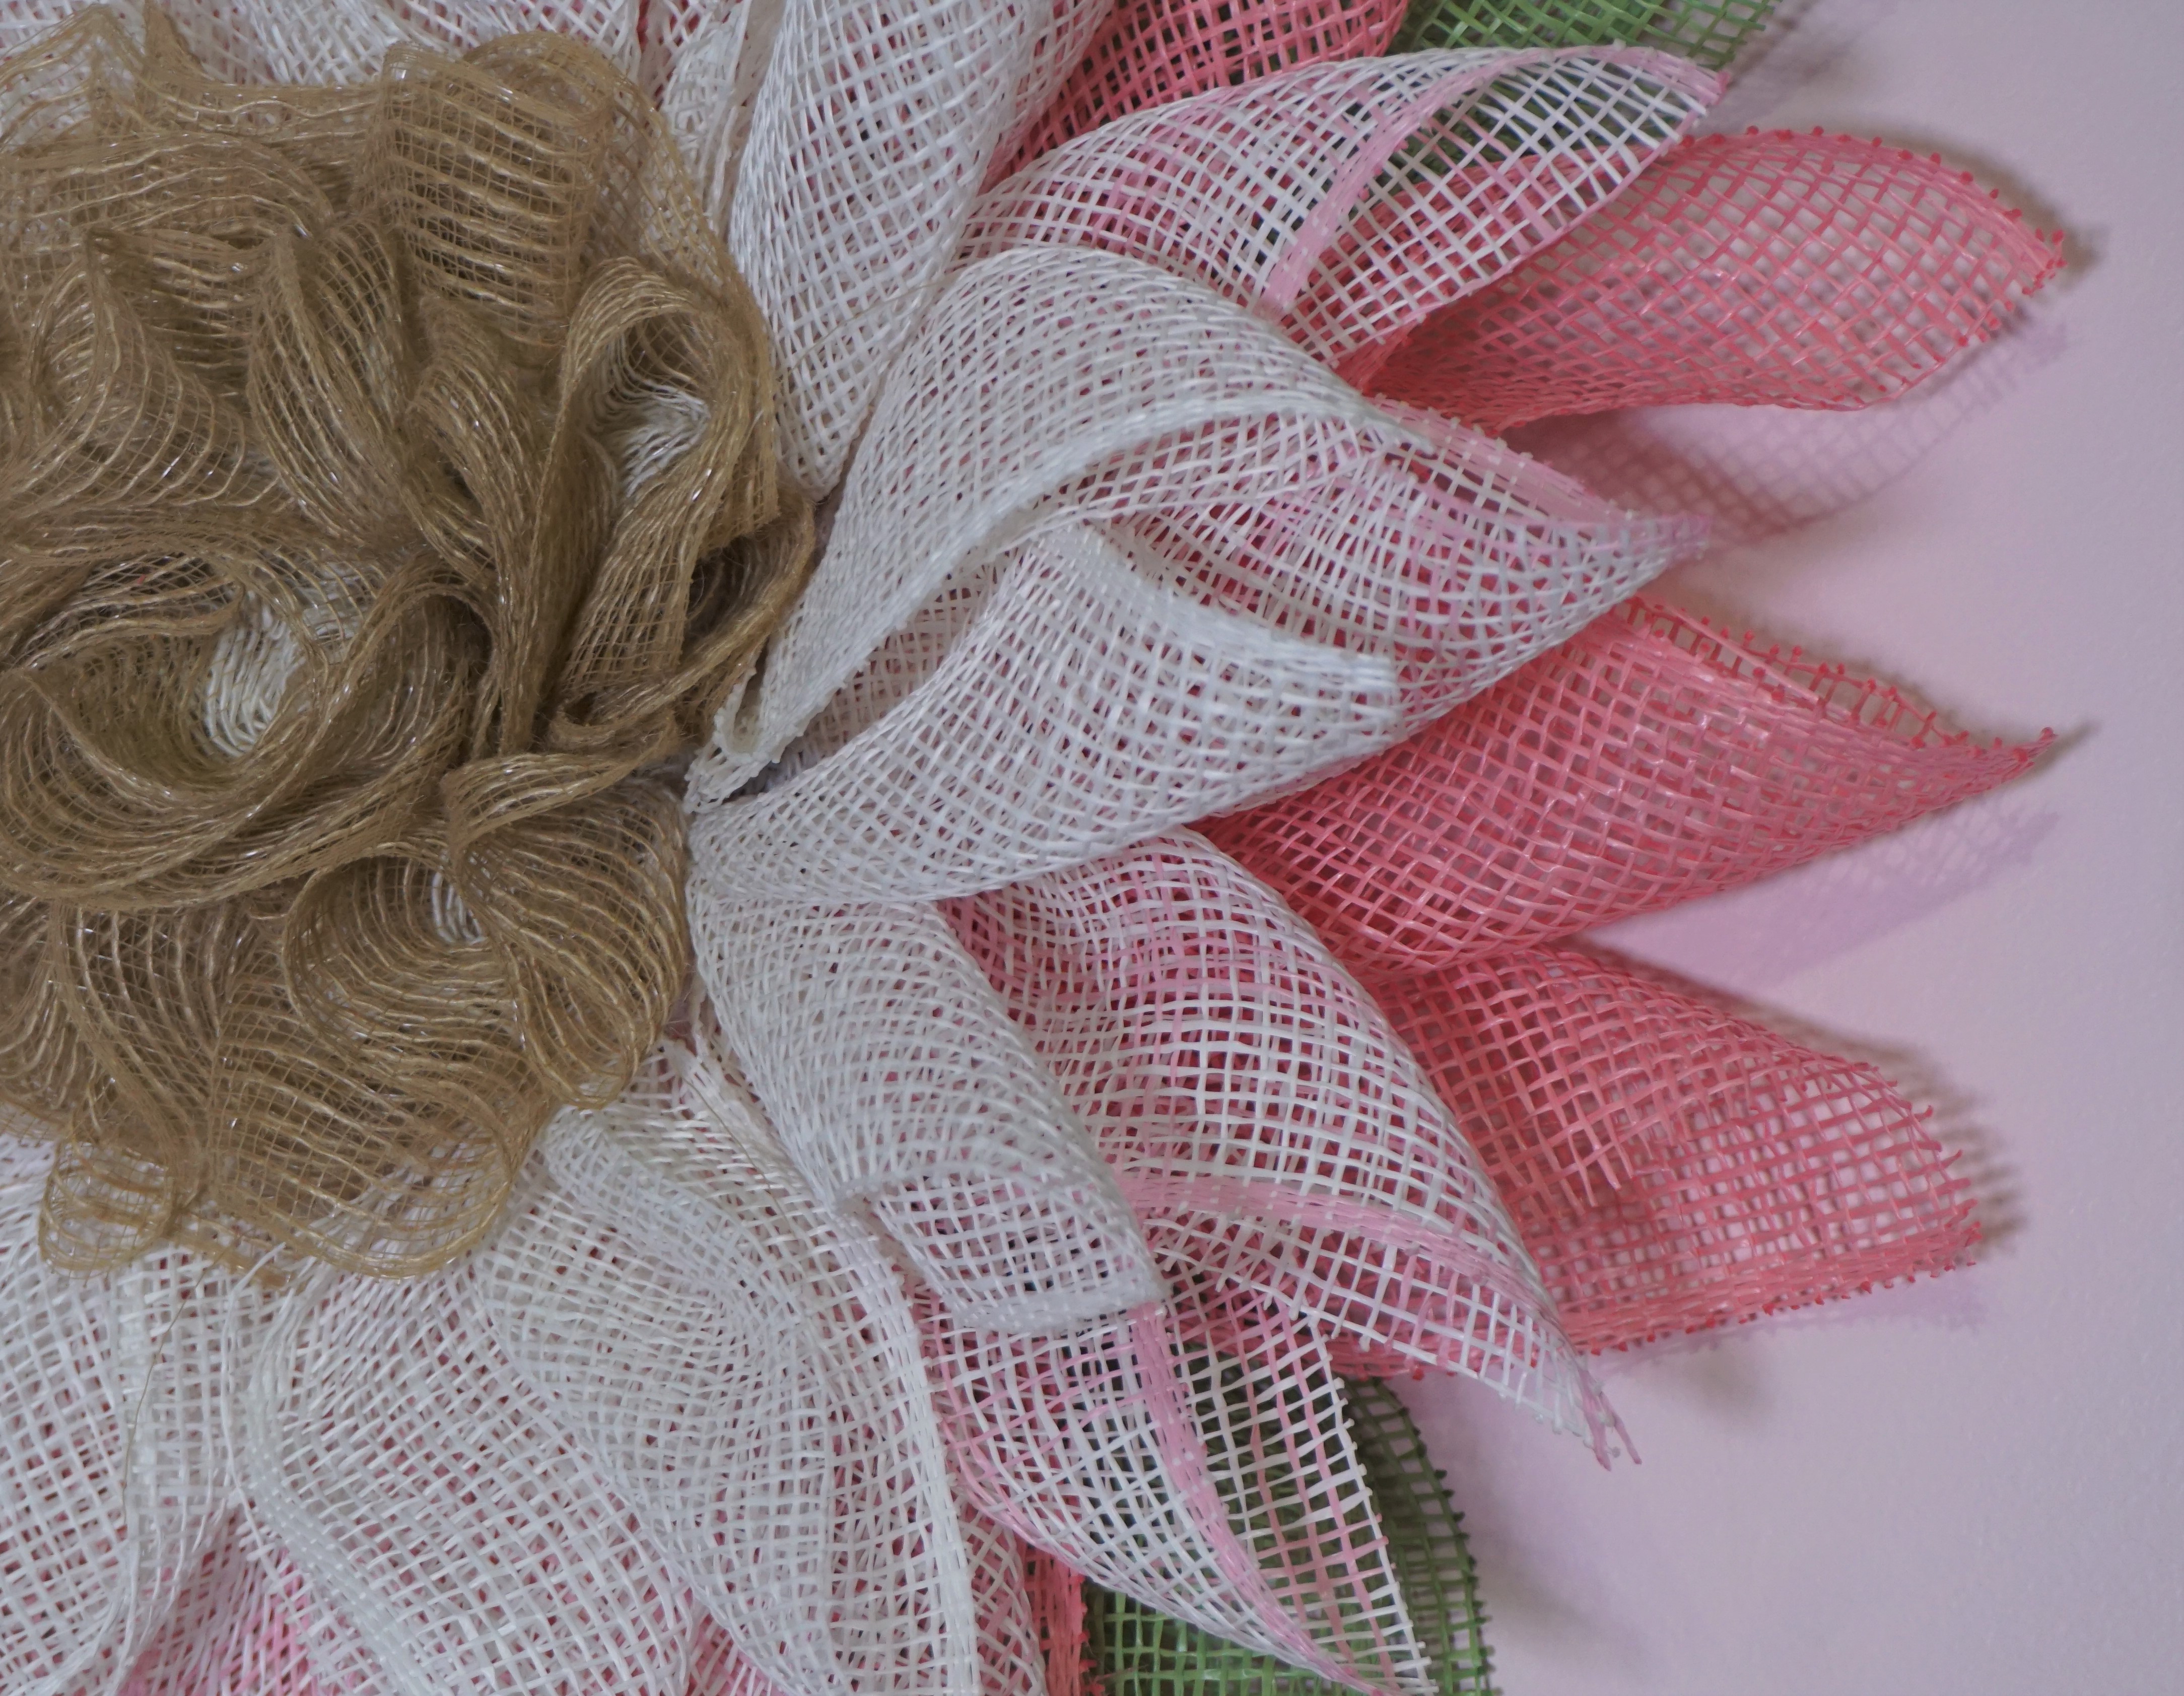
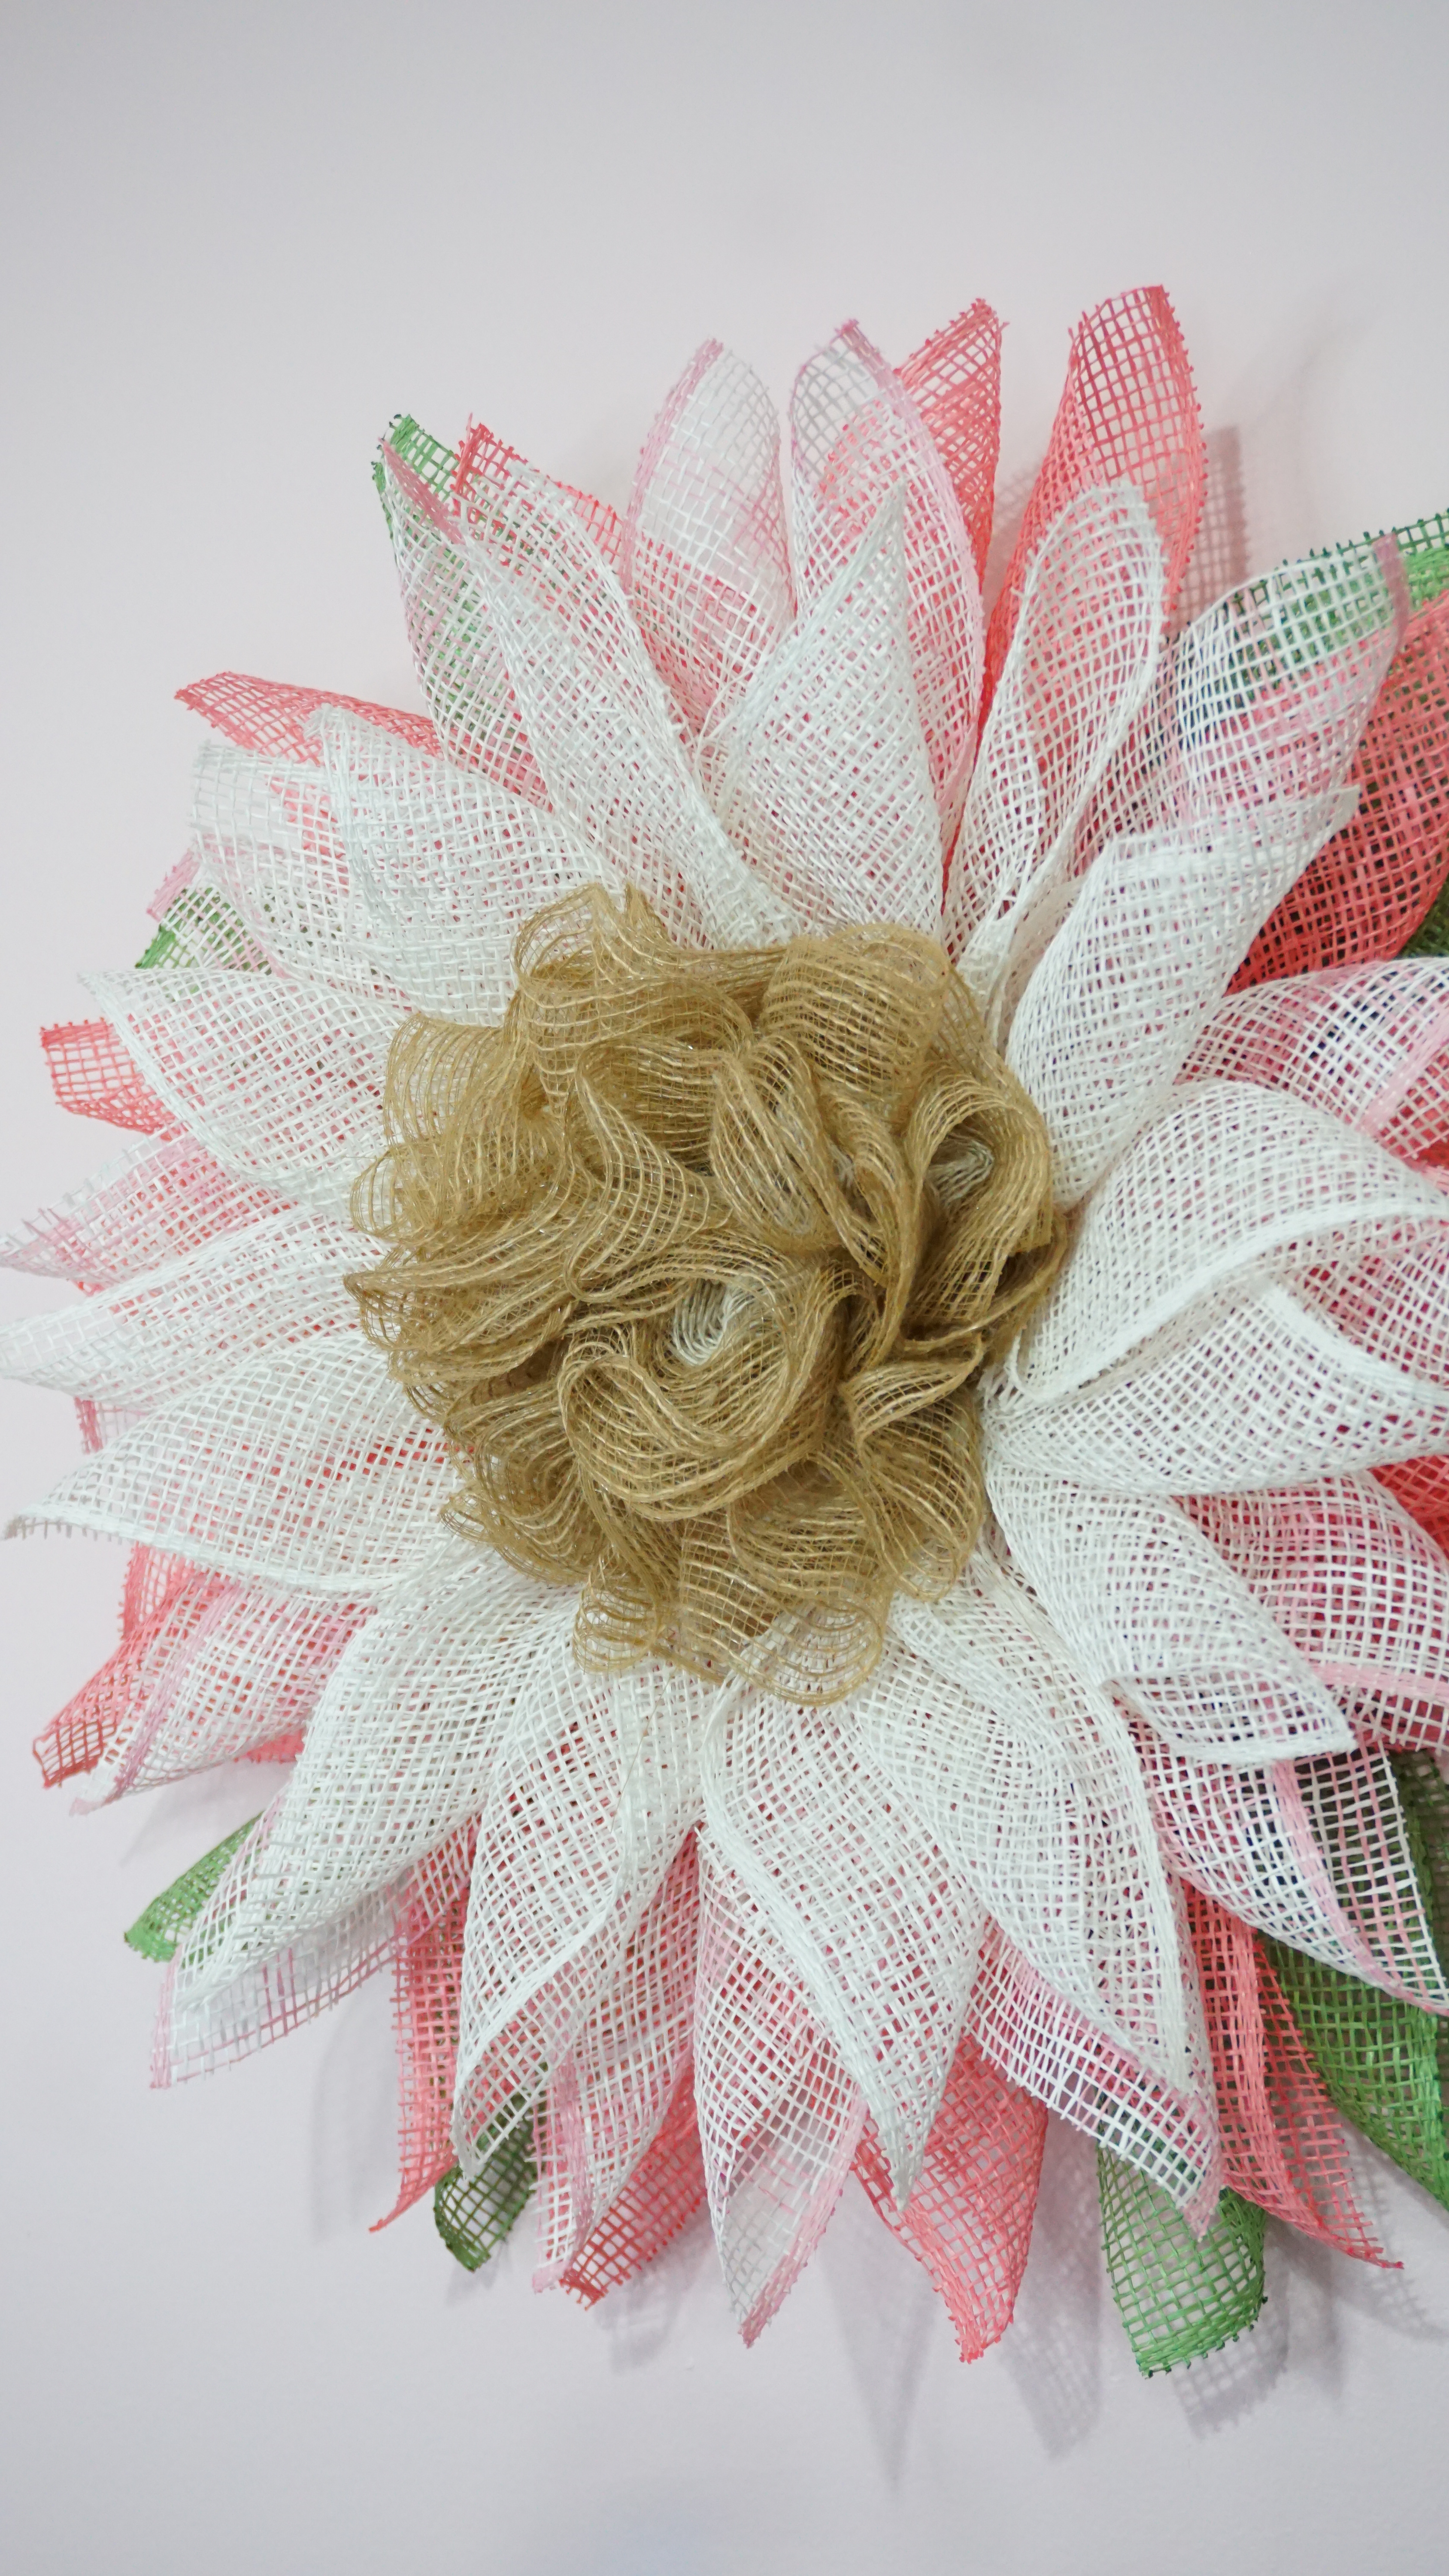
Spring is right around the corner, and I am so excited for it!
Lately, Chris has been challenging me to try different wreath styles and I have just completed one that is perfect for the change to come. Just as Winter fades into Spring, pink fades into white in this ombré flower. It gave me the chance to branch out from the deco mesh and tried my hand with poly burlap and, as an added bonus, I got to try out the wood burner I got for Christmas.
If you like it, go check it out in more detail at BrittanyBowerDesigns.com. And if there a color combination that you’d like to see, send me a message at brittany@brittanybowerdesigns.com
This post may contain affiliate links, meaning I earn a small commission at no cost to you! When you purchase through the links provided, you will be supporting Brittany Bower and helping to bring new content to the site!
So, as happens with most renovations (using my own experience along with the stories from just about every home renovation show on HGTV as evidence), mine did not gone quite as planned either. As mentioned before, and was the most important point for me to keep in mind, is that the carpet was staying – I would have loved to replace it, I hate brown! – but as this is not the Dream House, it just didn’t make sense financially considering the excellent condition of the current carpet. I know, we checked! So Chris recommended some sticky stuff that most contractors use – a self-adhesive protective plastic film – that we were able to get from Amazon. However, due to something (not sure exactly what) it would not stay stuck to the carpet, though it obviously works well usually since it has no problem sticking to itself.
Since this didn’t work out, Chris suggested a tarp instead and that worked much better. With that settled, the next step was to take off the baseboards – these are being replaced (still on the to do list), thank goodness! It wasn’t too difficult, but since I did it myself while Chris was at work, I had to resort to YouTube for how to do it.
So while it may have not been necessary, and I was told by more multiple people that I created a lot of unnecessary work for myself, I did skim coat and then sand all of the walls. The previous owners simply painted over a lot of rough areas without cleaning first and it was driving me crazy, some of which was previous wallpaper.
Had I not paid such close attention to the walls, I may have missed this detail. Now, I have piece of mind and know a little more of the house’s history.

Now the fun began – color could finally start being put on the walls!!! And I gave Chris the sad news (only for him) that the project can’t be purely mine. I still needed him for a few items….
Once the ceiling was painted, he installed the new fan I picked out. Next to the wall color, this was the part I was most excited about. The fan portion of the last one had stopped working and the Craft Room gets pretty warm during the day. It also didn’t provide much light so I had to supplement. With new LED light bulbs equivalent to 100 watts each and 5000k for a more natural daylight look, I now have plenty of light without stray cords running down the walls.

But, since it is ultimately MY projects and is MY room, I finally fulfilled a life long dream of having a PINK room and could not be happier. (Inside story to this…at the store I thought it was too light. Then, I started cutting it in and thought it might be too bright. Although I was giddy about the prospect of my pink room, this thought still continued as I covered the walls in the color and when I was finally finished.)
I have slowly been moving back in and arranging it to work better for me. It may have been extra work, but with smooth walls and fresh paint, I feel much calmer in the room and better prepared to work on my projects.
Note: Although this is a very late post, I did make the deadline of November 2nd to beat the couch delivery! And as happens with many projects, there are a couple of things still left to do. Curtains have finally been hung 🙂 but we still need to cut and install the base molding and replace the outlets and covers.
Hey everyone! I have some exciting news. As you know, I started a new crafting project making wreaths back during the summer as a way of mentally escaping the craziness of the world around us. This has been amazing therapy for me and (according to my amazingly supportive friends and family) I have finally achieved the “WOW” factor that I always craved with my crafts, and have decided to make them public for y’all to see and share in. The wreaths I have shared throughout the year are there with a few others. Go check them out at BrittanyBowerDesigns.com.

While the Let It Snow Wreath was the first one to get me really excited and think that I might be onto something, this candy cane wreath is my favorite! You could clearly see the theme even before I added the additional decorations and it seemed to build itself. It is the fullest and largest of the wreaths I have made to date.

Now that Christmas is almost upon us, I will be shifting gears shortly. If there is a specific theme you would like to see (holiday related or not) please let me know, either on here with a comment or at brittany@brittanybowerdesigns.com.
Happy holidays!
This post may contain affiliate links, meaning I earn a small commission at no cost to you! When you purchase through the links provided, you will be supporting Brittany Bower and helping to bring new content to the site!
Okay, okay, so it’s not real snow. But a girl can wish, although the only time I miss the snow is on Christmas Eve and Christmas day.

I wrote before about using the acrylic paint with a thinner consistency on the wooden Merry Christmas sign and how happy I was about it. Now, I have taken it a step further. For an ever Christmas-ier feel, I have added a snow effect using Aleene’s Glitter Snow from Amazon.

Chris had suggested the spray type, like the Santa Snow Spray
that you can also find on Amazon or in the craft stores. However, after reading more about it, I found out that it is not suitable for the outdoors and comes off surfaces fairly easy. It’s better suited for inside windows and trees. If my tree wasn’t already white, I’d get it to add the snow effect. Since the sign is intended for a wreath, I needed more versatility and durability.

Using the same paint brushes I had already bought for the acrylic paint, I was easily able to build up the Glitter Snow to the thickness I was looking for by allowing it to dry overnight in between session. And for a first try, I’m pretty happy with how it came out and cannot wait for the holiday season to officially begin!


