This post may contain affiliate links, meaning I earn a small commission at no cost to you! When you purchase through the links provided, you will be supporting Brittany Bower and helping to bring new content to the site!
Okay, okay, so it’s not real snow. But a girl can wish, although the only time I miss the snow is on Christmas Eve and Christmas day.
Finished Merry Christmas Wood Letter Sign
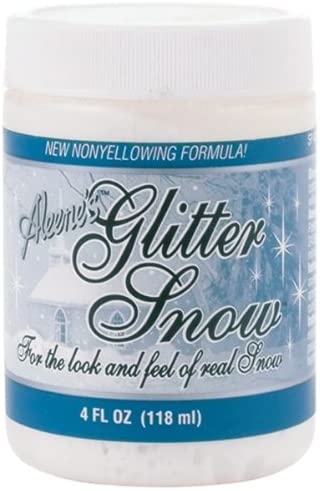
I wrote before about using the acrylic paint with a thinner consistency on the wooden Merry Christmas sign and how happy I was about it. Now, I have taken it a step further. For an ever Christmas-ier feel, I have added a snow effect using Aleene’s Glitter Snow from Amazon.
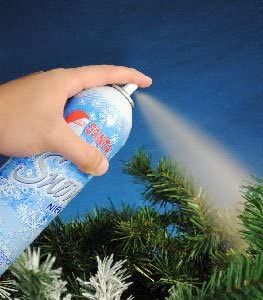
Chris had suggested the spray type, like the Santa Snow Spray that you can also find on Amazon or in the craft stores. However, after reading more about it, I found out that it is not suitable for the outdoors and comes off surfaces fairly easy. It’s better suited for inside windows and trees. If my tree wasn’t already white, I’d get it to add the snow effect. Since the sign is intended for a wreath, I needed more versatility and durability.
Using the same paint brushes I had already bought for the acrylic paint, I was easily able to build up the Glitter Snow to the thickness I was looking for by allowing it to dry overnight in between session. And for a first try, I’m pretty happy with how it came out and cannot wait for the holiday season to officially begin!
This post may contain affiliate links, meaning I earn a small commission at no cost to you! When you purchase through the links provided, you will be supporting Brittany Bower and helping to bring new content to the site!
So I’ve been learning about how to paint wood signs for the wreaths, and it’s been quite the learning curve. I’d like to be able to hang my wreaths outside and needed a good, safe paint for it. Doing some reading at the craft store, it looked like acrylic satisfied these needs while providing a good variety of colors to choose from.
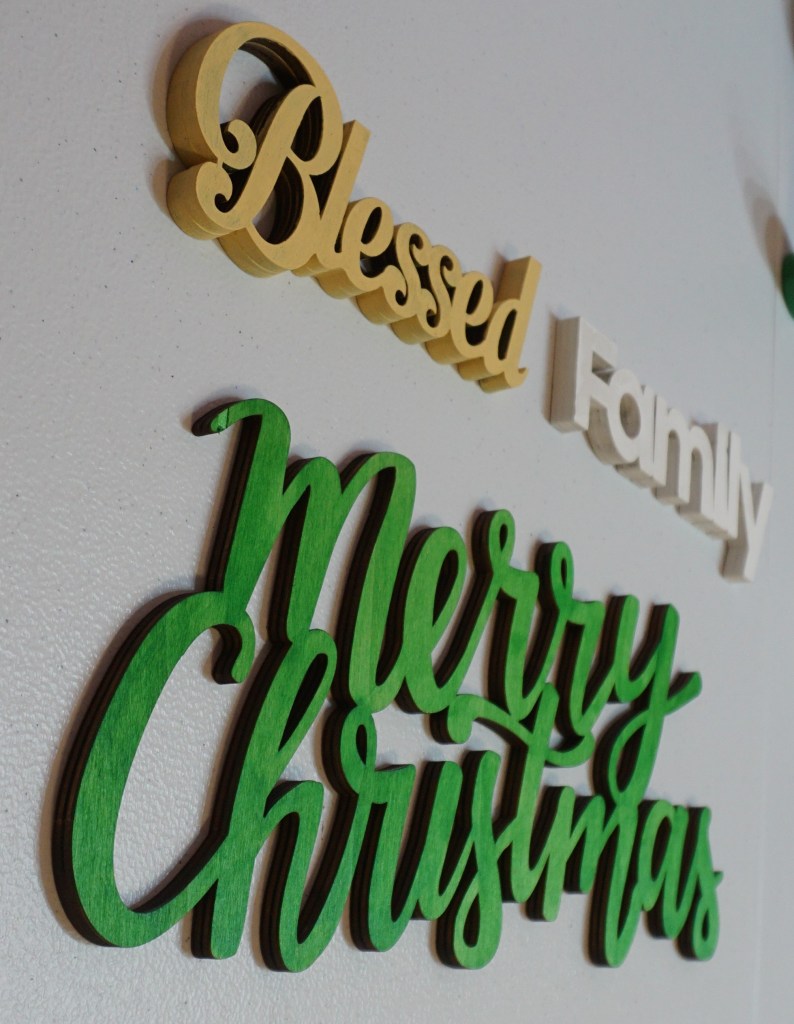
As you can see from the picture from Part 1, there are also different consistencies for the paint. The green I chose for Merry Christmas was thinner which allows the wood grain to show even after multiple coats. Blessed and Family were done in a paint with a thicker consistency and should provide a smoother looking finish. I like both, but it depends on the project.
The one challenge I didn’t anticipate, however, is trying to get to the space in all of the nooks and crannies. Merry Christmas is laser cut, which provides the darker edges and a more finished look, and I seemed to be able to control the paint enough to avoid any overlap on the sides with it, and Family isn’t too bad in this area. But when I tried to do the inside of Blessed, I felt it starting to look messy, even with the new paint brushes I bought for it. So an alternative method was needed.
Merry Christmas in thin consistency acrylic paint Blessed and Family in thick consistency acrylic paint
While spending way too much time in the craft store and loving every minute of it, I found pour over paint and spray paint. Chris had mentioned spray paint before, but I didn’t know what I thought of it. It always seemed kinda messy and smells when it’s sprayed. The pour over paint looked interesting, but messy and possibly wasteful. Knowing an alternative was needed regardless, I went with my fiance’s idea of spray paint.
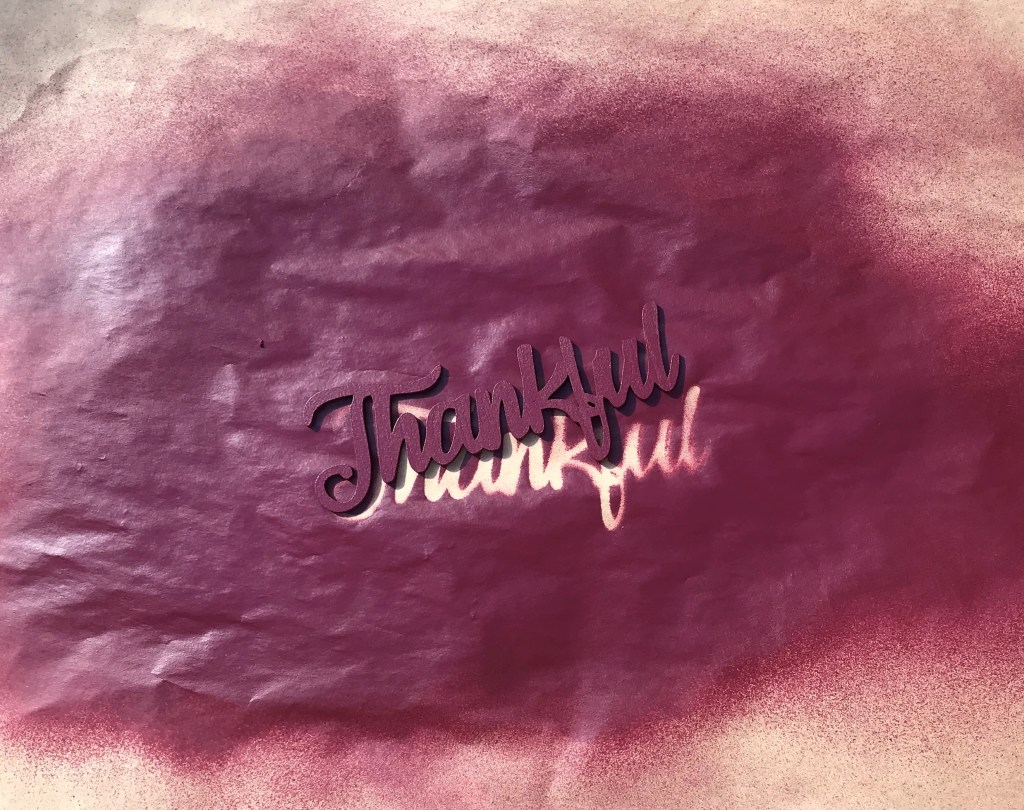
It ended up being easier than I thought and the acrylic doesn’t have any noticeable smell – I also leave it outside for about an hour after to dry, so maybe that has something to do with it. Trying it out, I sprayed the wood letters outside on wrapping paper – like this from Amazon. We used it to protect the tile floors when we painted other rooms in the house and had some left over. Choosing a flat surface protected from the wind, I sprayed it from various angles to ensure all of those pesky nooks and crannies were gotten as well as across the top.
Thankful in Punk Lak Gloss Acrylic Spray Paint’s Dark Wine
Although the Dark Wine color didn’t work out so well for what I intended it for, I do like the end result and even with the dry time, it only took an hour at most. I spent at least that just fighting with the insides of Blessed alone, and only got halfway. I think Chris was onto something 😉.
This post may contain affiliate links, meaning I earn a small commission at no cost to you! When you purchase through the links provided, you will be supporting Brittany Bower and helping to bring new content to the site!
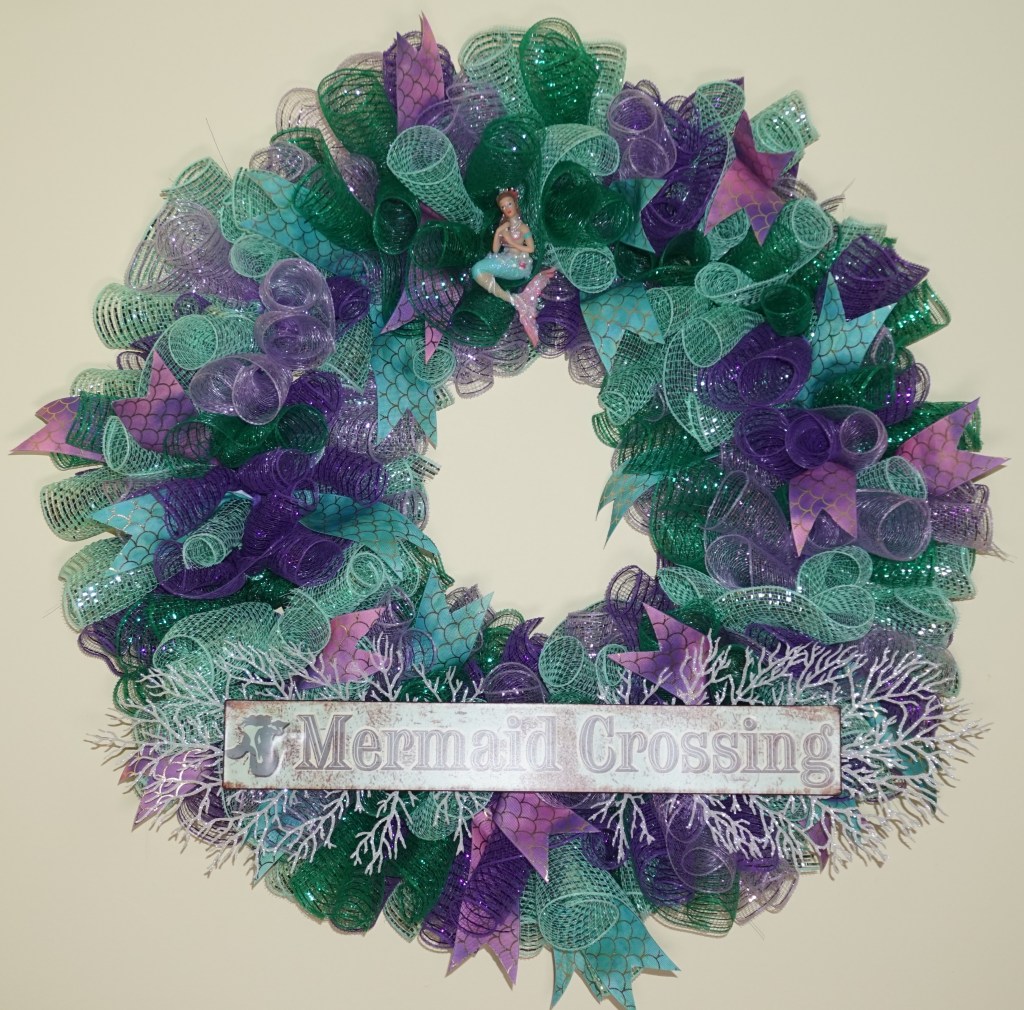
I am so excited about my newest wreath!!!! Every time my friend and I go craft shopping, we have talked about wanting to make a mermaid wreath – it’s the theme for her daughter’s nursery, and with both of us having grown up mostly in the Florida Keys, the love of all things sea related is simply instilled in our DNA.
I had thought about finally making one for her daughter’s birthday last month in August, but I wasn’t able to get the concept to come together in time or decide on a style. Buying Little Mermaid fabric was the farthest I got with the project 😕
Going shopping on my own, colors are always the biggest question, so I used the Little Mermaid as inspiration, sticking to purples and greens….and green just so happens to be her favorite color 😉. Christmas themed items being in some of the stores in town since July has been amazing and helped with this project, giving me idea of a mermaid ornament and also made possible the coral fan branch. Passing the Mermaid Crossing sign in the nautical section and the ombre scale ribbons in the sewing section just brought the whole idea together!
Mermaid Crossing Deco Mesh Wreath
This is the newest favorite amongst my girlfriends and I. Chris thinks it needs more embellishments…maybe Pearls next time. What do you think?
On Labor Day, Chris made plans for us to go to lunch at The Breakers West Palm, a resort originally built by Henry Flagler. It has been one of my favorite hotels since I first found it and learned of its history. Growing up in the Keys, you learn all about Flagler and how his presence and railroad impacted South Florida. Seeing the places he built brings a piece of that history to life for me.
The drive up was perfect and relaxed, driving along the beach on A1A, and everyone was so gracious when we arrived and as we explored the grounds. It was just as beautiful as I had imagined and had seen in all of the pictures, and then some!!
Mediterranean Courtyard at The Breakers West Palm
We found the Seafood restaurant and promptly passed (Chris doesn’t eat seafood) and wandered over to The Italian Restaurant, which was closed and we plan to make another trip to try. Striking out for a second time, we checked out The Beach Club Restaurant, where we were told that non-guests can only dine at Seafood Bar, much to our dismay 😐.
Valet made up for the confusion, so with service recovered and views beyond expectations, Brunch at The Circle and dinner at The Italian Restaurant remain on the Bucket list for must dine at restaurants in South Florida….although we may have to wait a while due to Covid. At least we got to visit the resort!
This post may contain affiliate links, meaning I earn a small commission at no cost to you! When you purchase through the links provided, you will be supporting Brittany Bower and helping to bring new content to the site!
I finally took the plunge. Chris (my fiancé) and I have been talking about wanting to get me certified for SCUBA diving for the 10 years we’ve been together (he’s now been certified for 20 years) and I’ve been interested for even longer. We recently had 2 days off together and decided to take the first steps.
We started off looking around Fort Lauderdale, staying local but struggled to find anything that didn’t seem outrageously priced for a beginner and that I liked – it has to be pink! Chris took to the internet and wound up on Amazon – as we always do – and found a Mares set. While it wasn’t pink, the pricing seemed reasonable, having included the regulator, computer, gauge, and octo. However, we had the remaining question of size to figure out, so we took a trip to Diver’s Direct and found out that the one we were looking at was not a women’s BCD and would be WAY too big for me. I tried the Aqua Lung Soul in XXS and it fit perfectly….at a price outside of our intended budget. I then tried the Aqua Lung Pearl, which I liked the design of better and was available in a package, but they only had a XS and I was conflicted about the sizing – it felt big compared to the Soul. Not wanting to regret my purchase due to size, we found out that the Key Largo store had the XXS in stock, although they struggled with availability for the complete package due to delays from Aqua Lung related to Covid 😒.
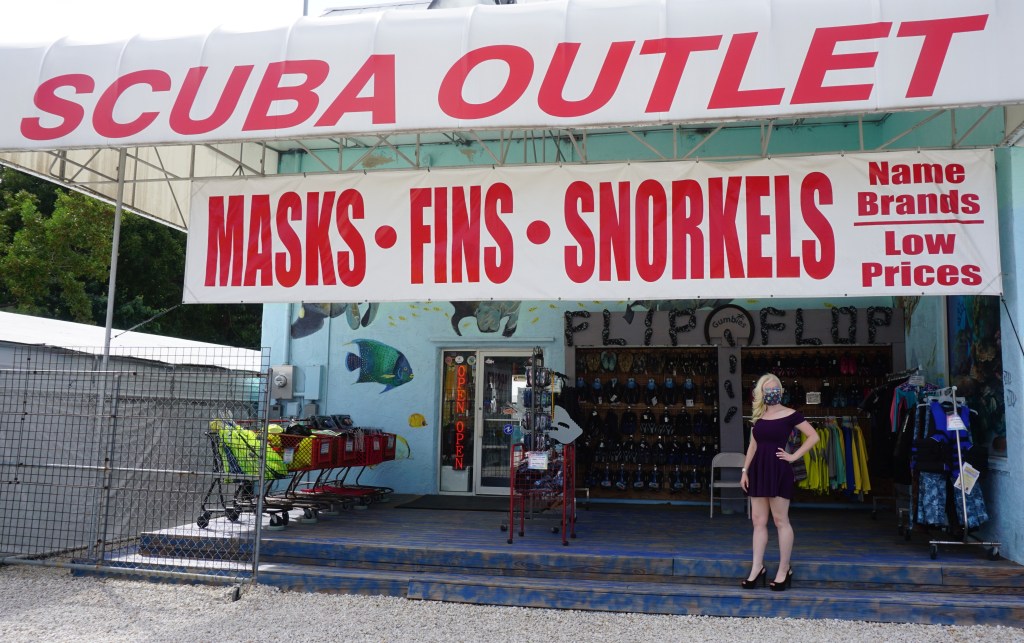
The next day, we made a road trip out of it. It had been so long since we’d been down in the Keys, and even though I never wish to live there again, I am always excited to visit. With low expectations of the visit to Divers Direct, we decided to putz around and tourist for the day. We passed a local dive shop, Scuba Outlet, in Key Largo, and decided to check it out, even doing a circle to get back to it. It was the most organized dive shop I have ever been in and with an impressive selection!
The gentleman was attentive and knowledgeable, and understanding of a female’s needs, and listened to my desire for Pink :). For just a little more than the Aqua Lung Pearl package at Divers Direct, I ultimately got the Tusa Tina BCD with an Oceanic gauge and computer (a brand Chris knows and respects), and a Hollis Air2 (we’ve never heard of the brand, but it saved us from having to find the replacement for an octo). Chris even found a new computer for himself.
Starving from the drive down, we stopped for lunch at Lorelei Restaurant and Cabana Bar, a restaurant right on the water that Chris had originally proposed as the location for our first date, that I still had never been to. The food was good and the views were even better. Being on the ocean, seeing the mangroves and palm trees, and boats in the water – nothing beats it, it’s just so peaceful.
After lunch, I was so excited that we went back home and I jumped in the pool to try my new gear and start practicing. I’ve started the book work through Padi and am excited for my new #divelife 🥽!
Got any good recommendations for dive sites around South Florida? Although Chris has 2 decades of experience, it’s almost all based in the frigid waters of Michigan. I know the Keys are littered with them, but where else should I check out? Let me know 🙂